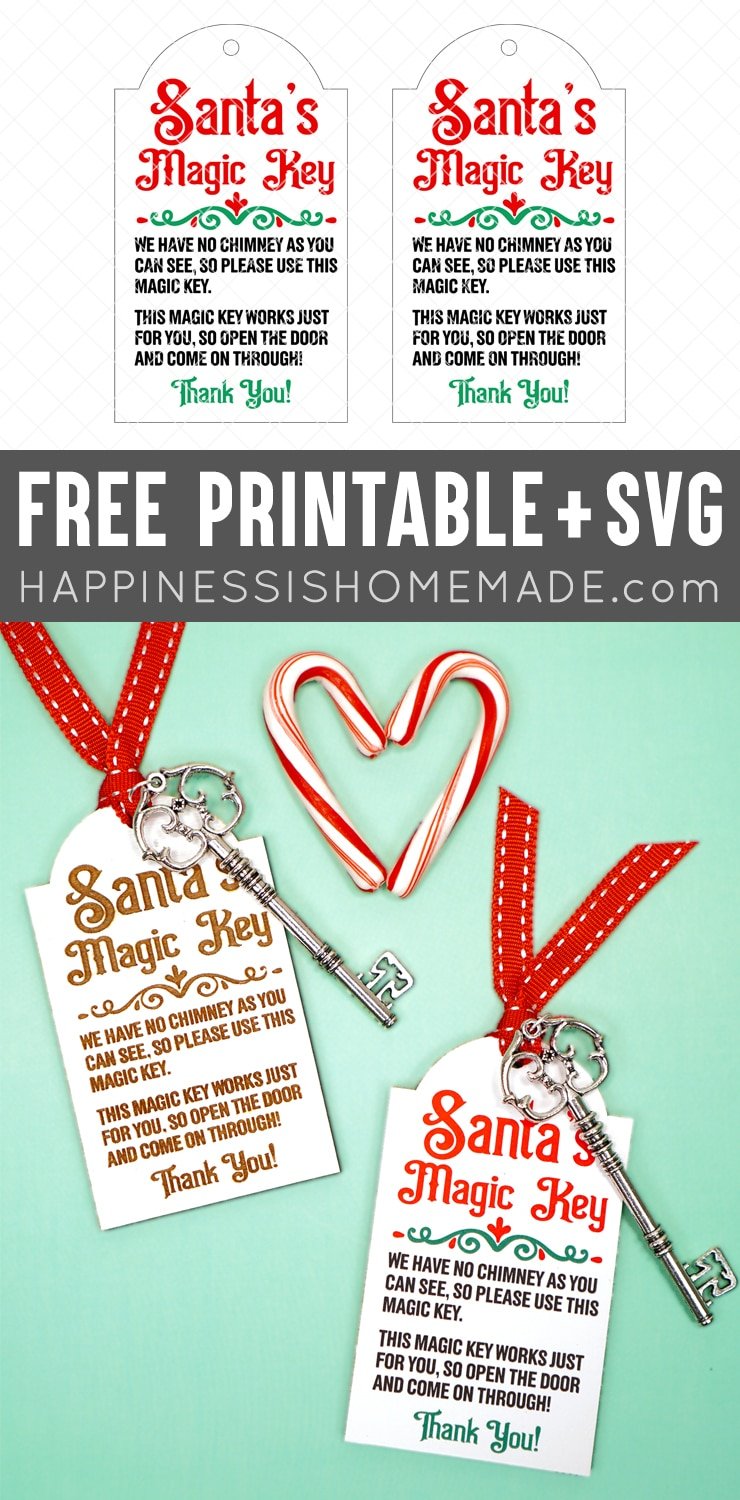
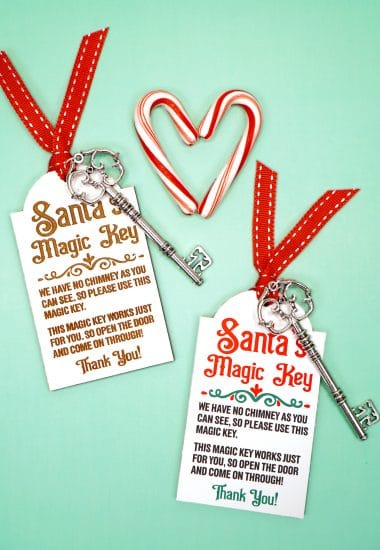
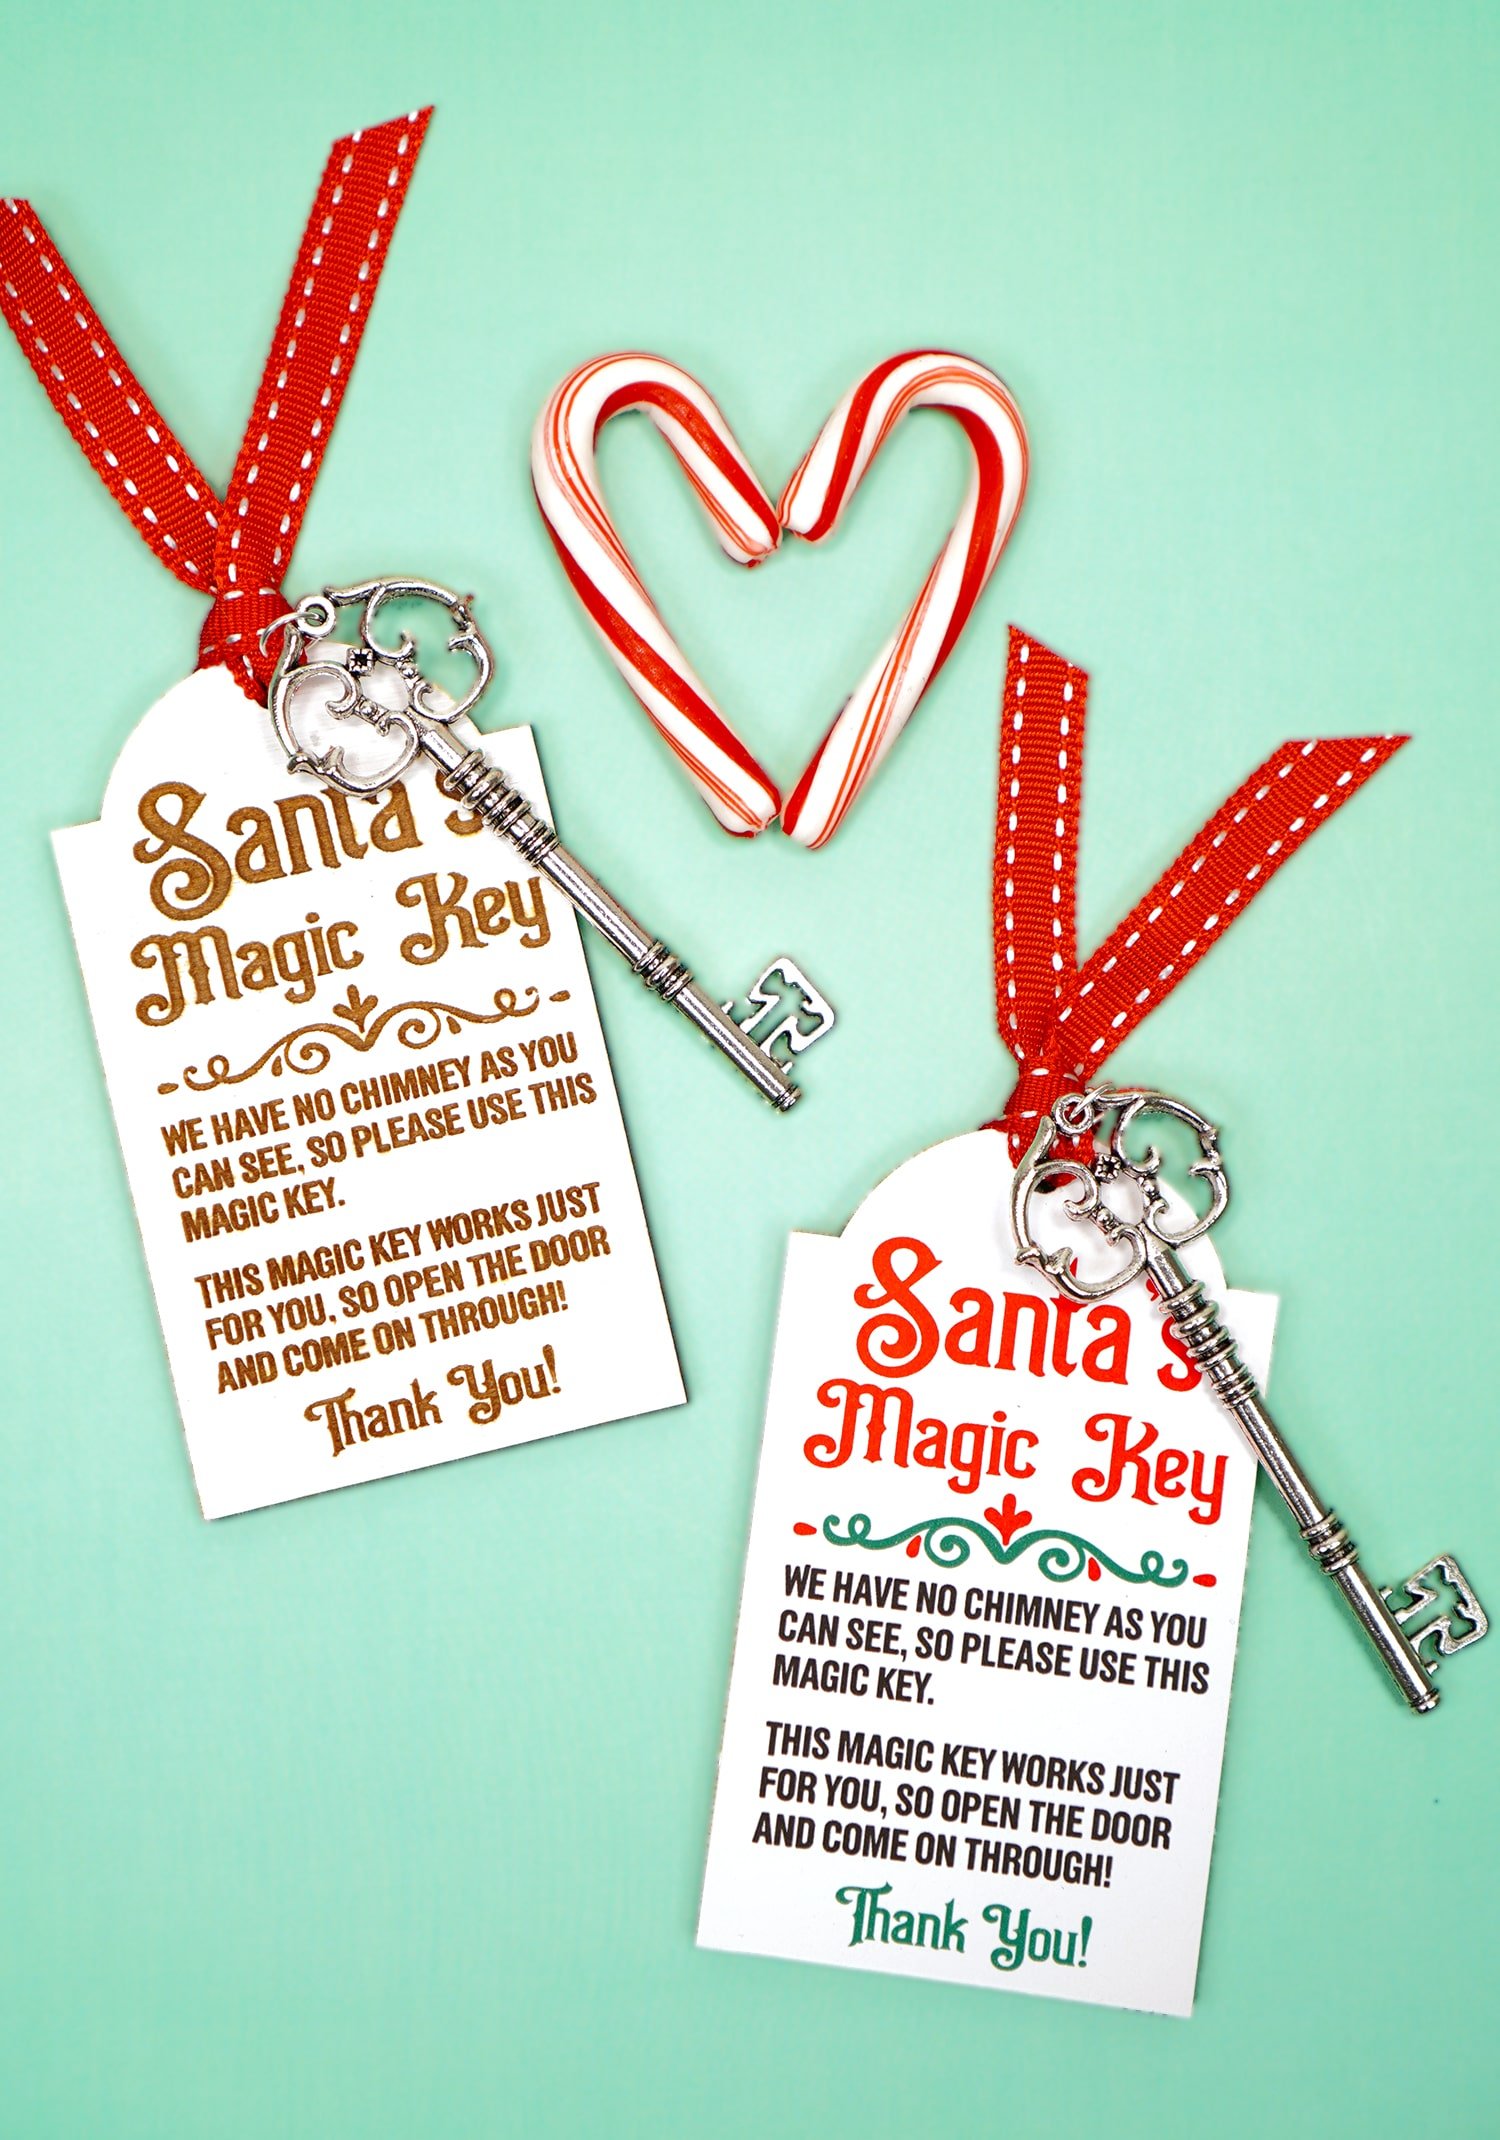
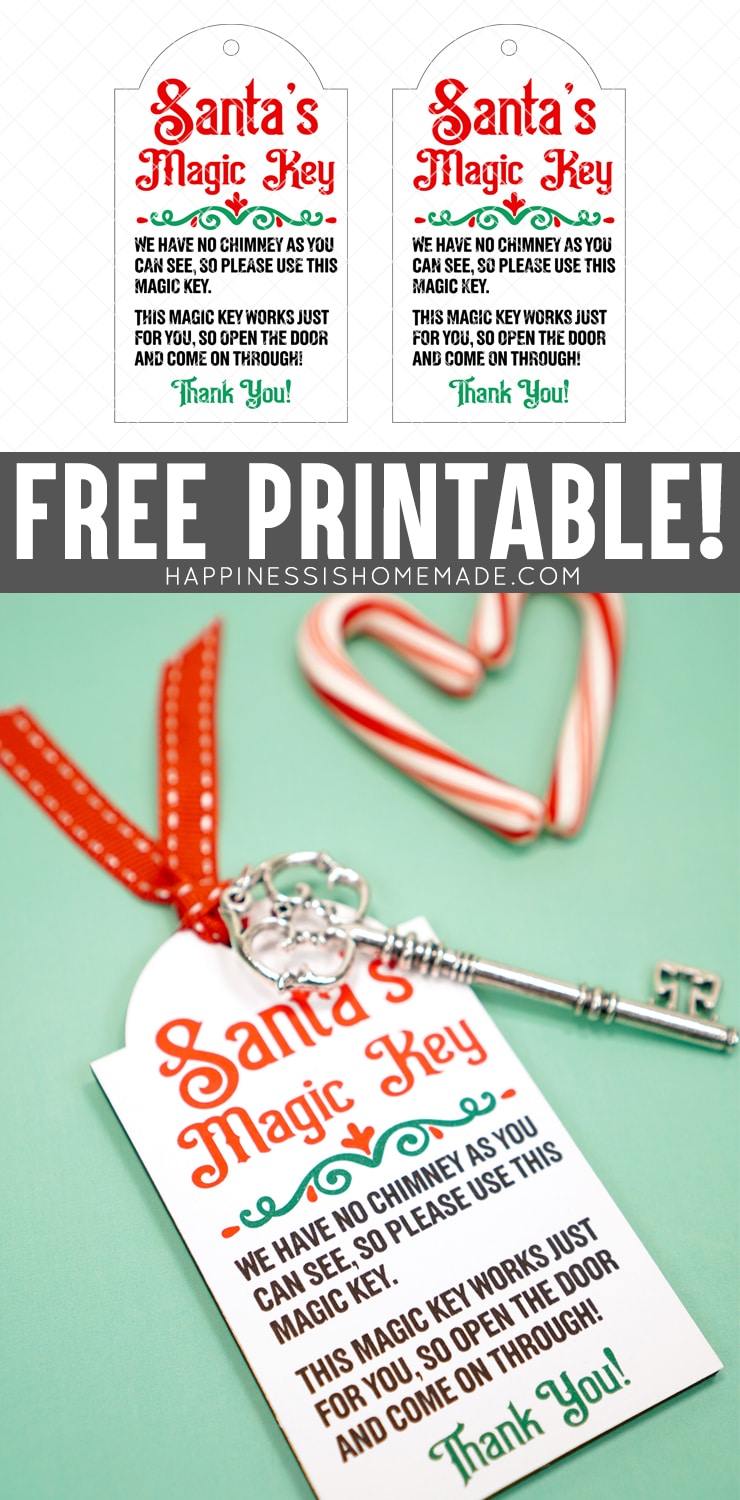
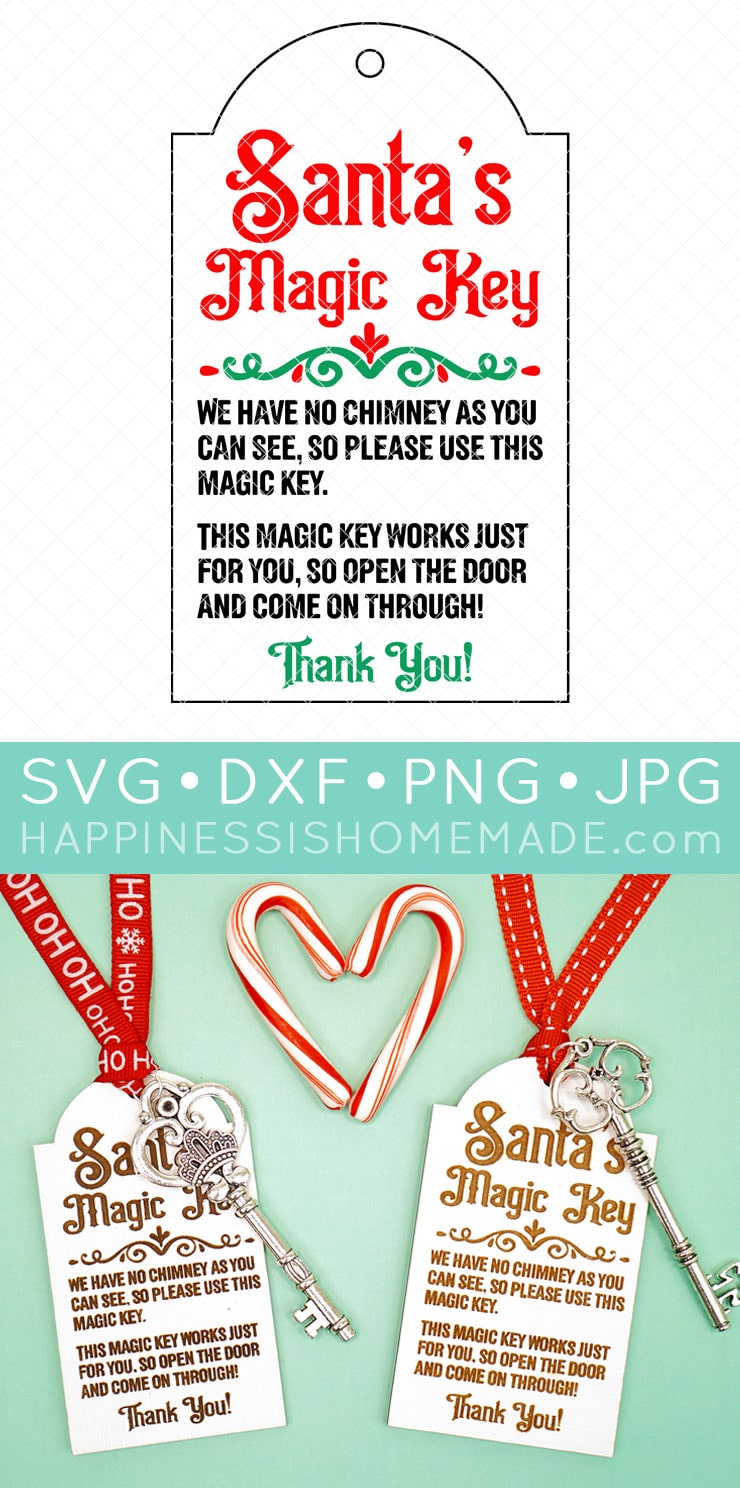
Free printable Santa’s Magic Key tags + Santa’s Magic Key SVG file for Glowforge, Cricut, and Silhouette! Make your own DIY Santa keys with these easy-to-use files!
This post may contain affiliate links. I will receive a small commission from these sales at no additional cost to you!
What is Santa’s Magic Key?
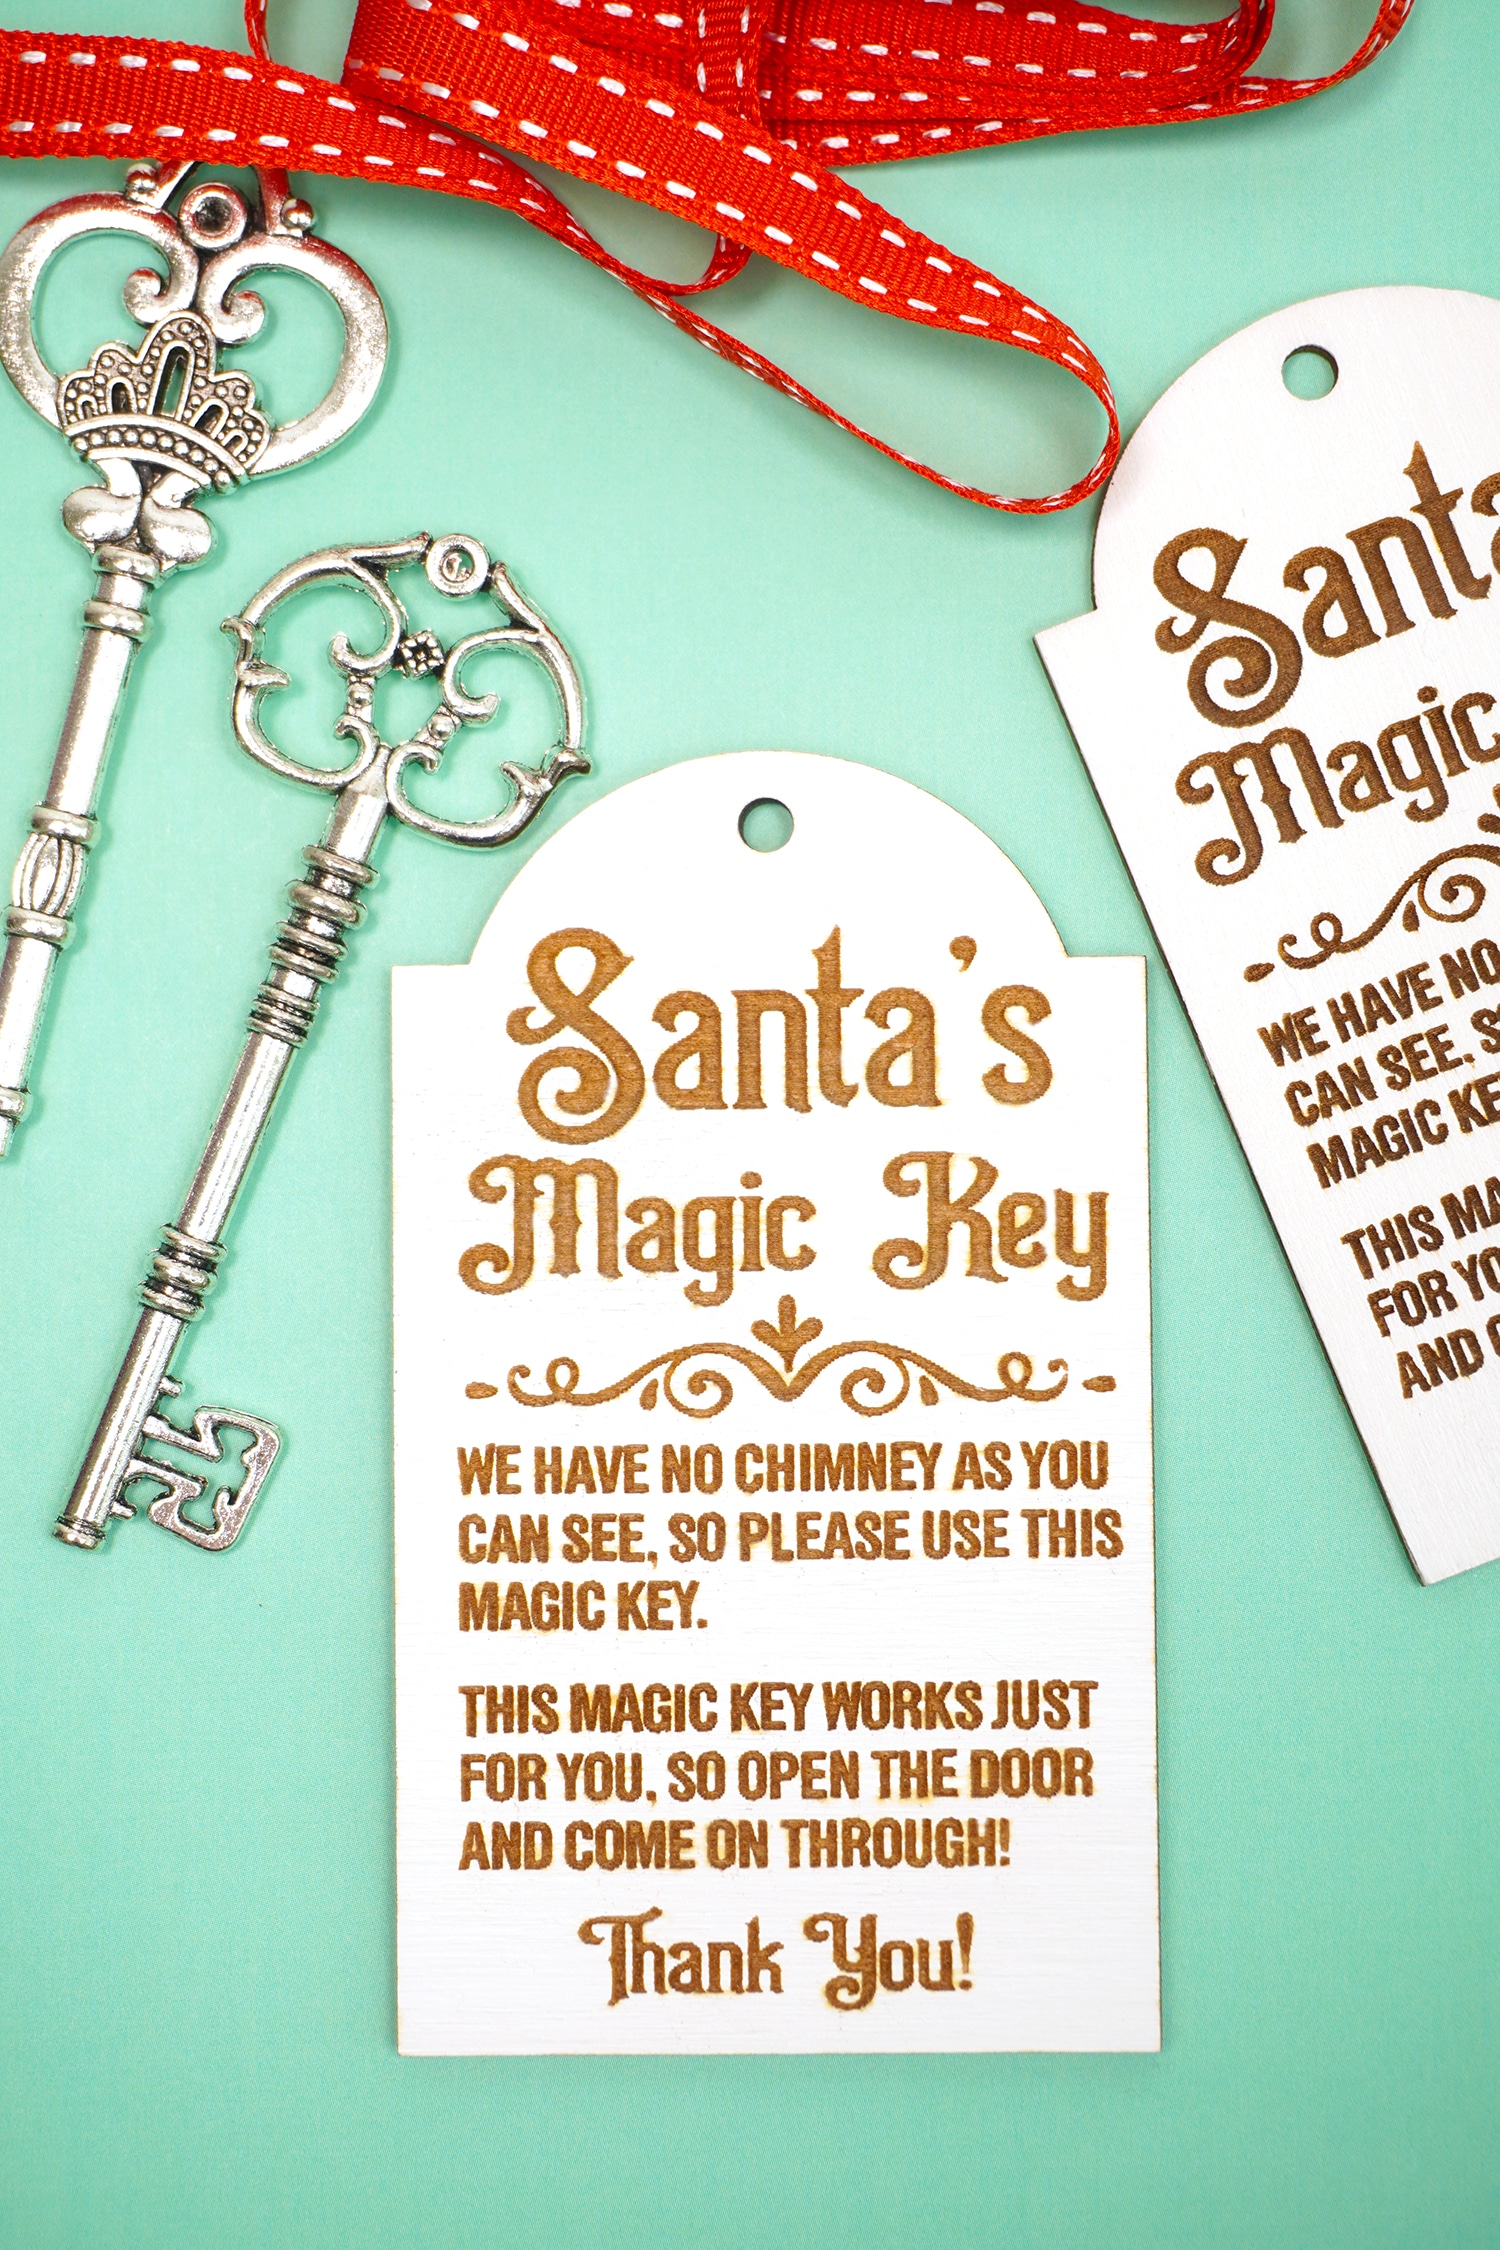
How does Santa get into houses without chimneys on Christmas Eve? With Santa’s Magic Key, of course! Leave this key out for Santa Claus on Christmas Eve, and he will be able to use his Christmas magic to enter your home via the door instead of a chimney!
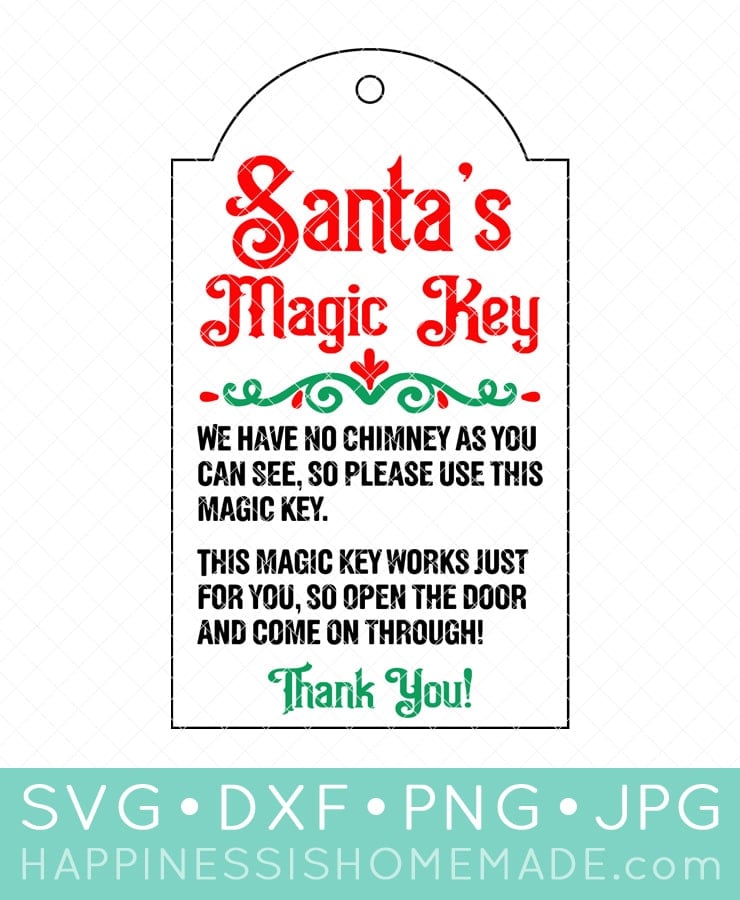
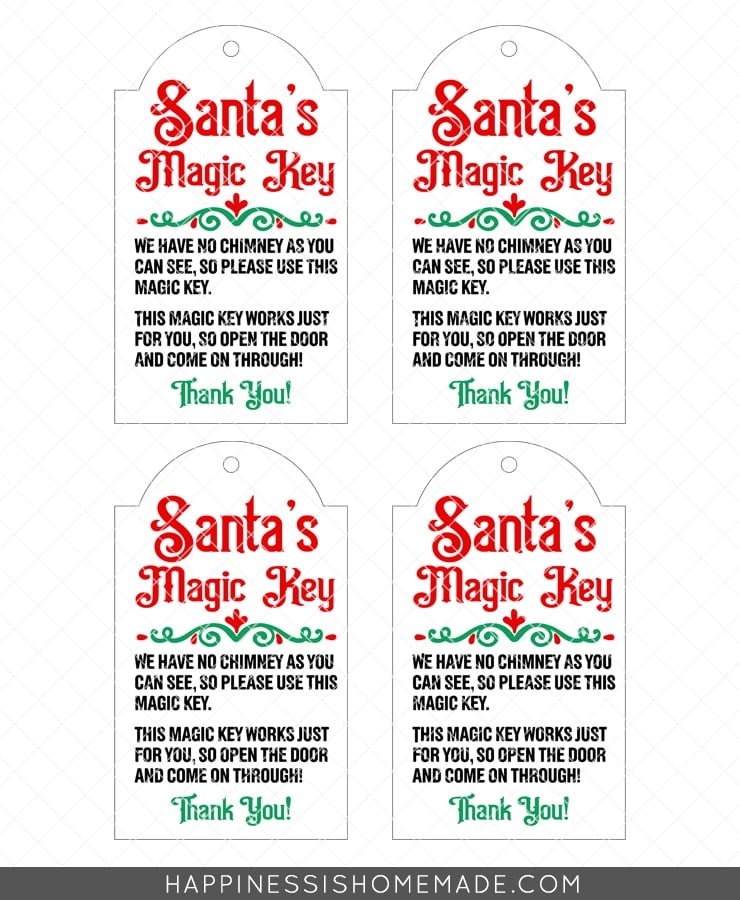
Santa’s Magic Key Printable Tags & SVG File
No chimney? No problem! Put worried minds at ease with the assurance that Santa will be able to pay your home a visit with this Magic Key instead!
Use our Santa’s Magic Key printable and/or SVG file to easily make your own Santa’s Magic Key three different ways – by hand, using your Cricut machine, or using your Glowforge machine!
How to Make Santa’s Magic Key
Using the Santa’s Magic Key Printable
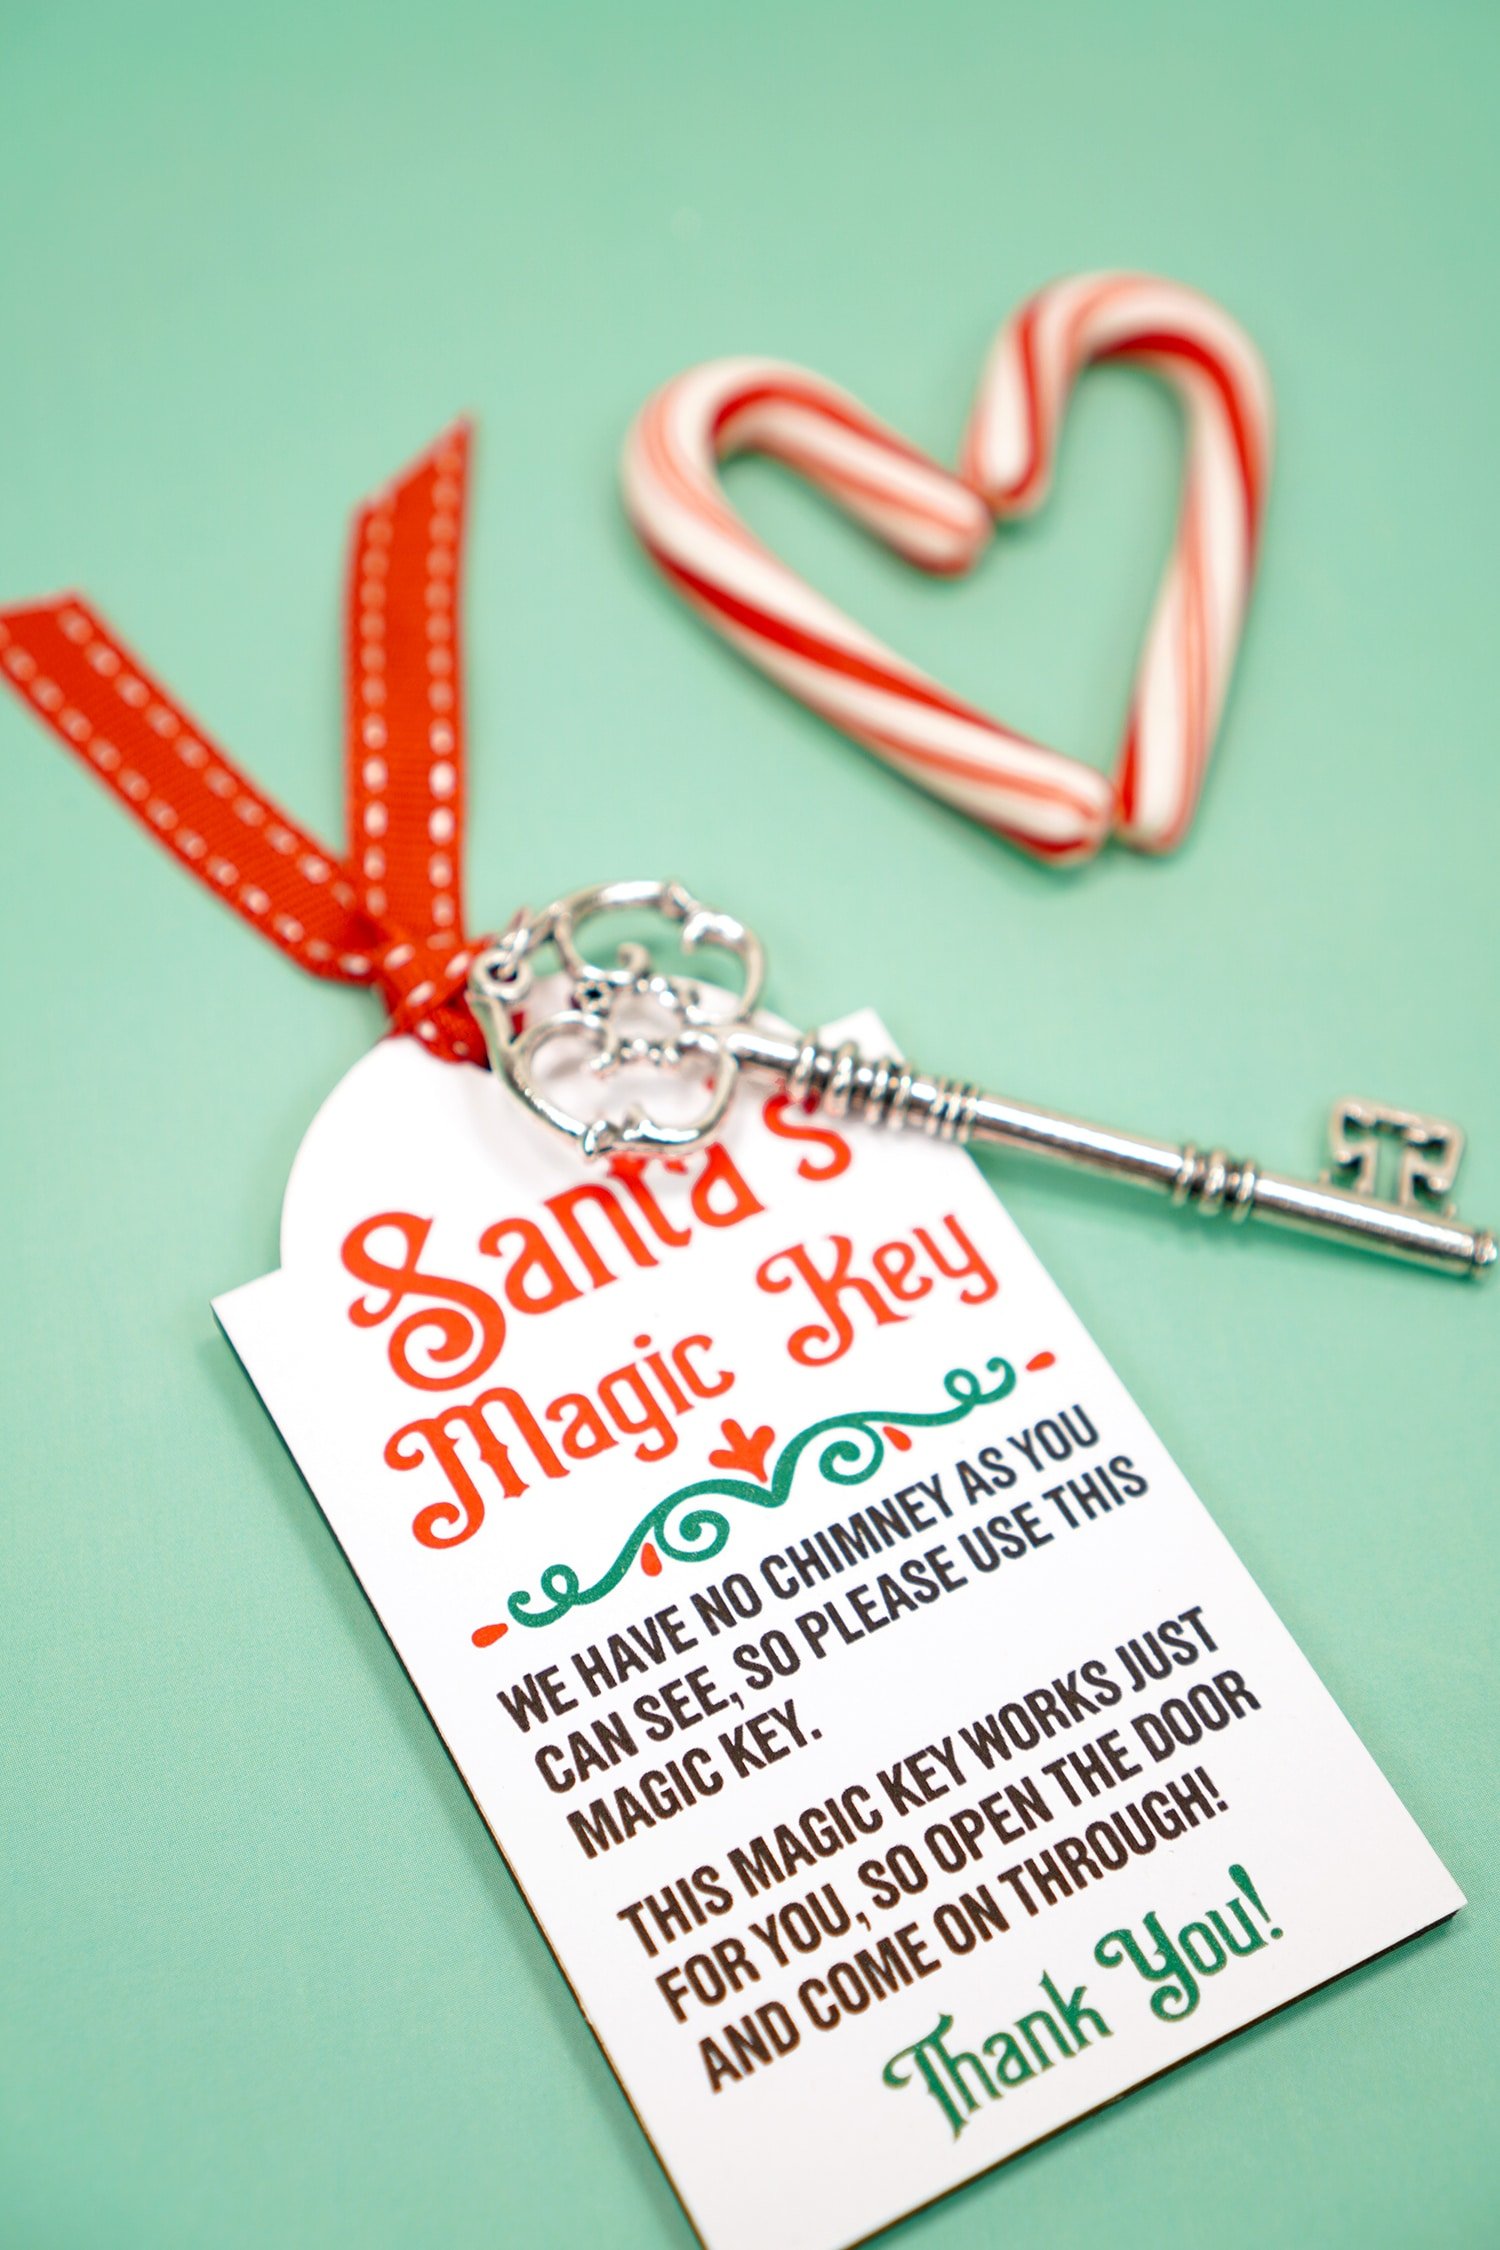
NOTE: These instructions are for how to use the printable with your Cricut machine, but the tags are also quite easy to cut by hand if you don’t have a Cricut!
Supplies Needed:
- Santa’s Magic Key Printable (available below)
- Sturdy Tags*
- Printer (I used a Canon TS9521C Crafting Printer)
- Cricut Machine (I used my Cricut Explore Air 2) or Scissors
- Mod Podge (I used Matte Finish)
- 3/8″ Grosgrain Ribbon
- Decorative Metal Keys
- 10mm Jump Rings & Jewelry Pliers (optional)
* I used pre-cut wood tags since I already had them on hand, but it would also be simple to cut the tags from chipboard or basswood if you have a Cricut Maker machine and Knife Blade! (Get the SVG file for the tags below as well!)
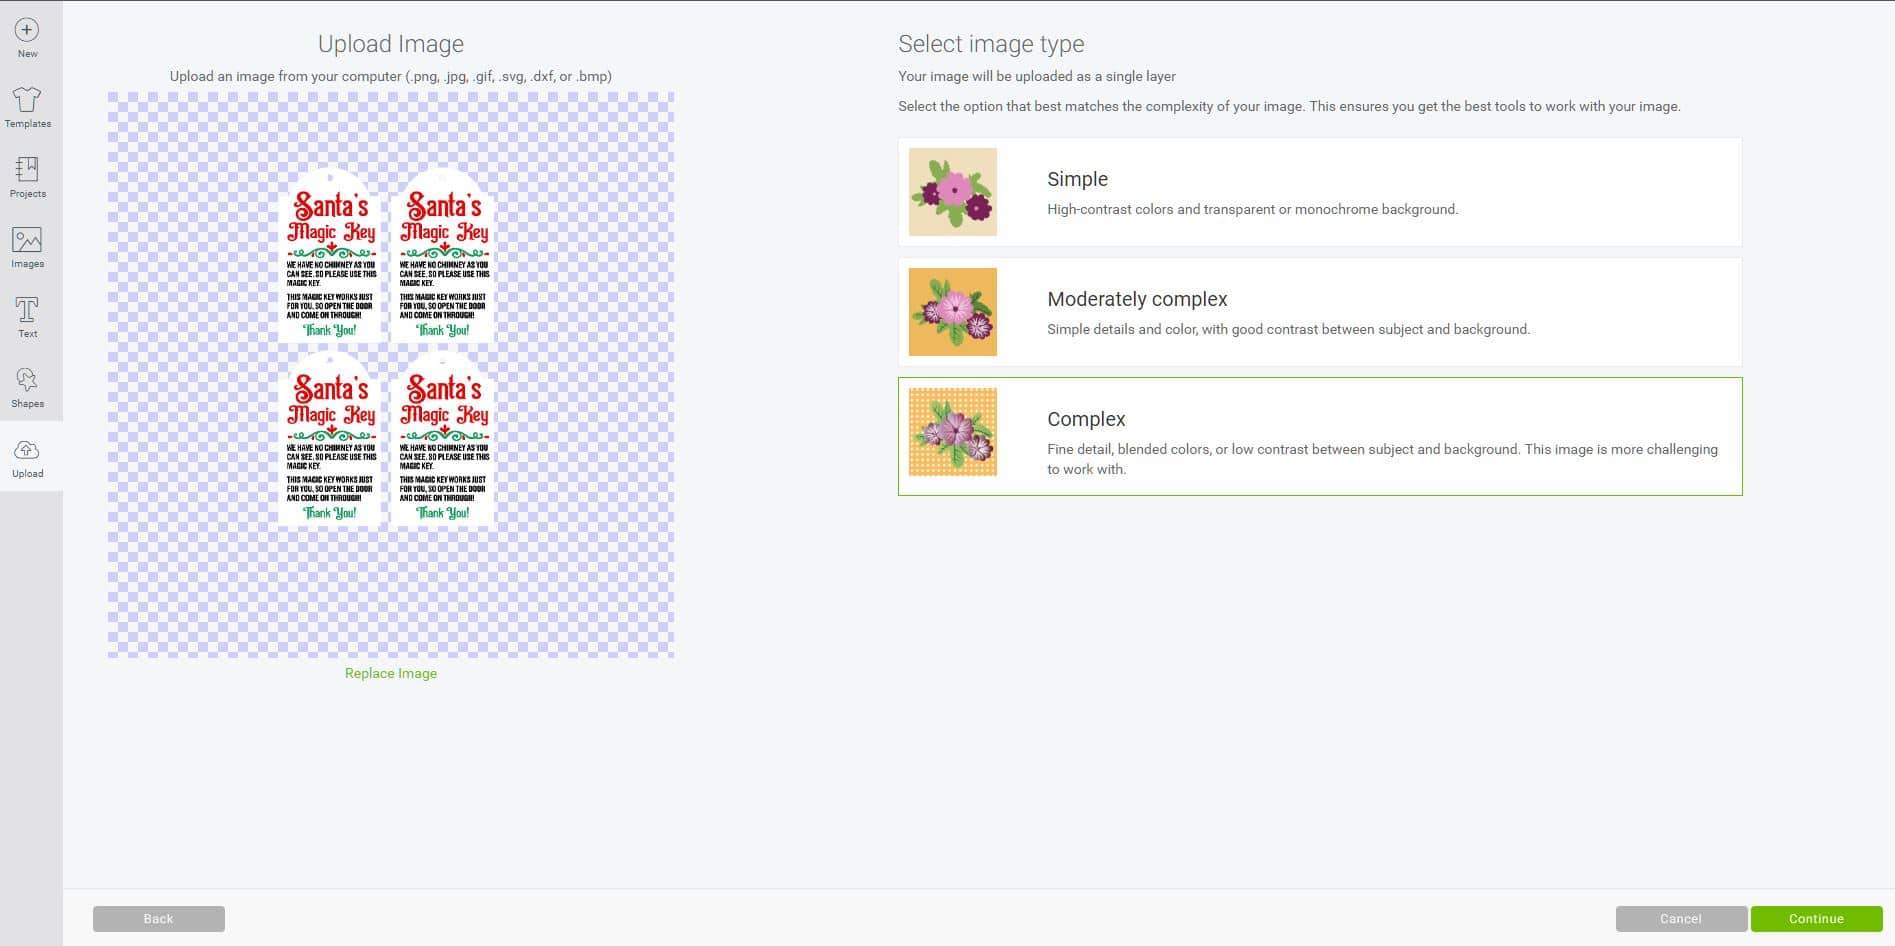
Open the Cricut Design Space software and upload the printable file. We recommend using the PNG file since it already has a transparent background. Select “Complex” as the image type and click “continue.”
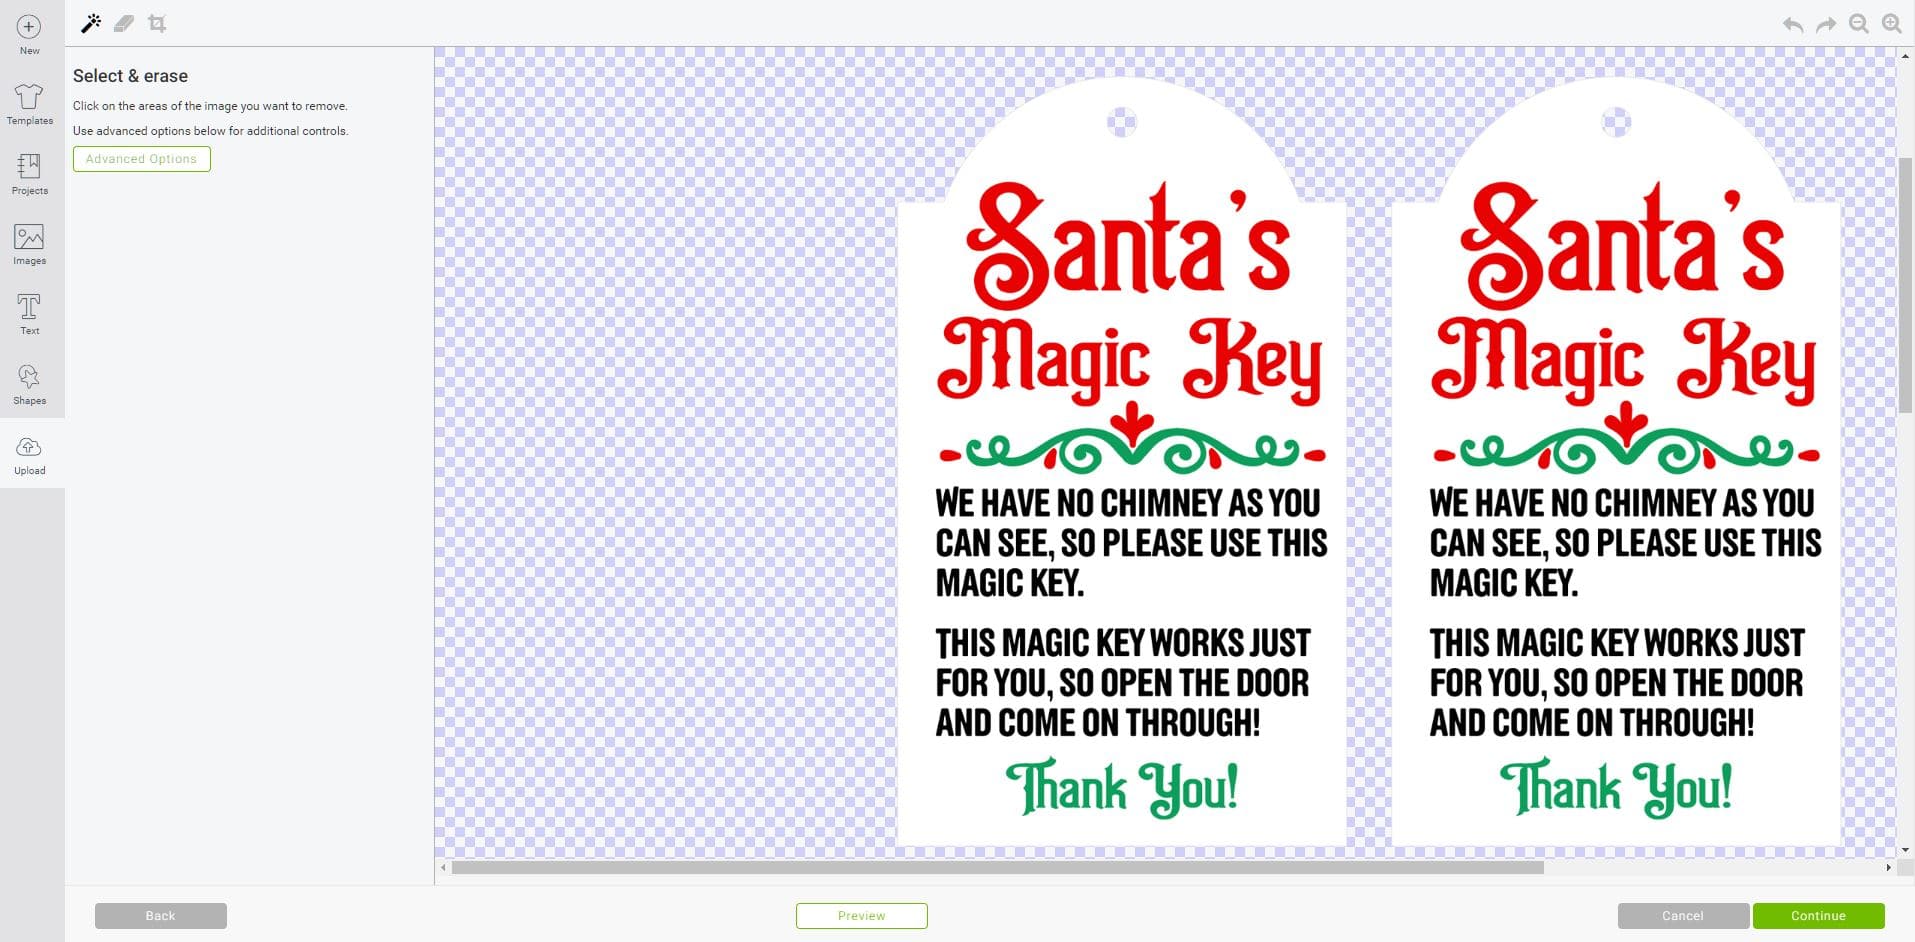
The background and the holes in the tags should show the checkered transparent background – if they are showing as white, use the + cursor to remove the area from the image.
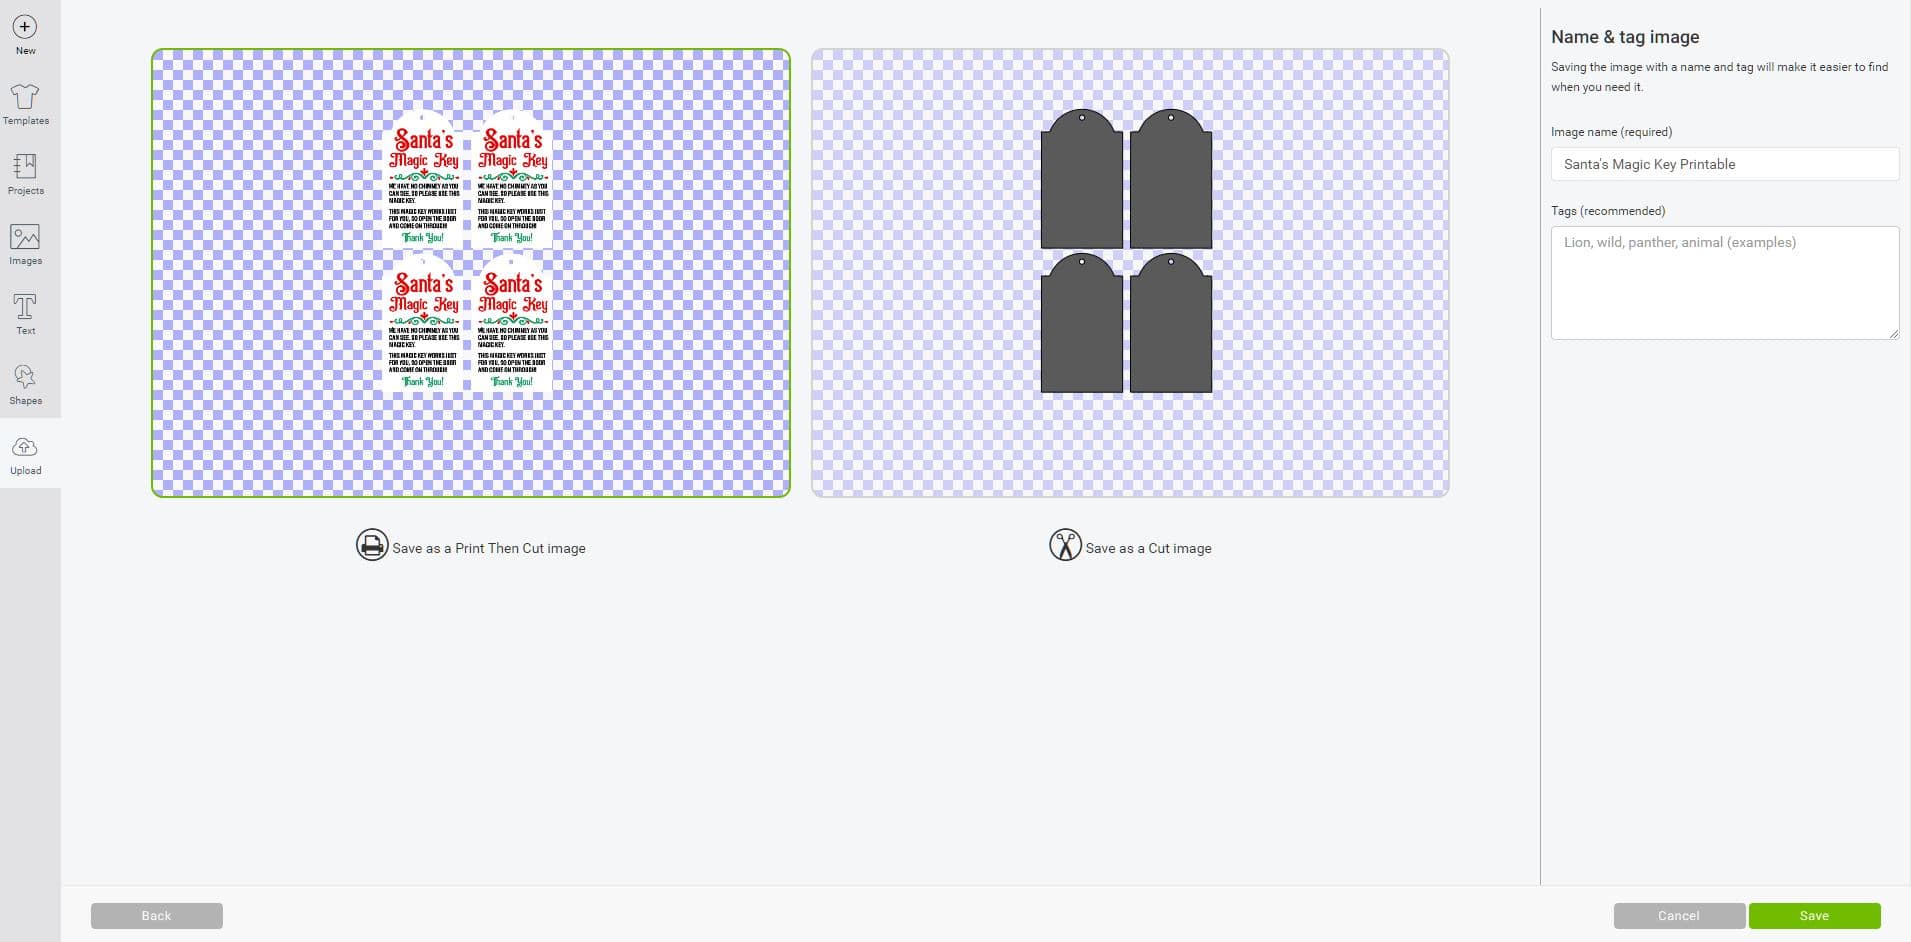
Save the design as a Print Then Cut image. Insert the design on to a new Design Space canvas.
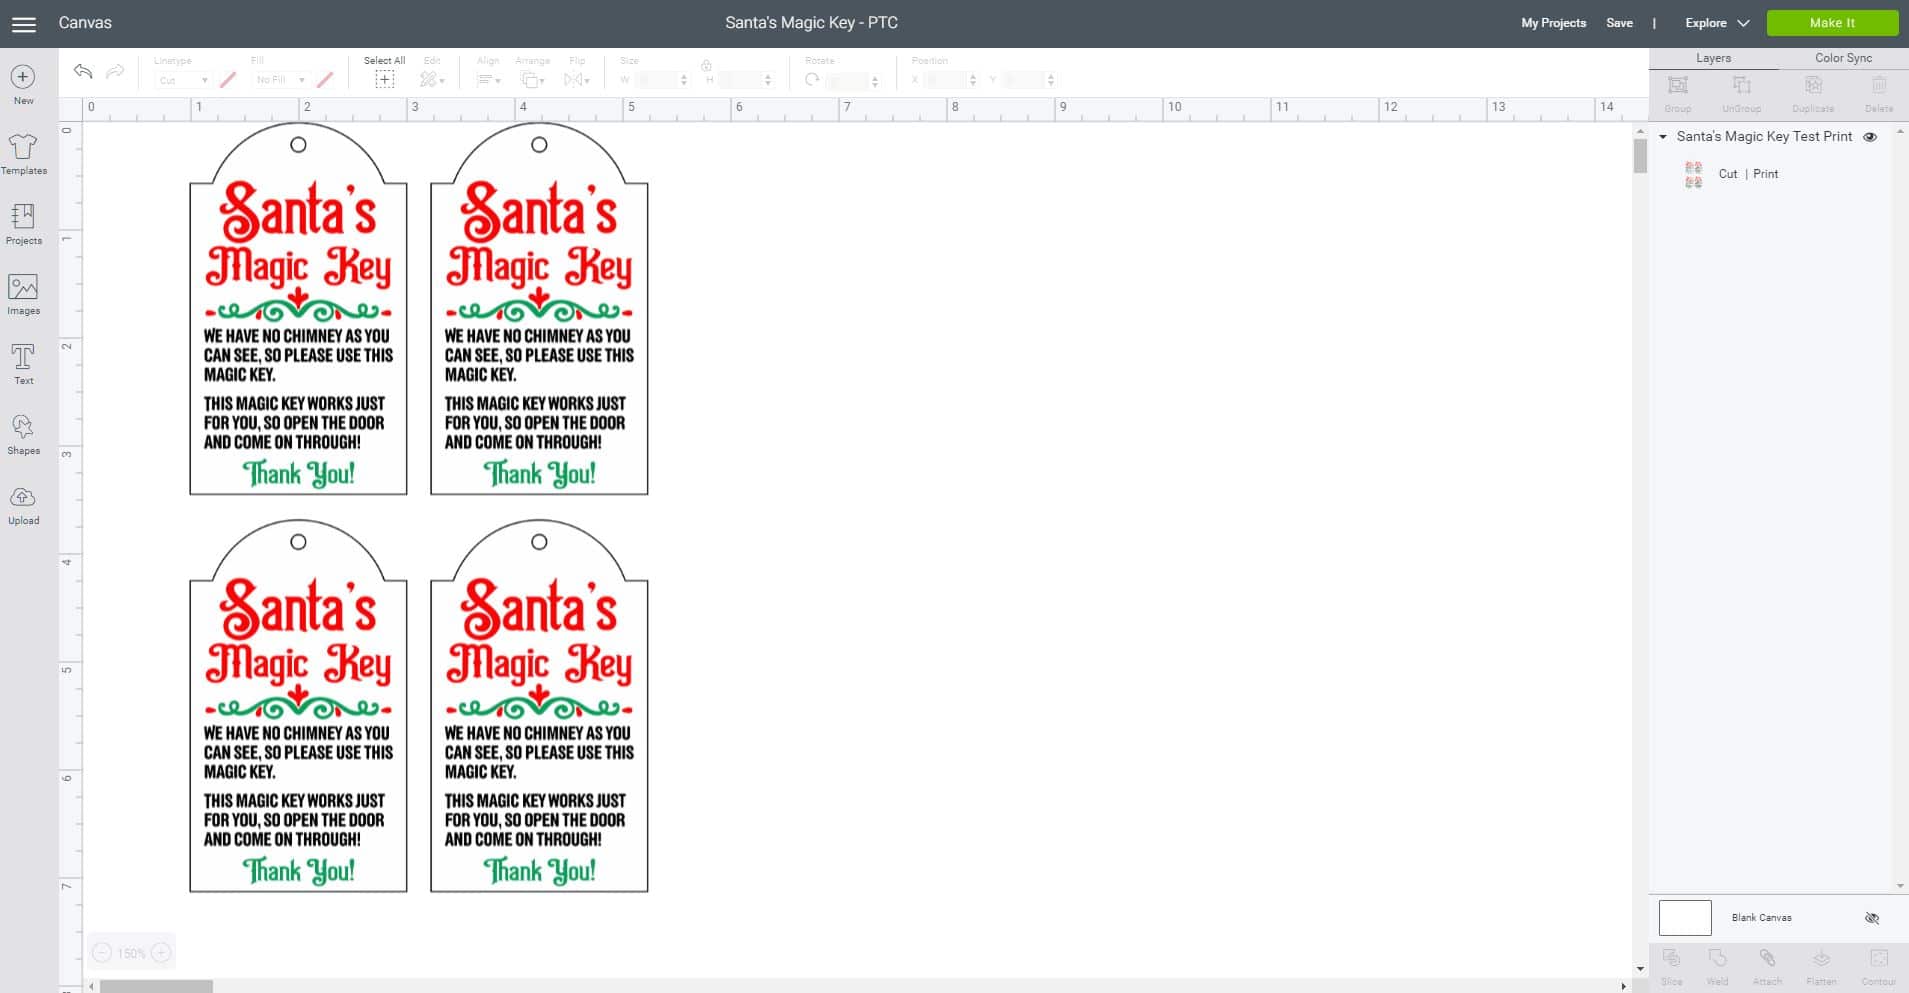
Resize the tags as needed, click the green “Make It” button in the corner of the screen, and follow the prompts to print out the tags. We recommend printing your tags on to heavy cardstock.
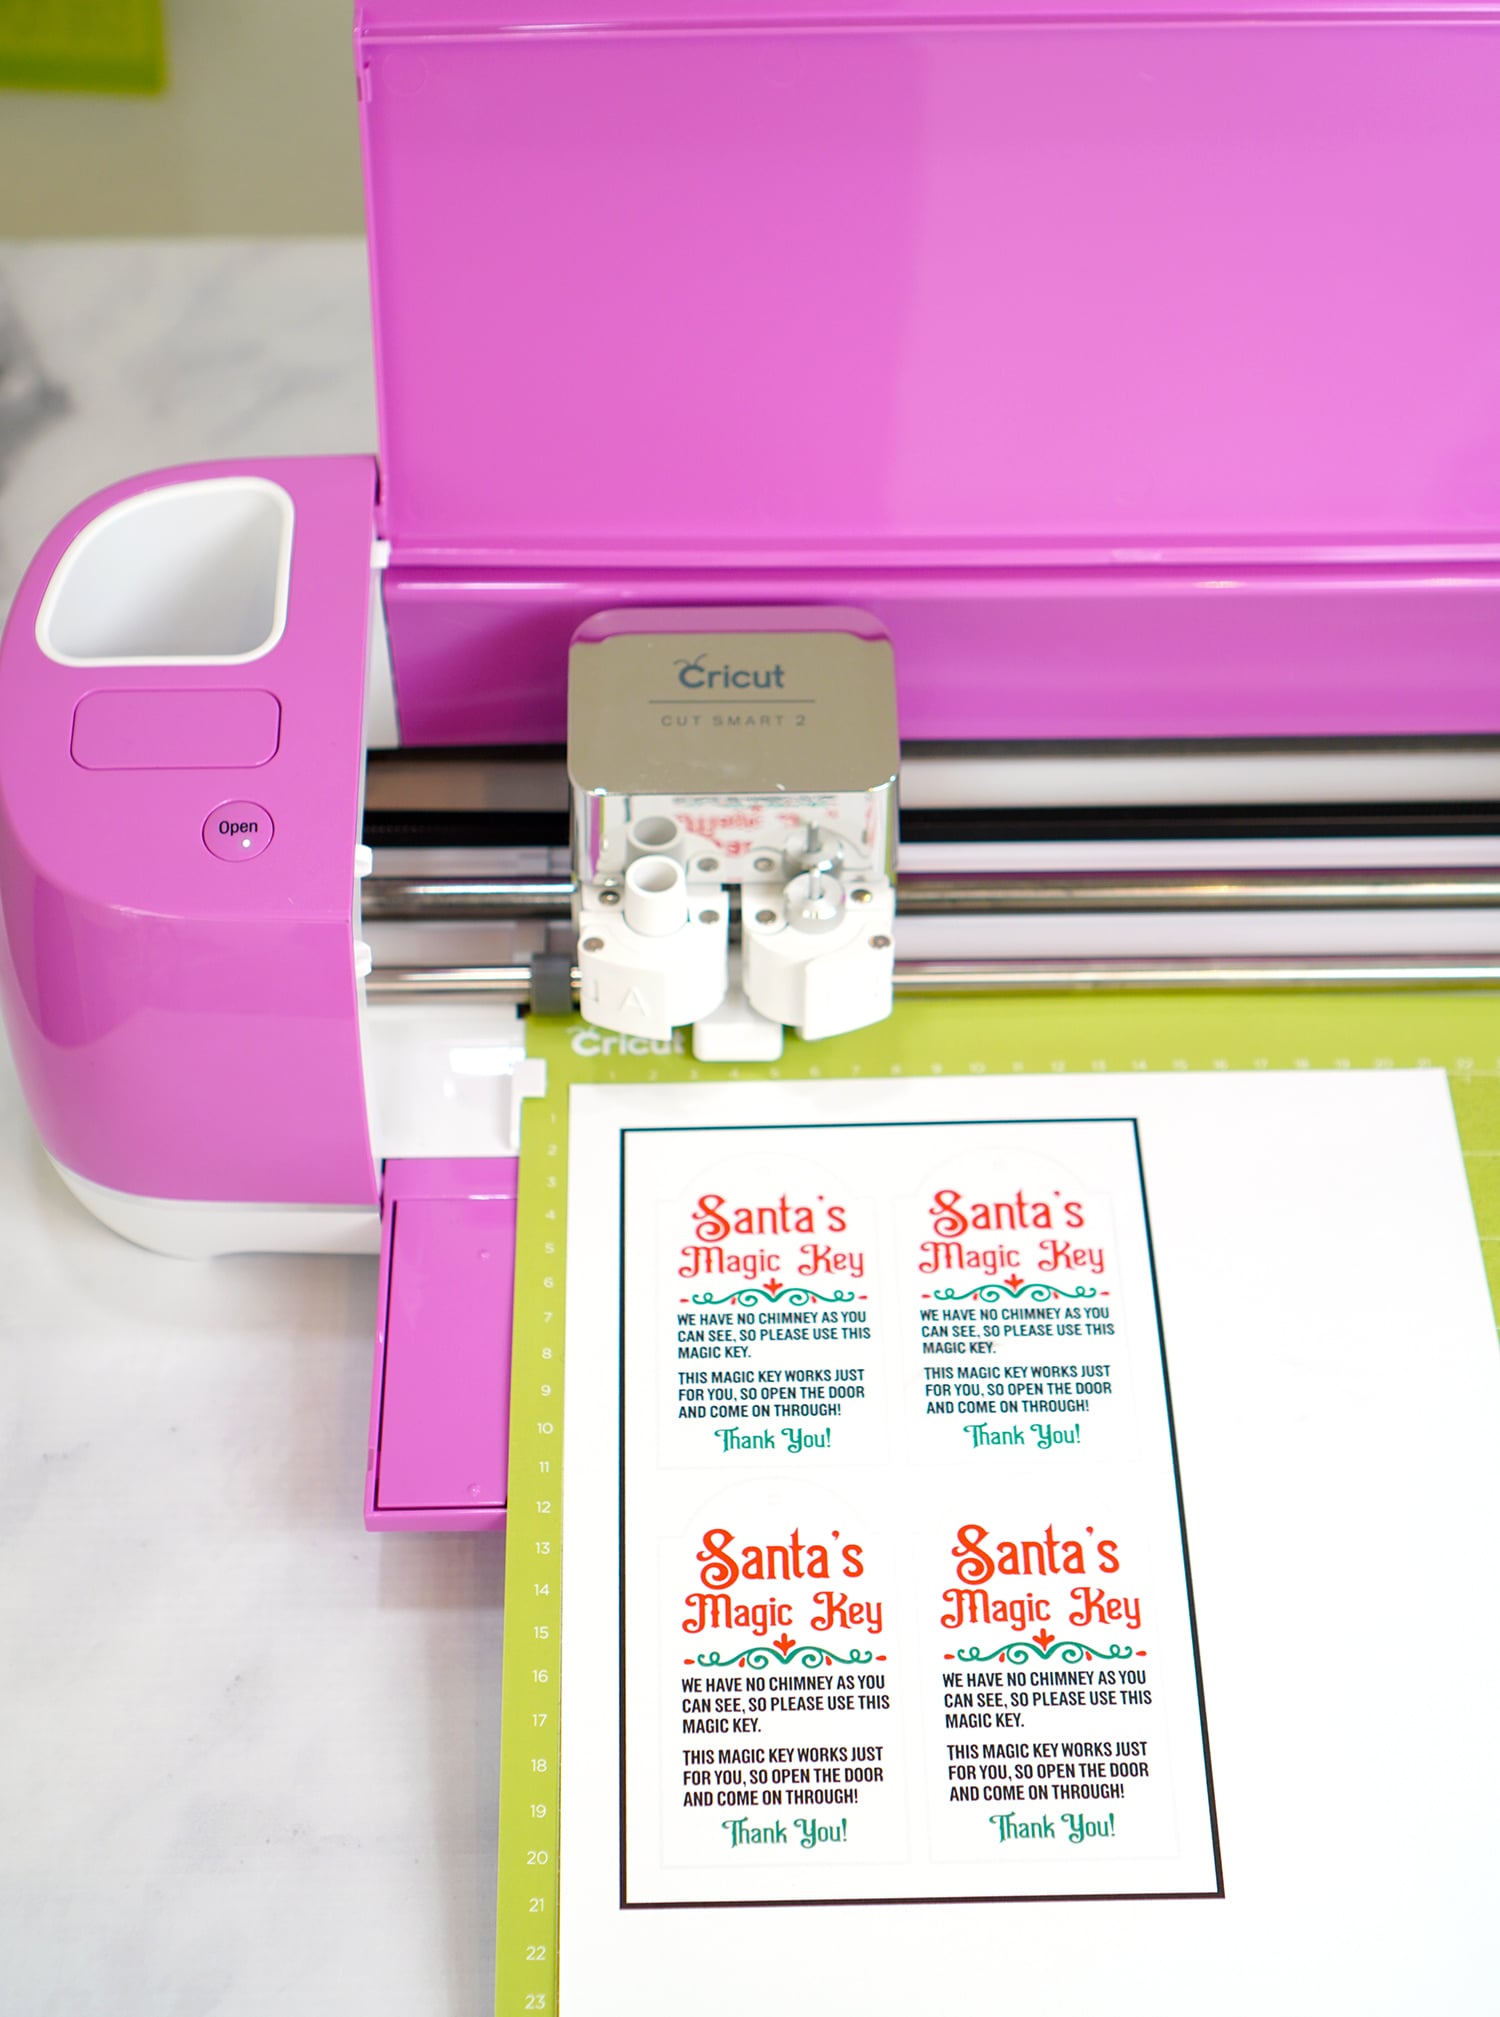
Place the printed paper on to your Cricut mat and load the mat into the machine.
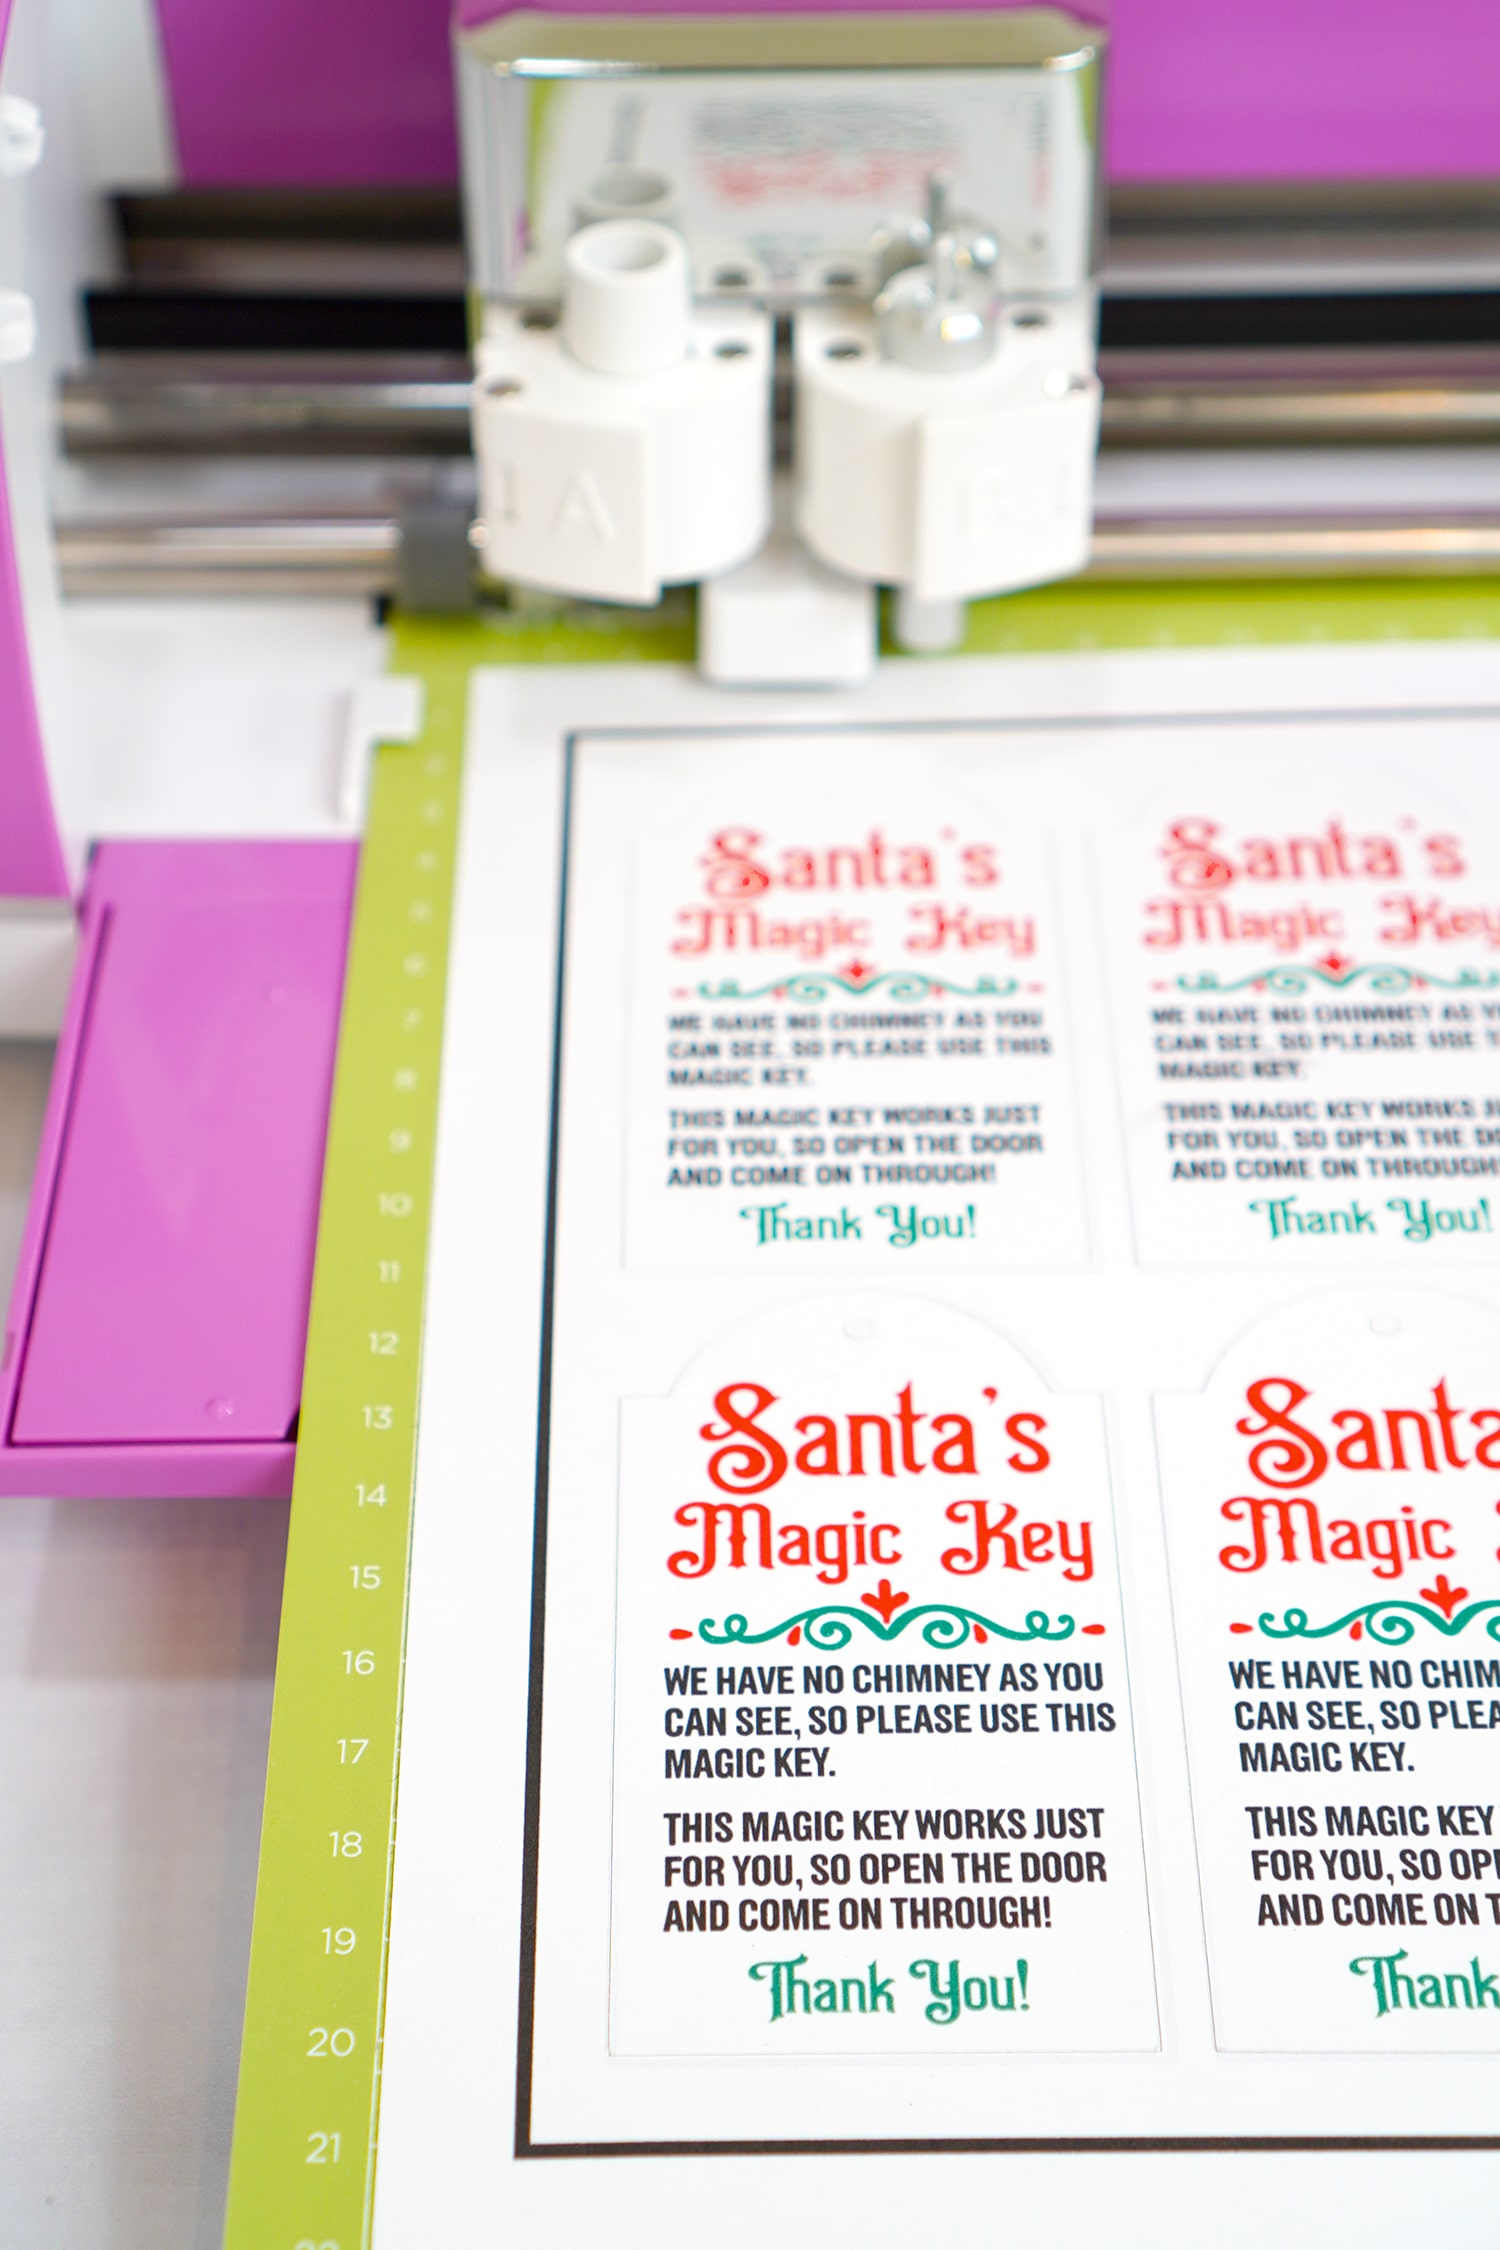
Press the flashing Cricut button on your machine, and the machine will begin precisely cutting your tags for you.
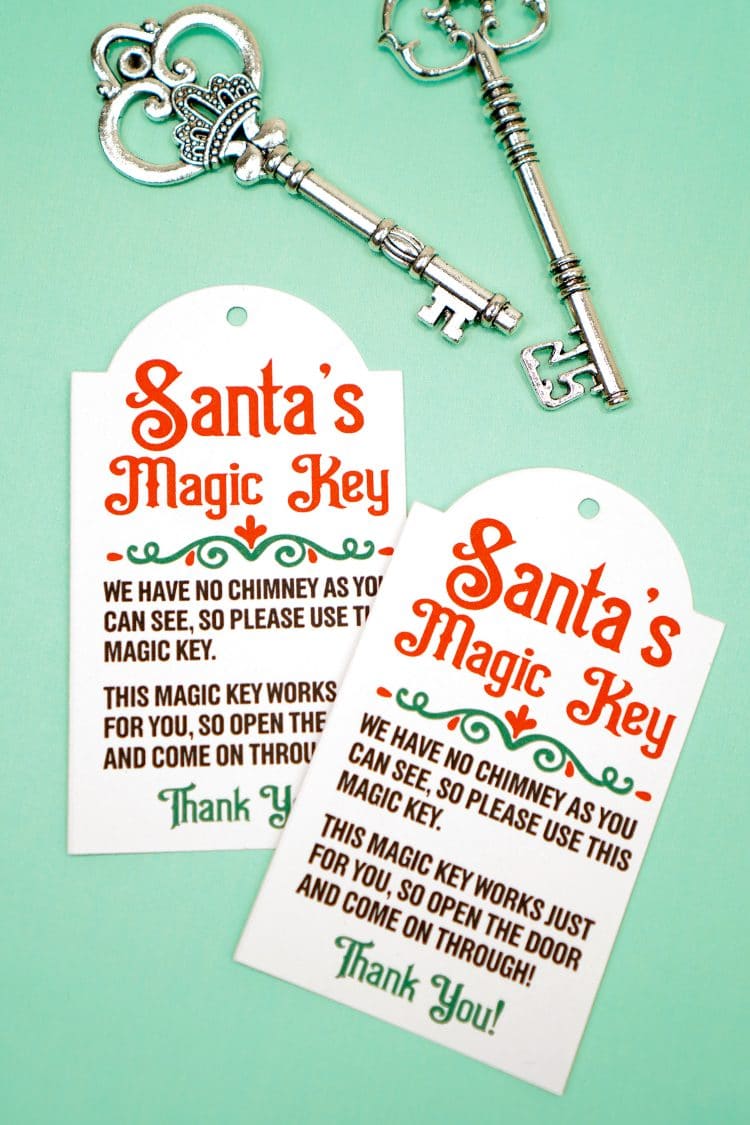
Paint a thin layer of Mod Podge on to the wood (or chipboard) tags, and place the printable tags on top. I like to use my Cricut brayer to roll on top of the layered tags to ensure that everything is firmly adhered. Allow to dry. Finish with a top coat of Mod Podge if desired.
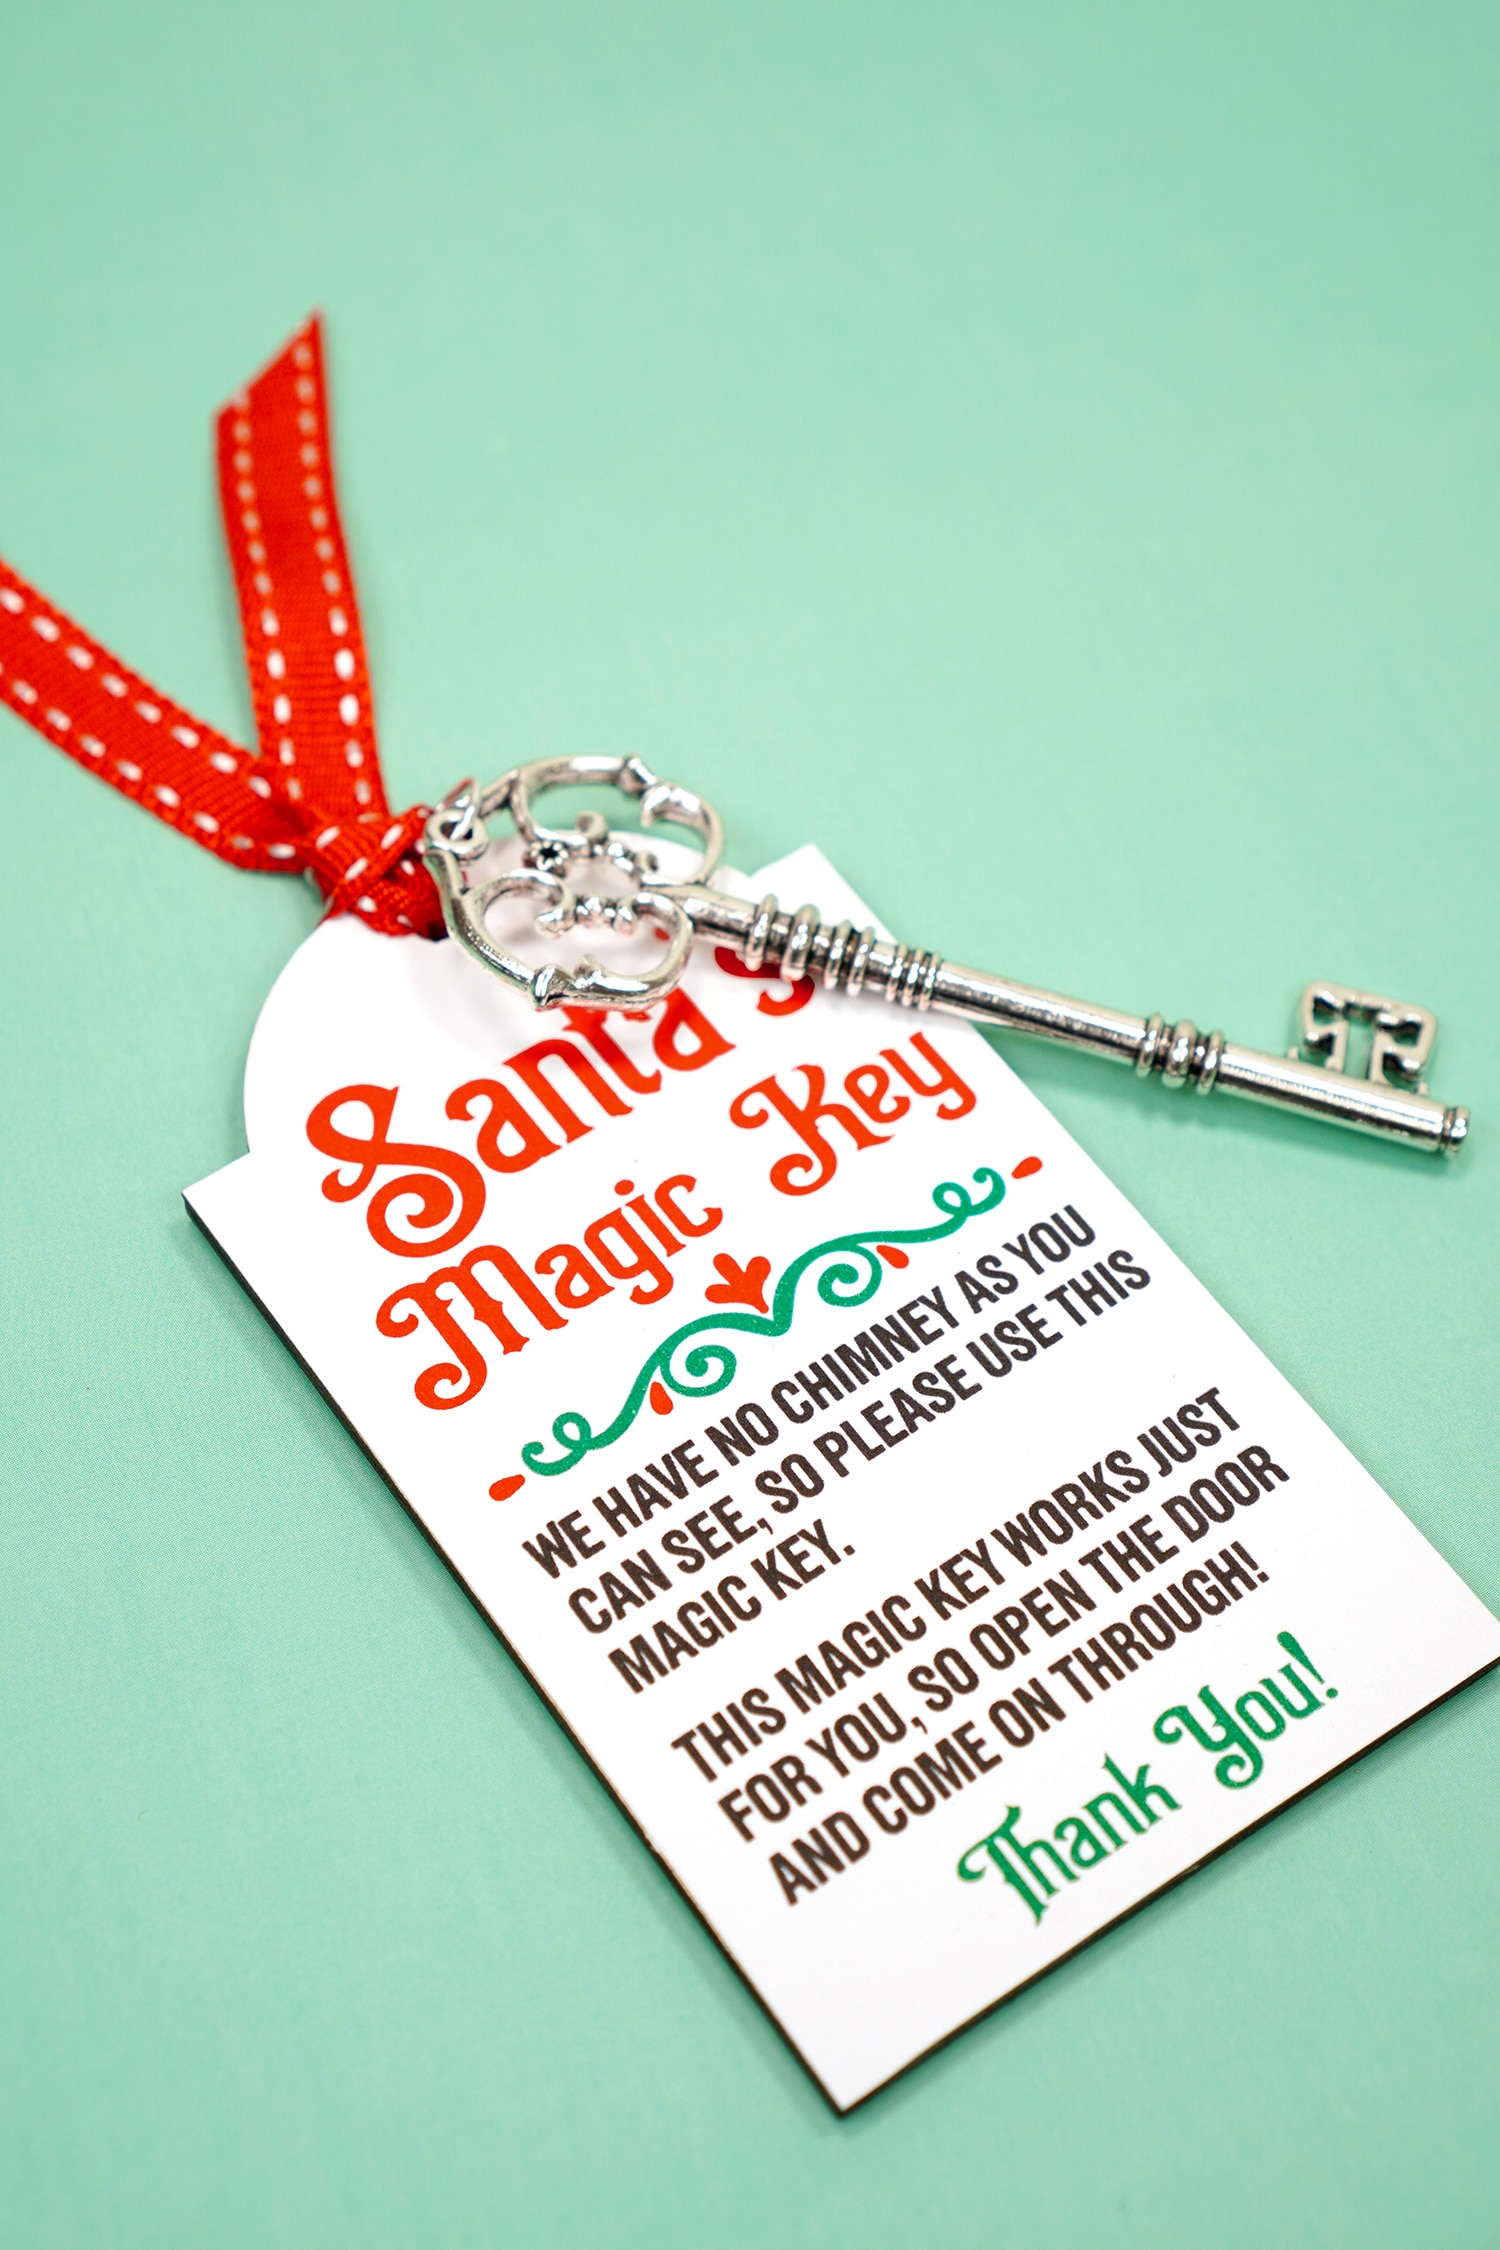
Add a ribbon and the key, and you’re all done – easy peasy! Now Santa can find his way into your chimney-less home on Christmas Eve!
(For more detailed photos of how I tied the ribbon and attached the key, scroll down to the next section!)
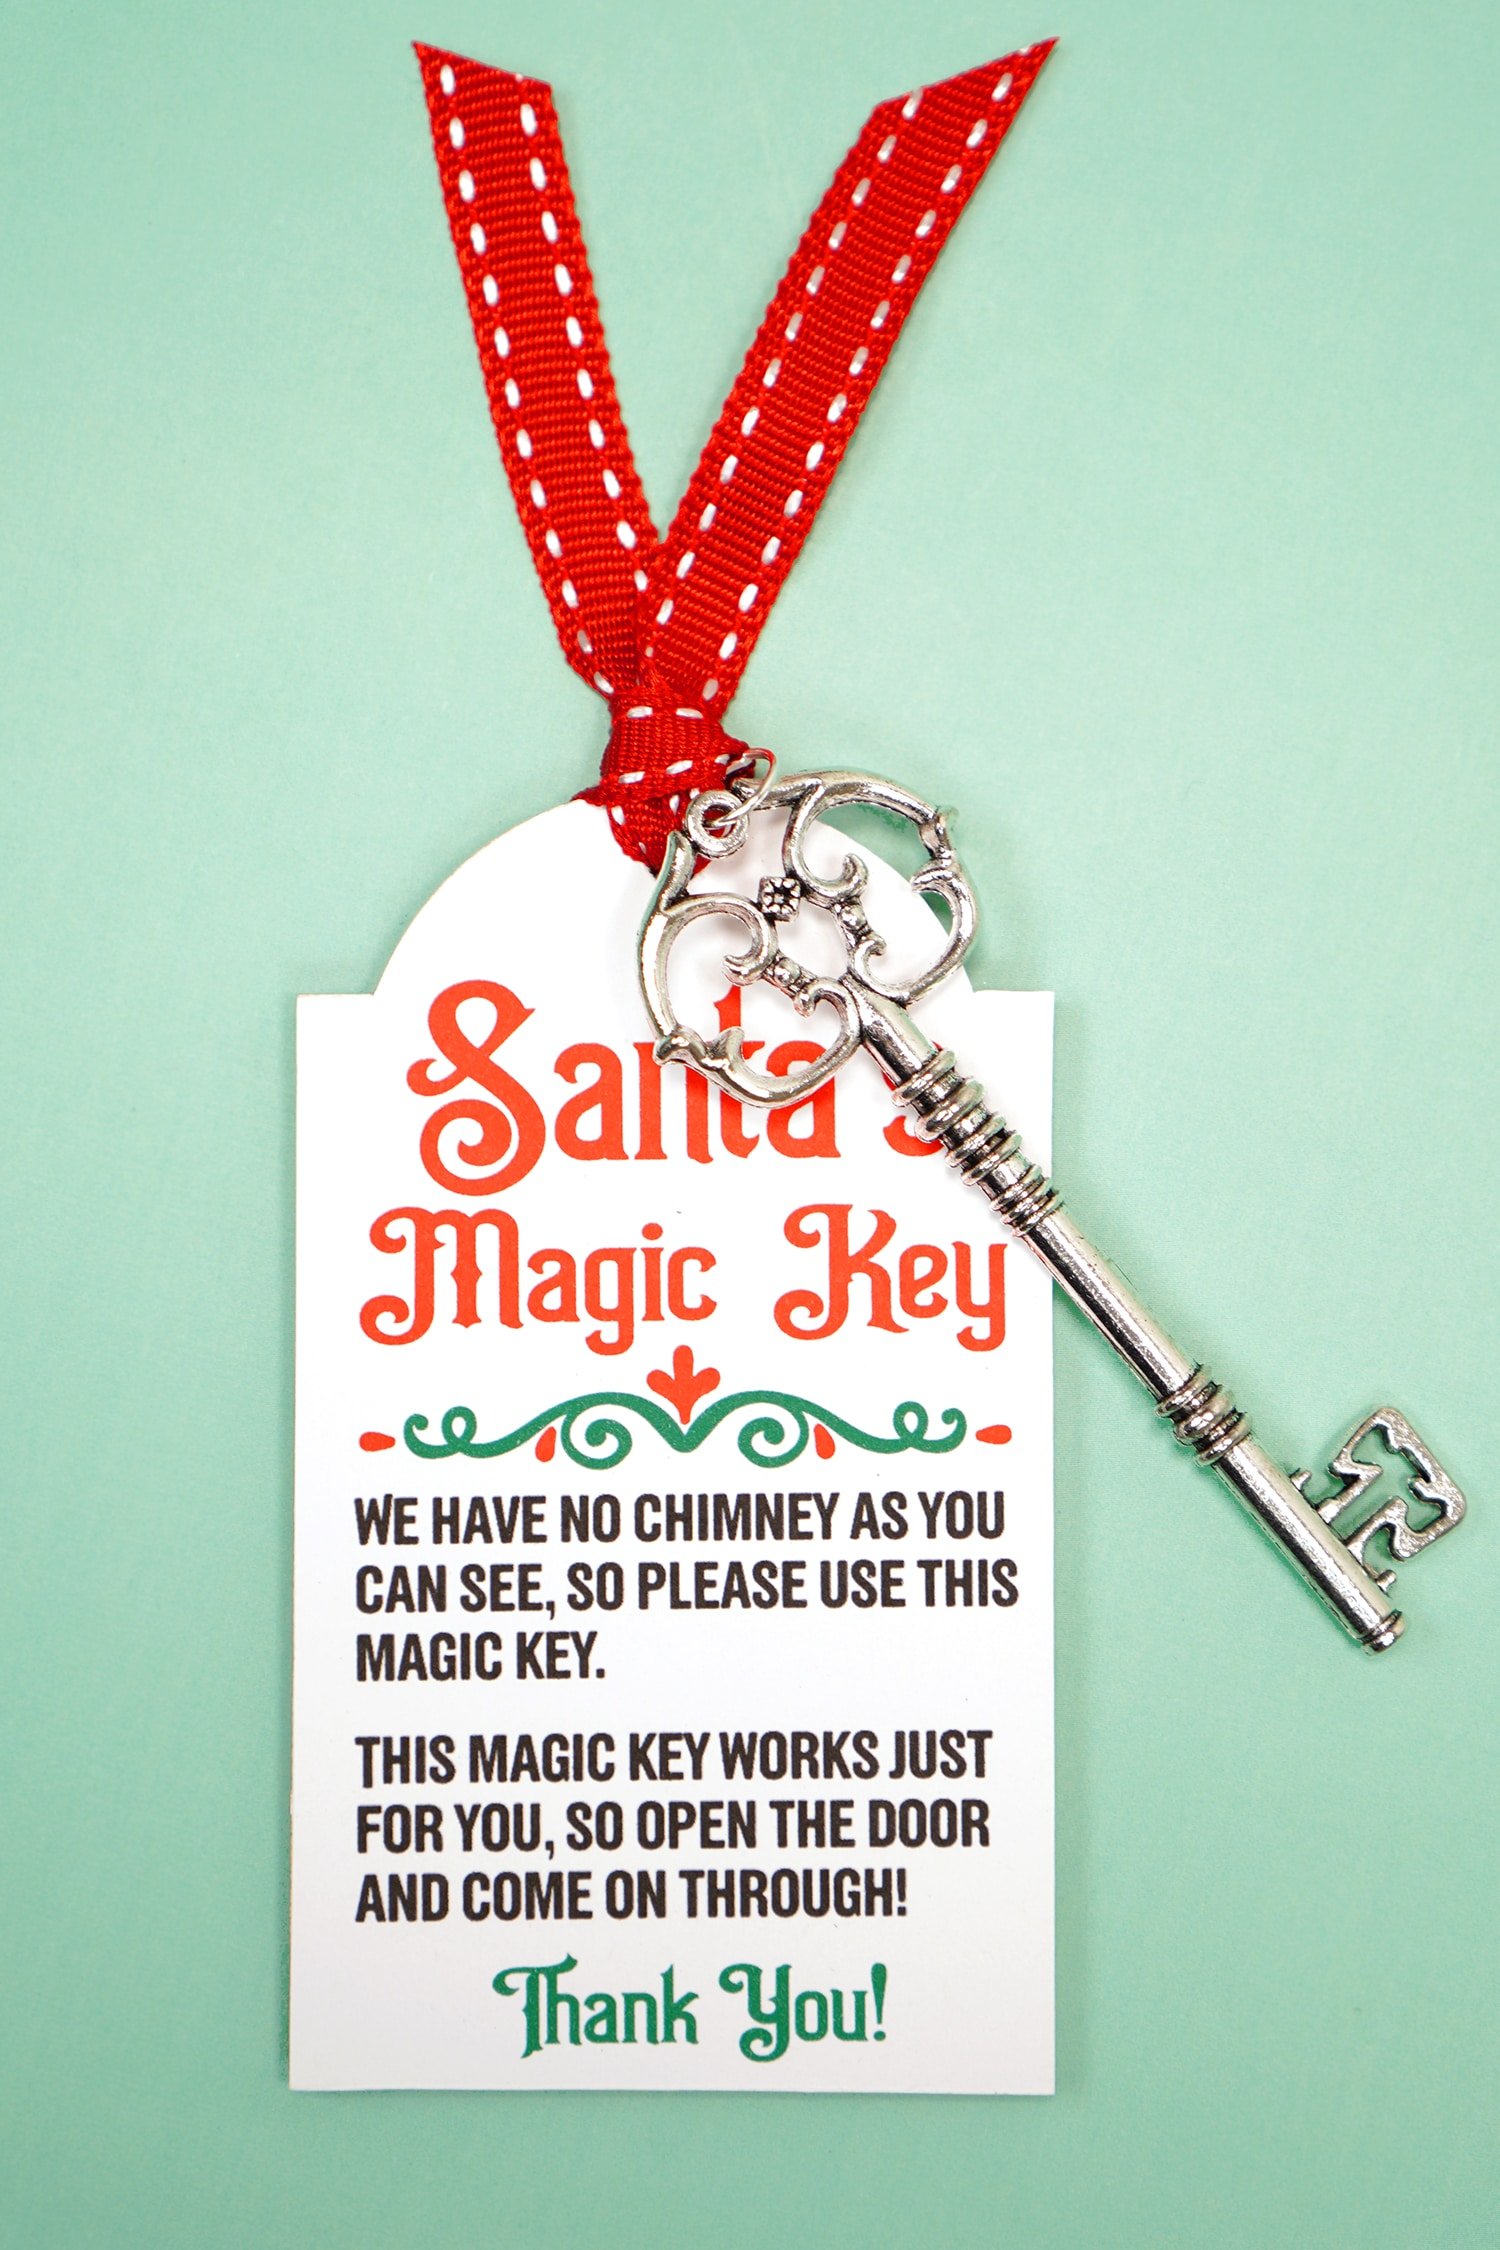
Get the Santa’s Magic Key Printable Here
This file is Printabled File #119 in our Freebie Library! Get the password to our Freebie Library by signing up for our Email Club in the form below! If you are already a club member with the password, hop on over to the Freebie Library to download the file now!
All free downloads from Happiness is Homemade are for PERSONAL and CLASSROOM USE ONLY. You MAY NOT share, distribute, sell, or use these files for commercial purposes, including print-on-demand. Commercial licenses for SVG and PNG Crafting Files may be purchased in the Happiness is Homemade Shop. Please read our full license terms here.
Download Trouble?
Can’t find the download form? Having trouble with the file? Check out our Digital Downloads FAQ page for answers to the most common troubleshooting questions!
How to Make Engraved Santa’s Magic Key Tags
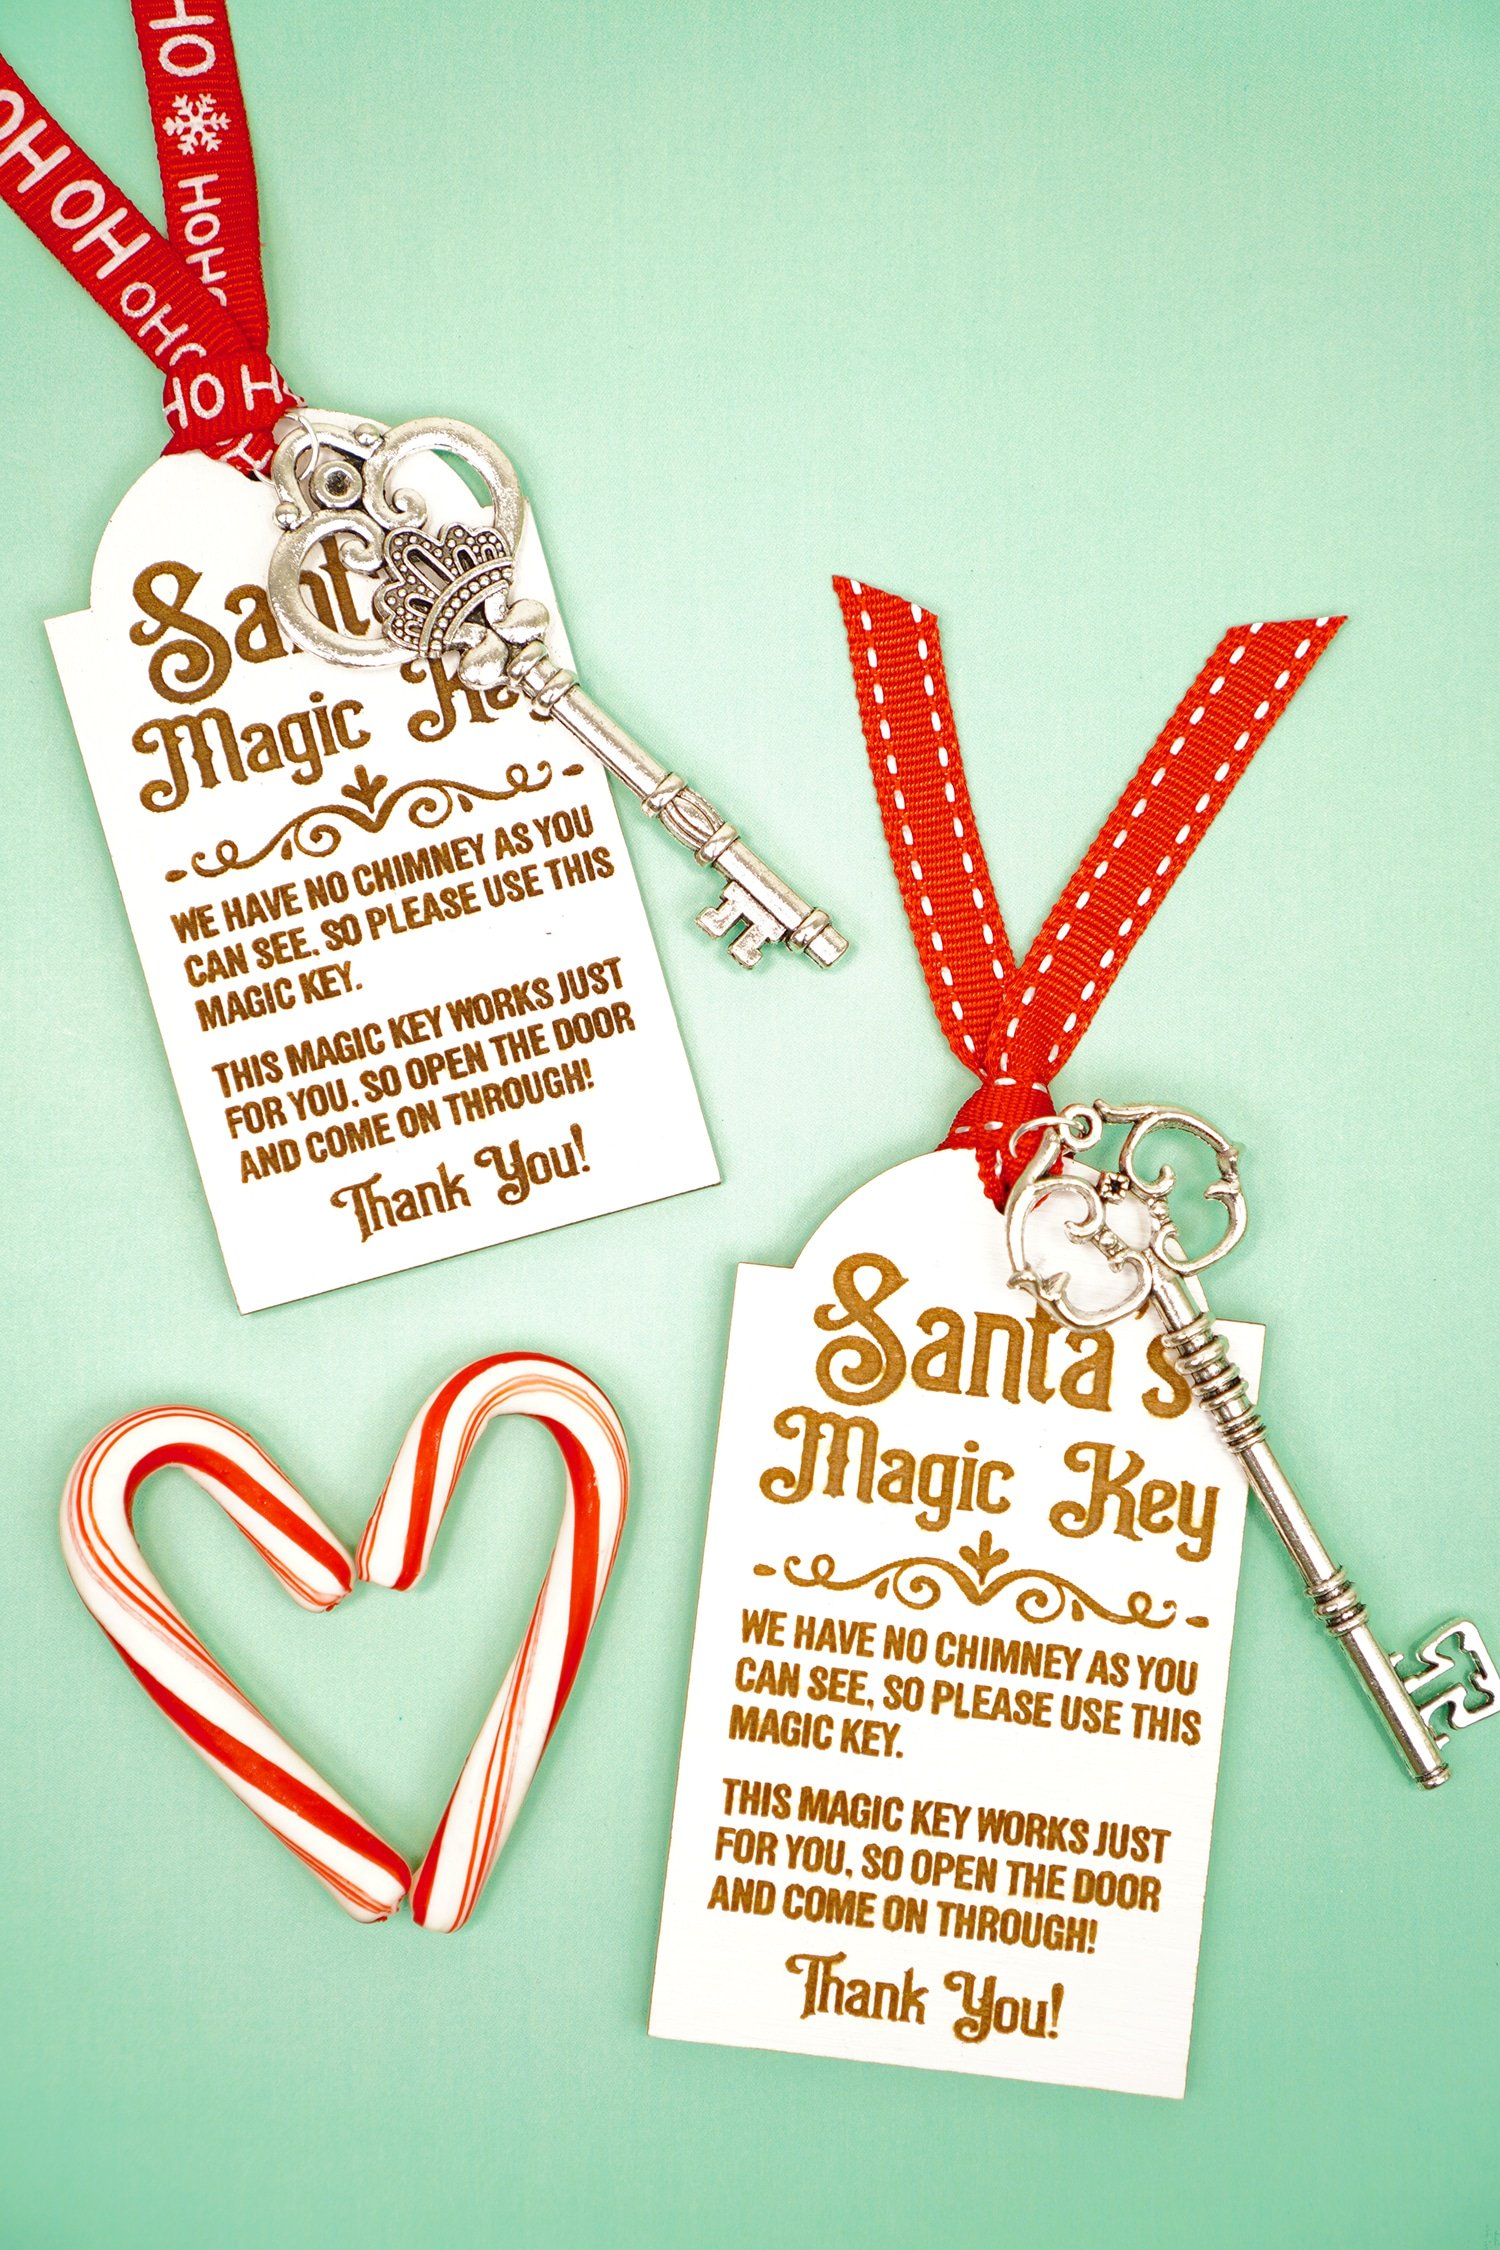
With the Santa’s Magic Key SVG File + Glowforge
Supplies Needed:
- Santa’s Magic Key SVG File (available below)
- Glowforge Machine (Basic, Plus, or Pro)
- 1/8″ thick Baltic Birch (or pre-cut wood tags)
- Masking Tape/Paper Transfer Tape
- 3/8″ Grosgrain Ribbon
- Decorative Metal Keys
- 10mm Jump Rings & Jewelry Pliers (optional)
- Acrylic Craft Paint (optional)
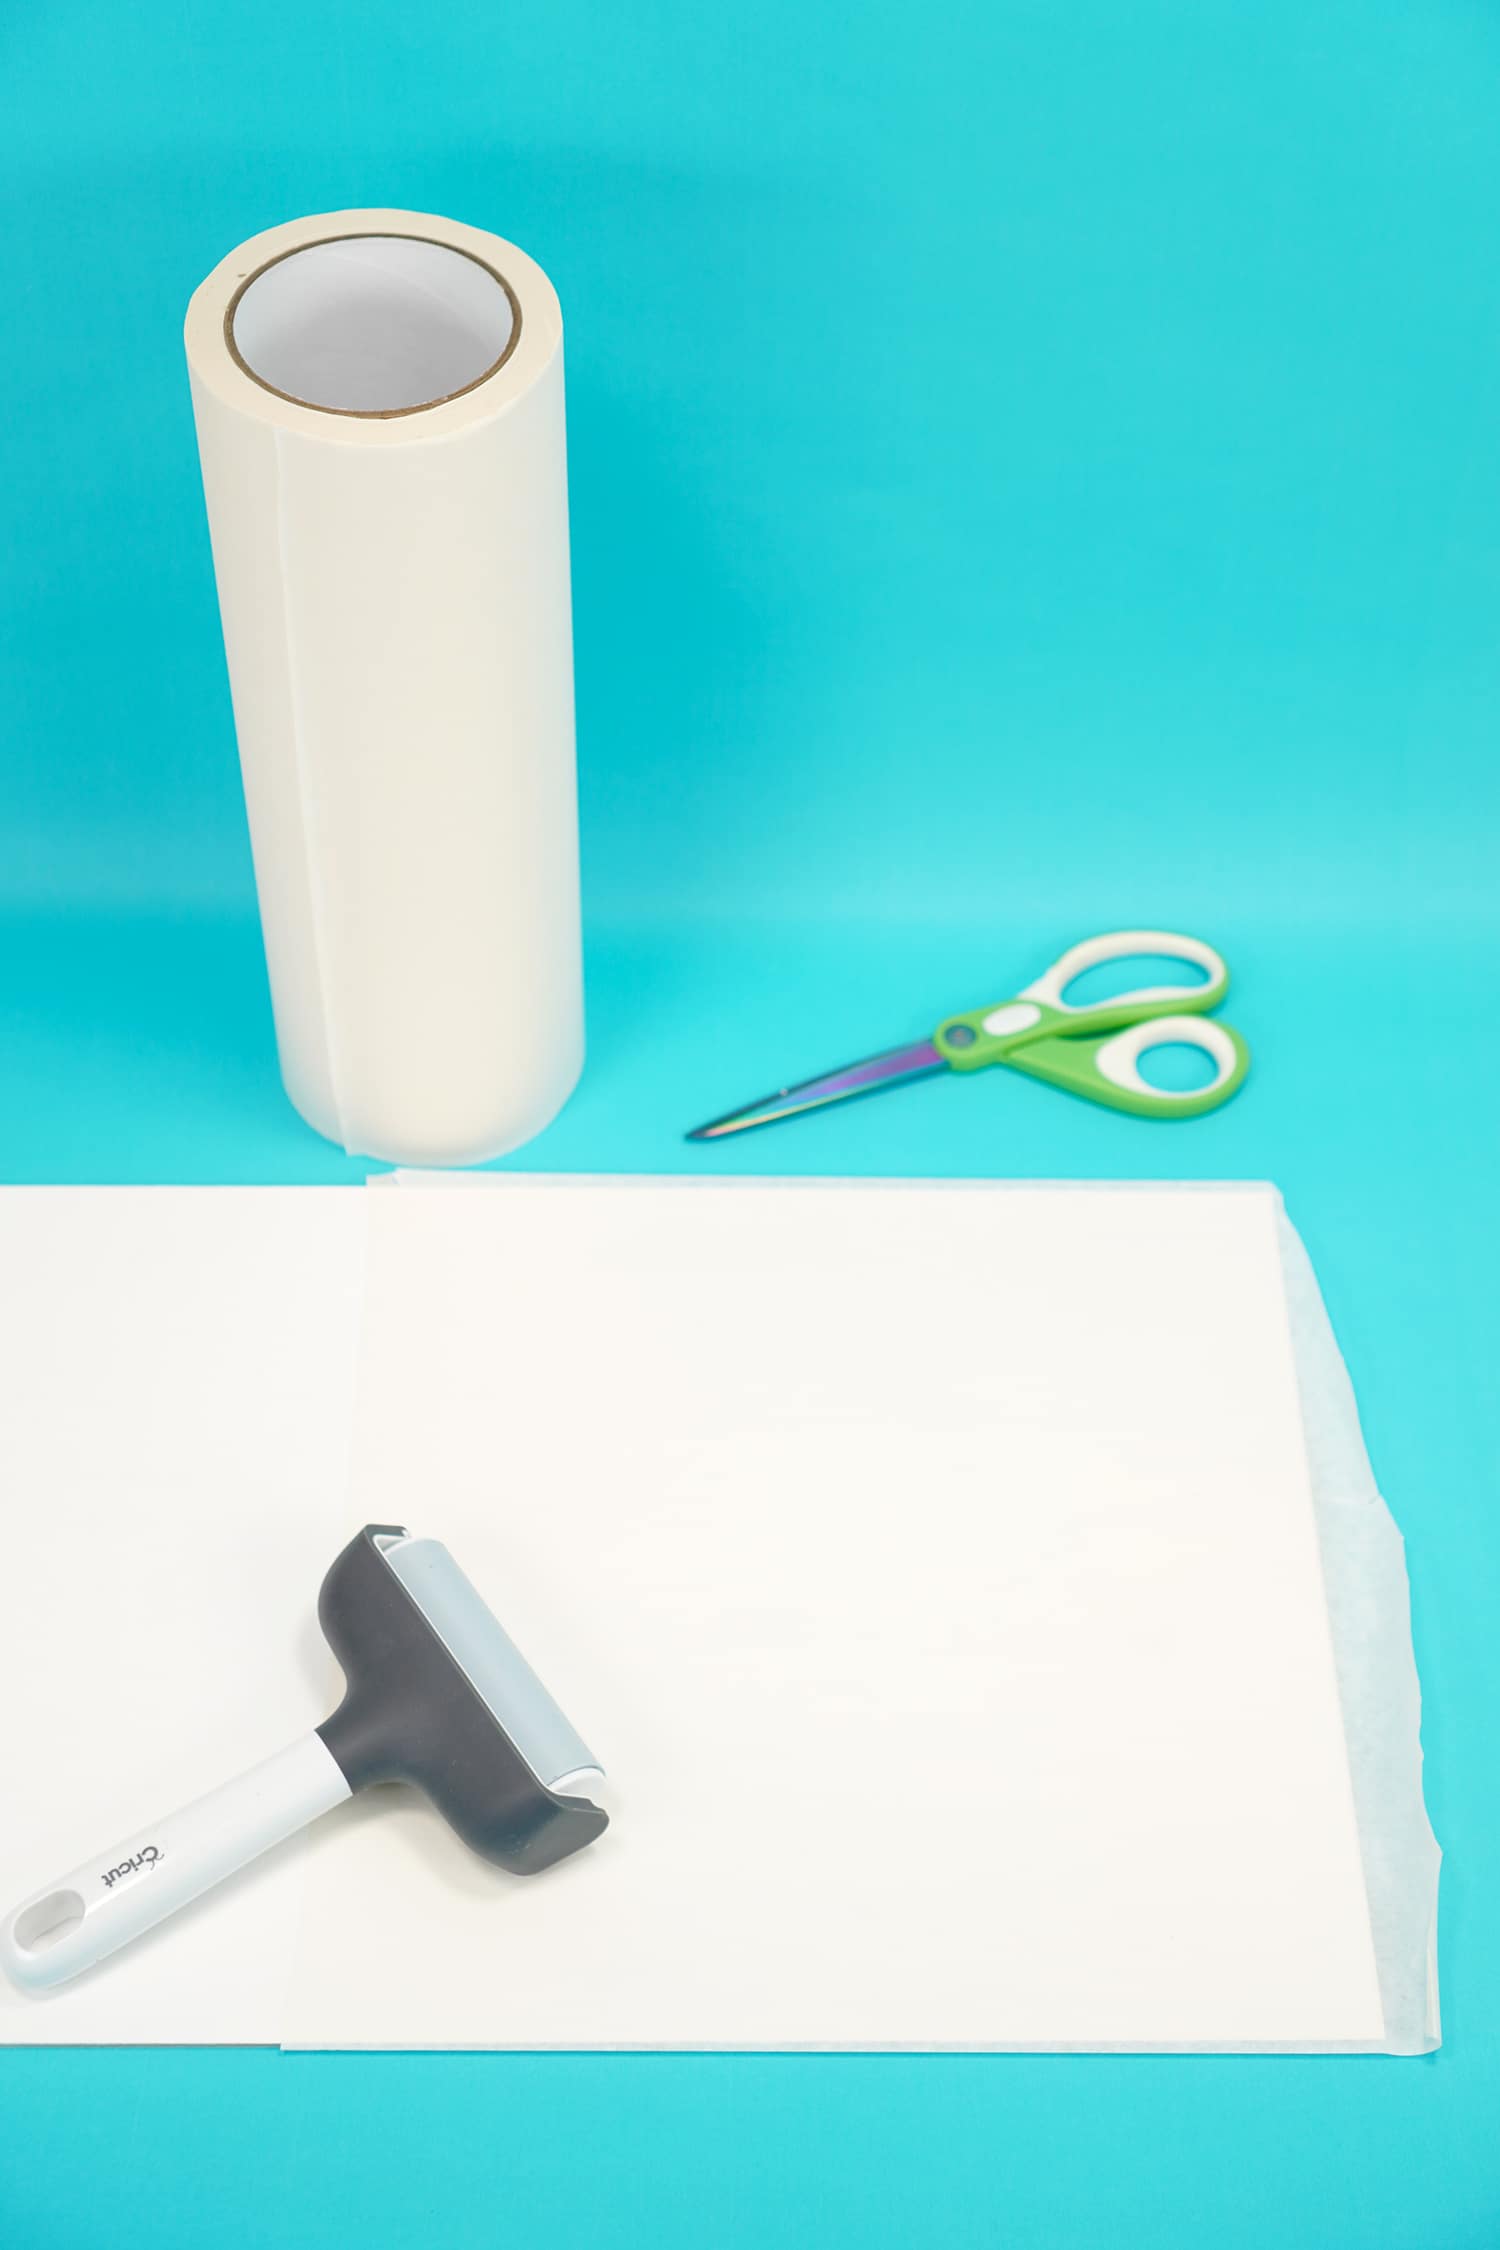
Begin by painting your board if desired and allowing it to dry completely. When dry, use the masking/transfer tape to cover both sides of the board, front and back. I like to use my brayer to make sure the masking tape is thoroughly adhered to the wood.
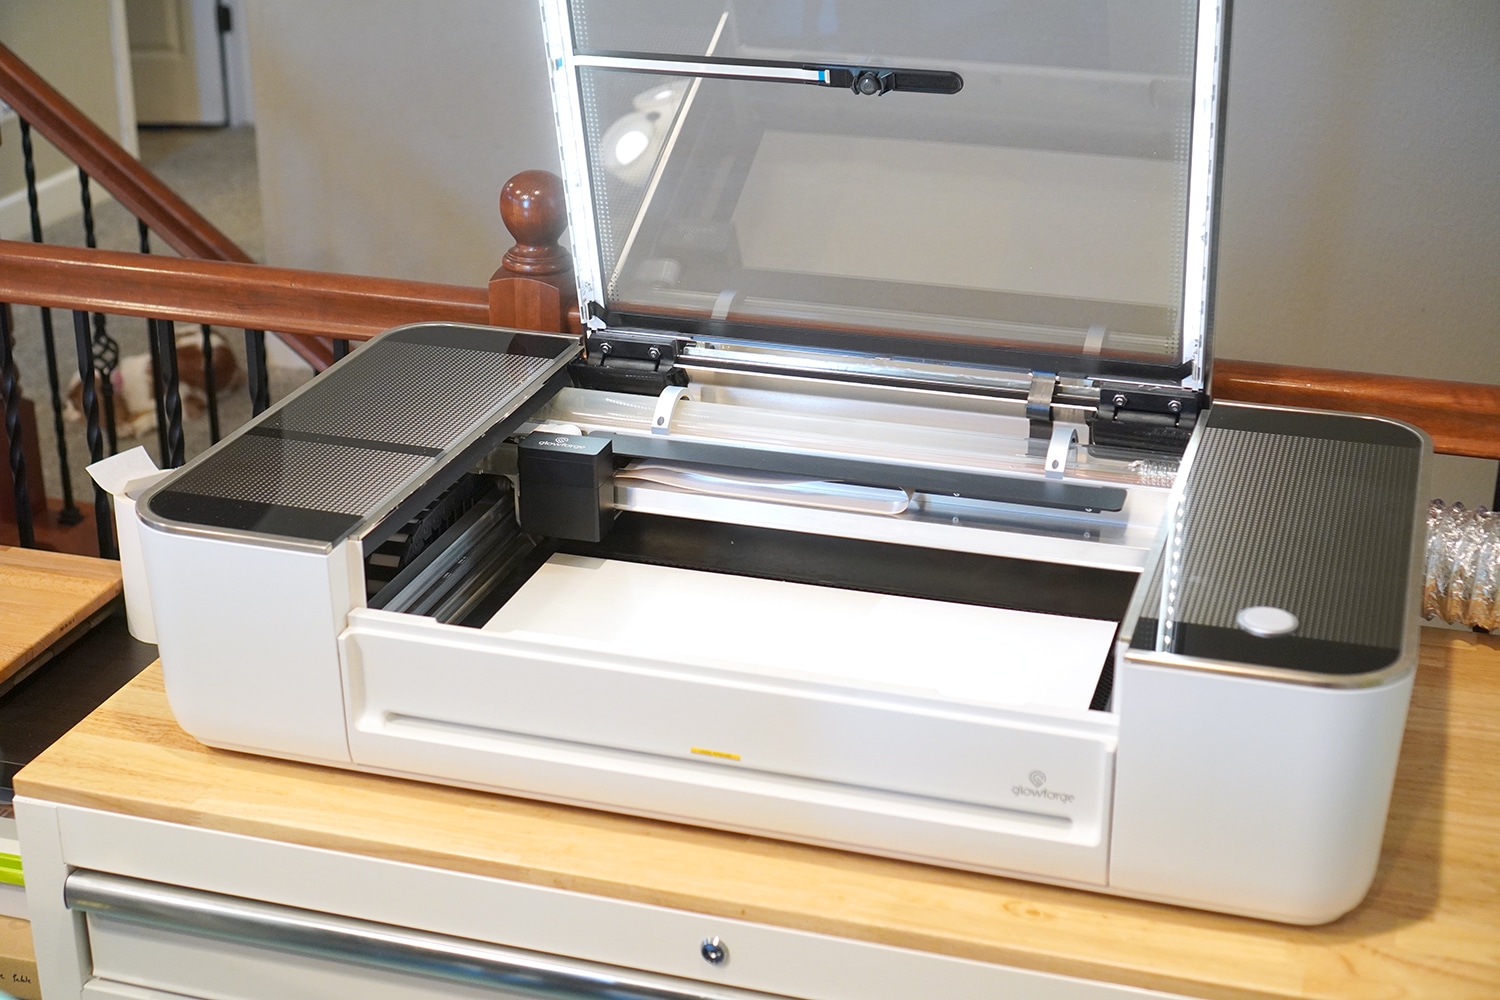
Turn on your Glowforge machine and air filter (if using a filter vs a window vent) and place the masked wood into the machine on top of the crumb tray.
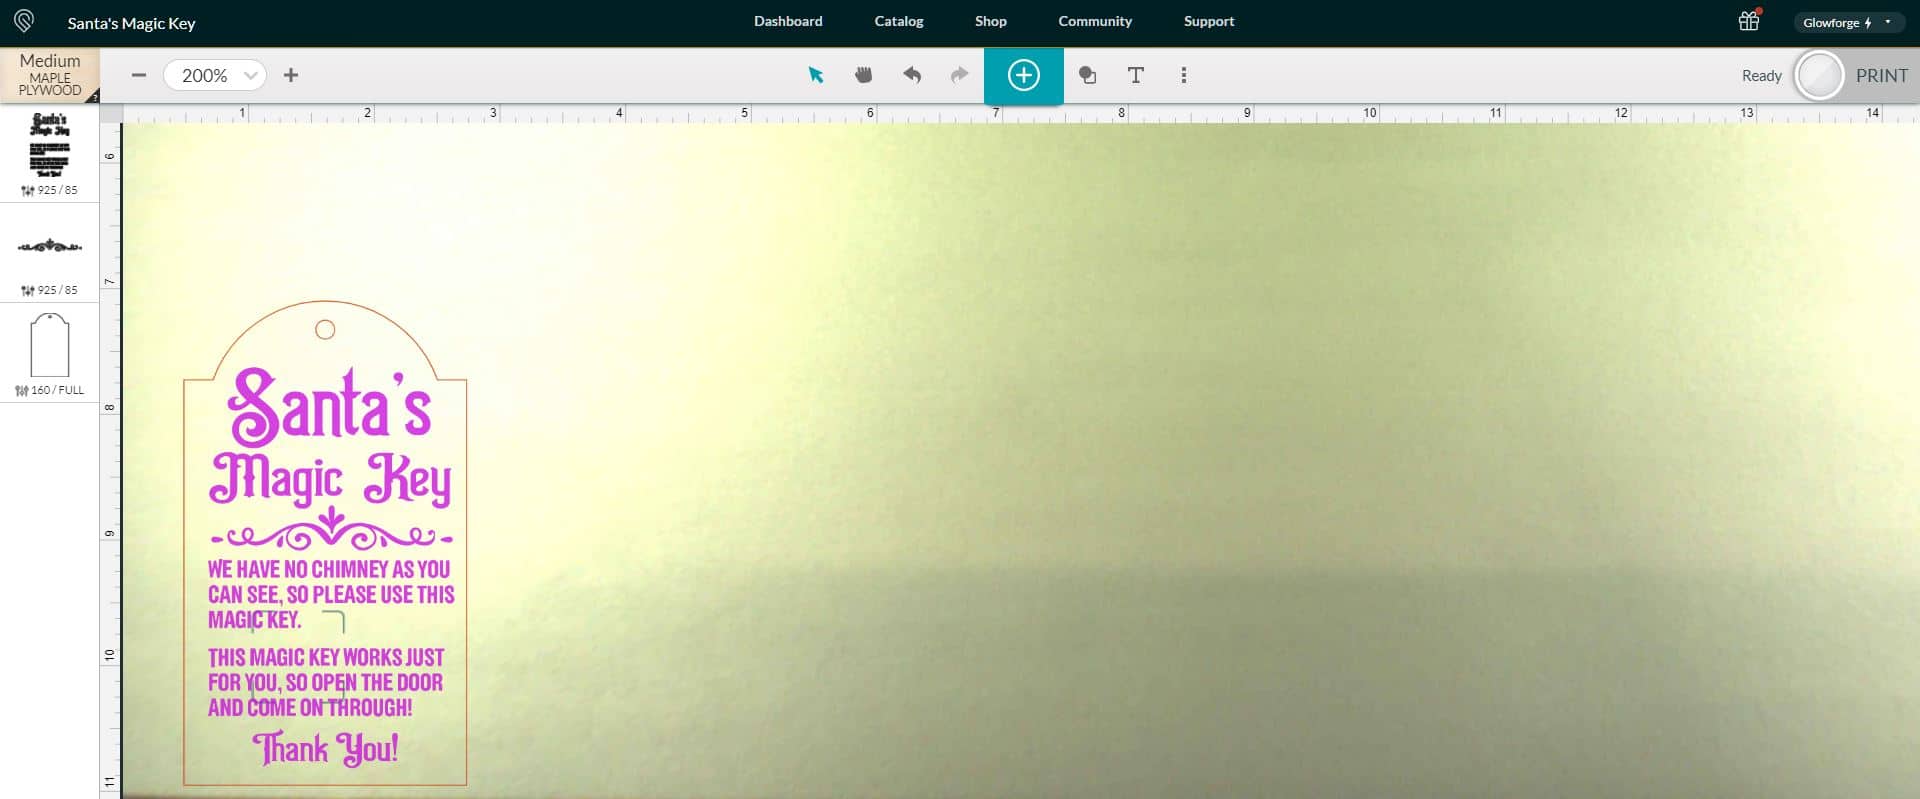
Open up the Glowforge App software on your computer and upload the SVG file by clicking the large teal “+” in the center of the screen. I selected “Medium Maple Plywood” as my material since it is similar to the Baltic Birch and adjusted my settings as needed.
For this tag, I engraved with 925 speed, 85 power, and 270 LPI; for cutting, I used 160 speed and full power (on a Glowforge Pro).
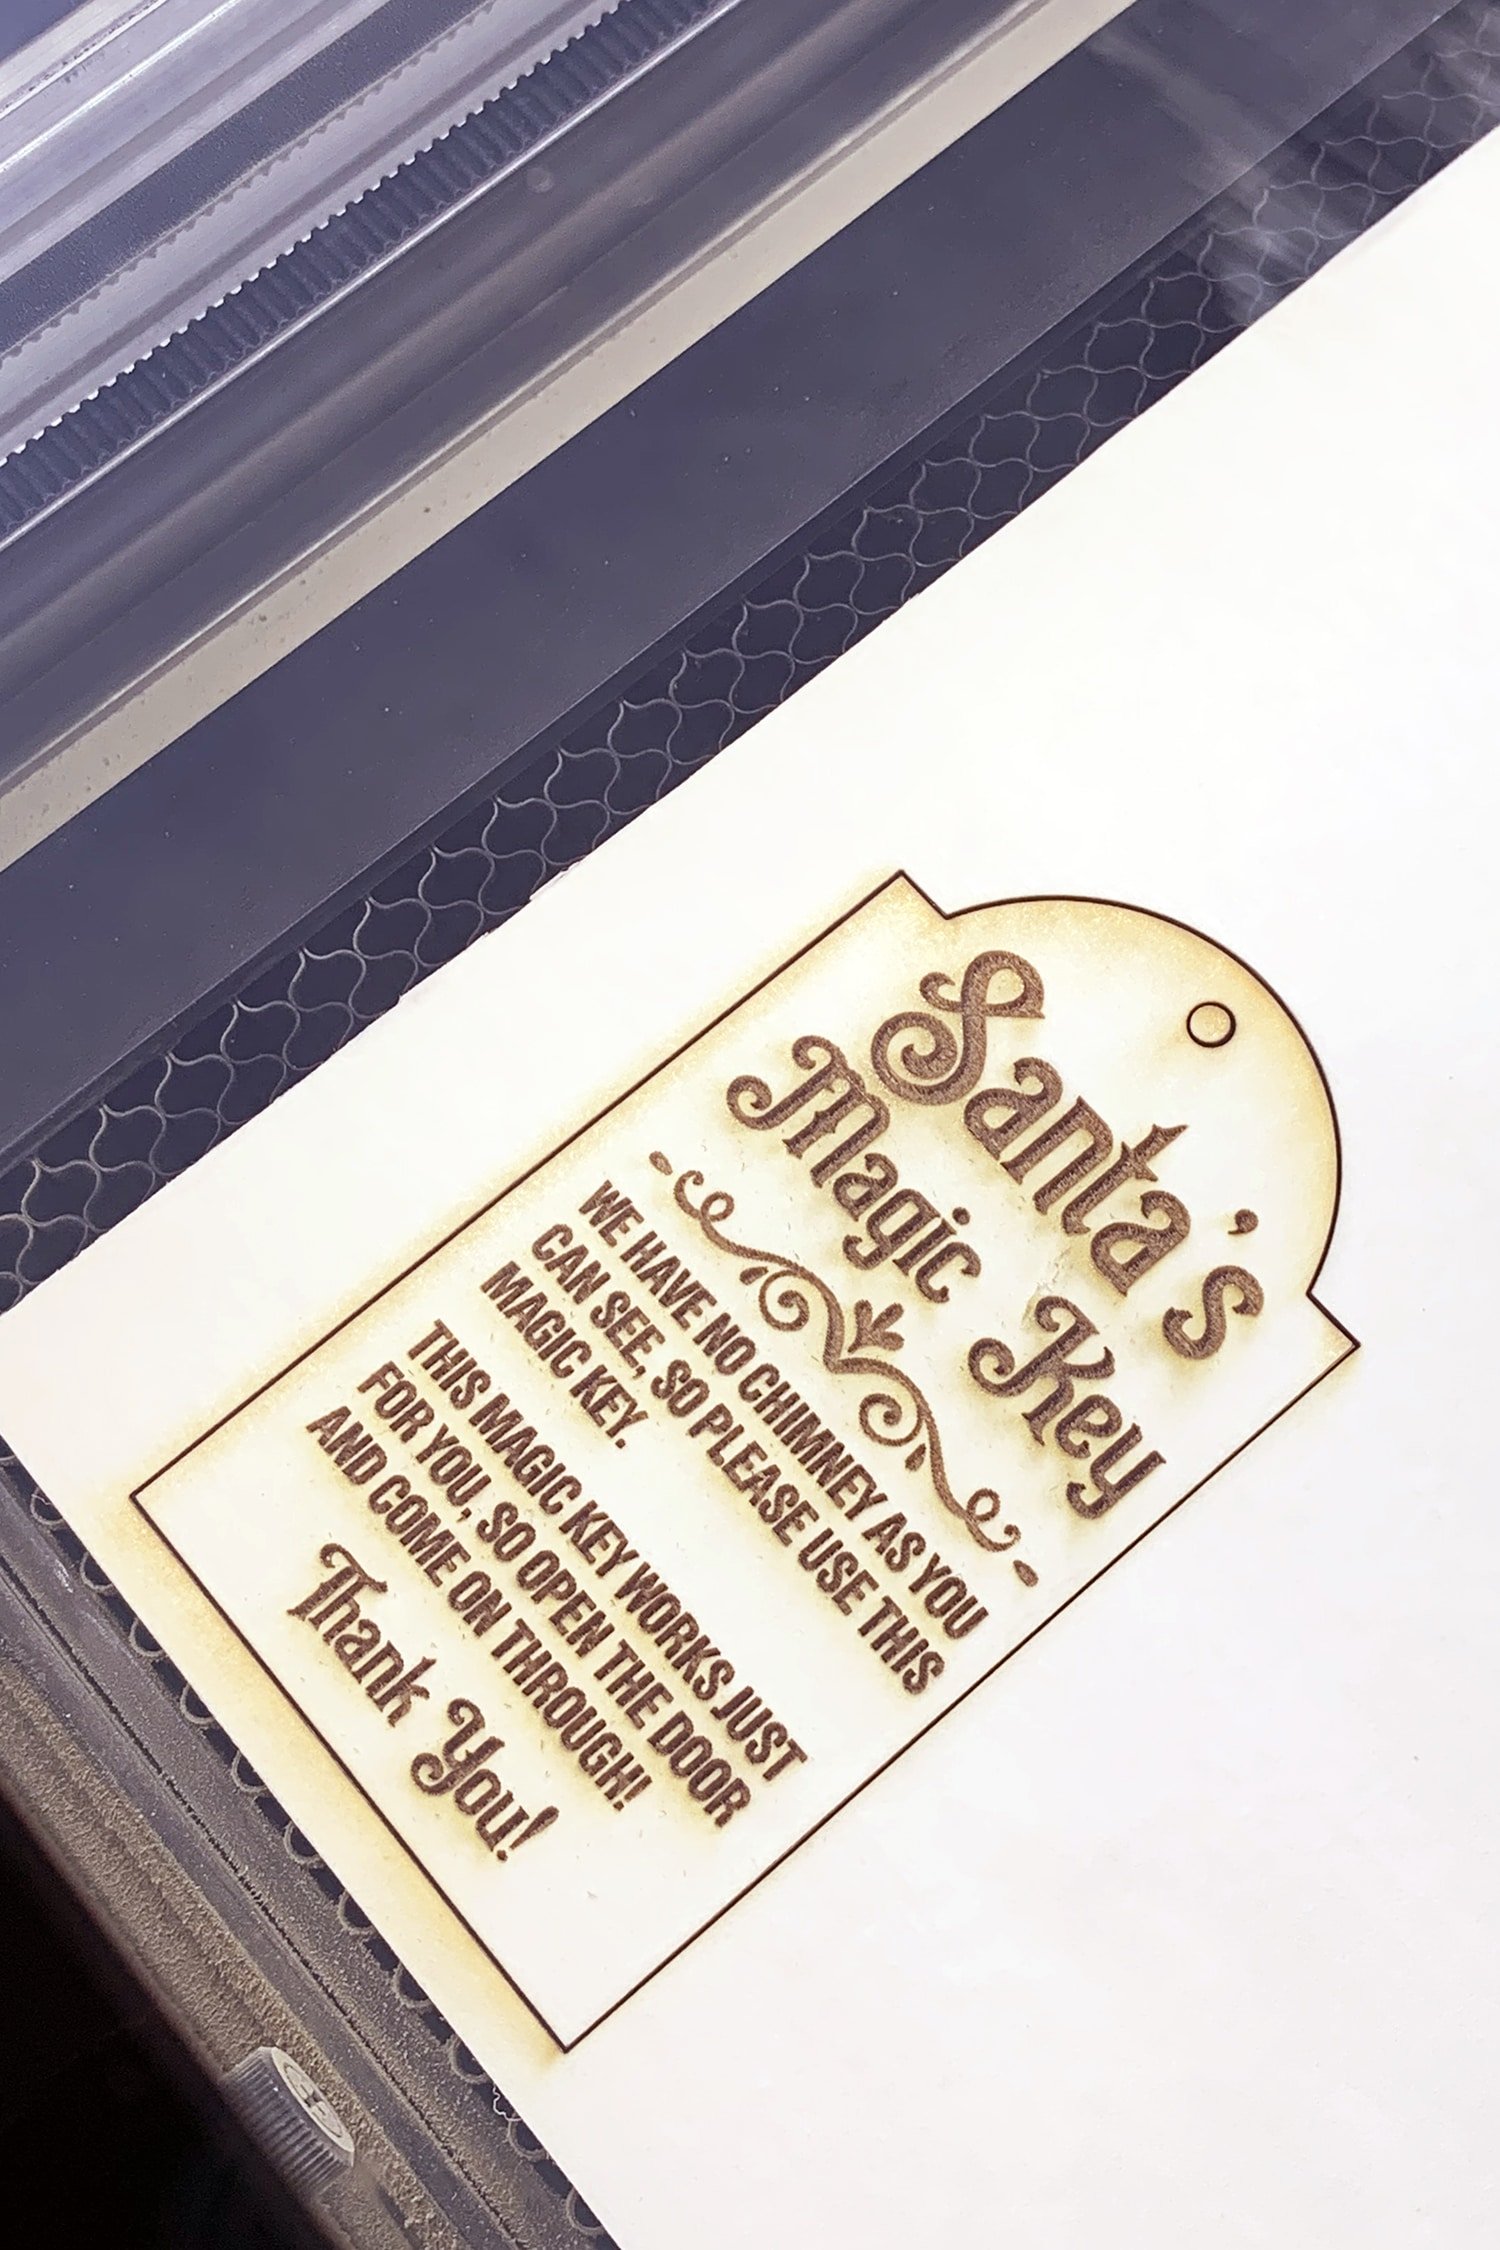
When the cutting and engraving is complete, wait for the flashing light on the Glowforge to go off, and then open the lid to remove the tag and the leftover wood piece.
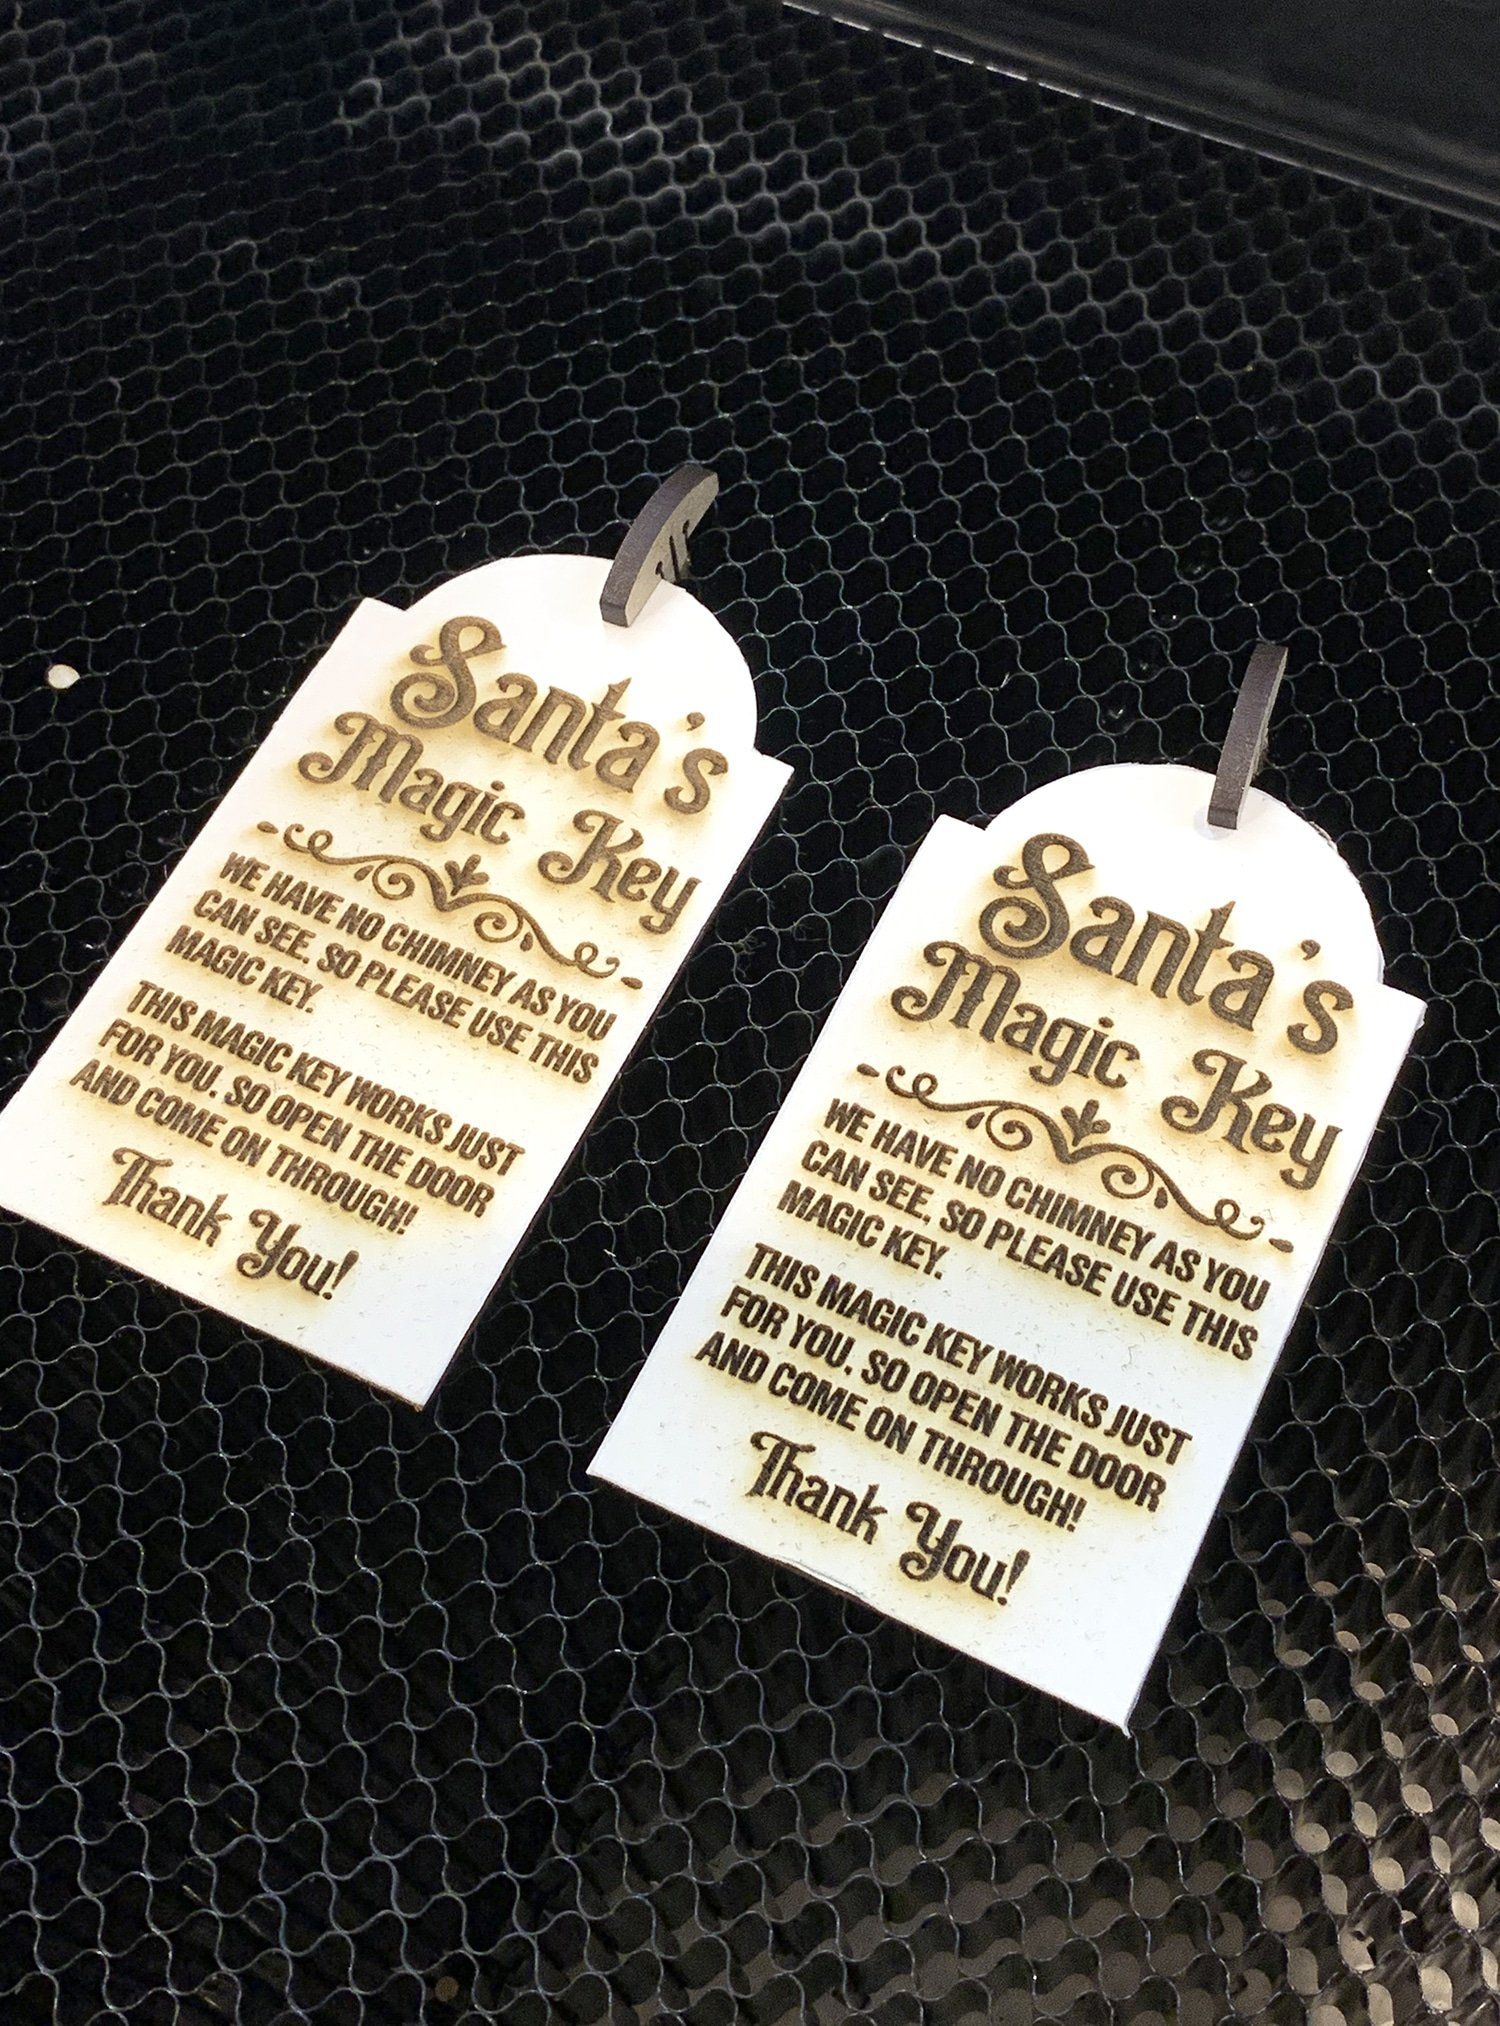
If desired, you could also choose to engrave on pre-cut wood tags instead of cutting the tags from a larger sheet of wood. We highly recommend pinning your tags down with honeycomb pins if you use pre-cut tags!
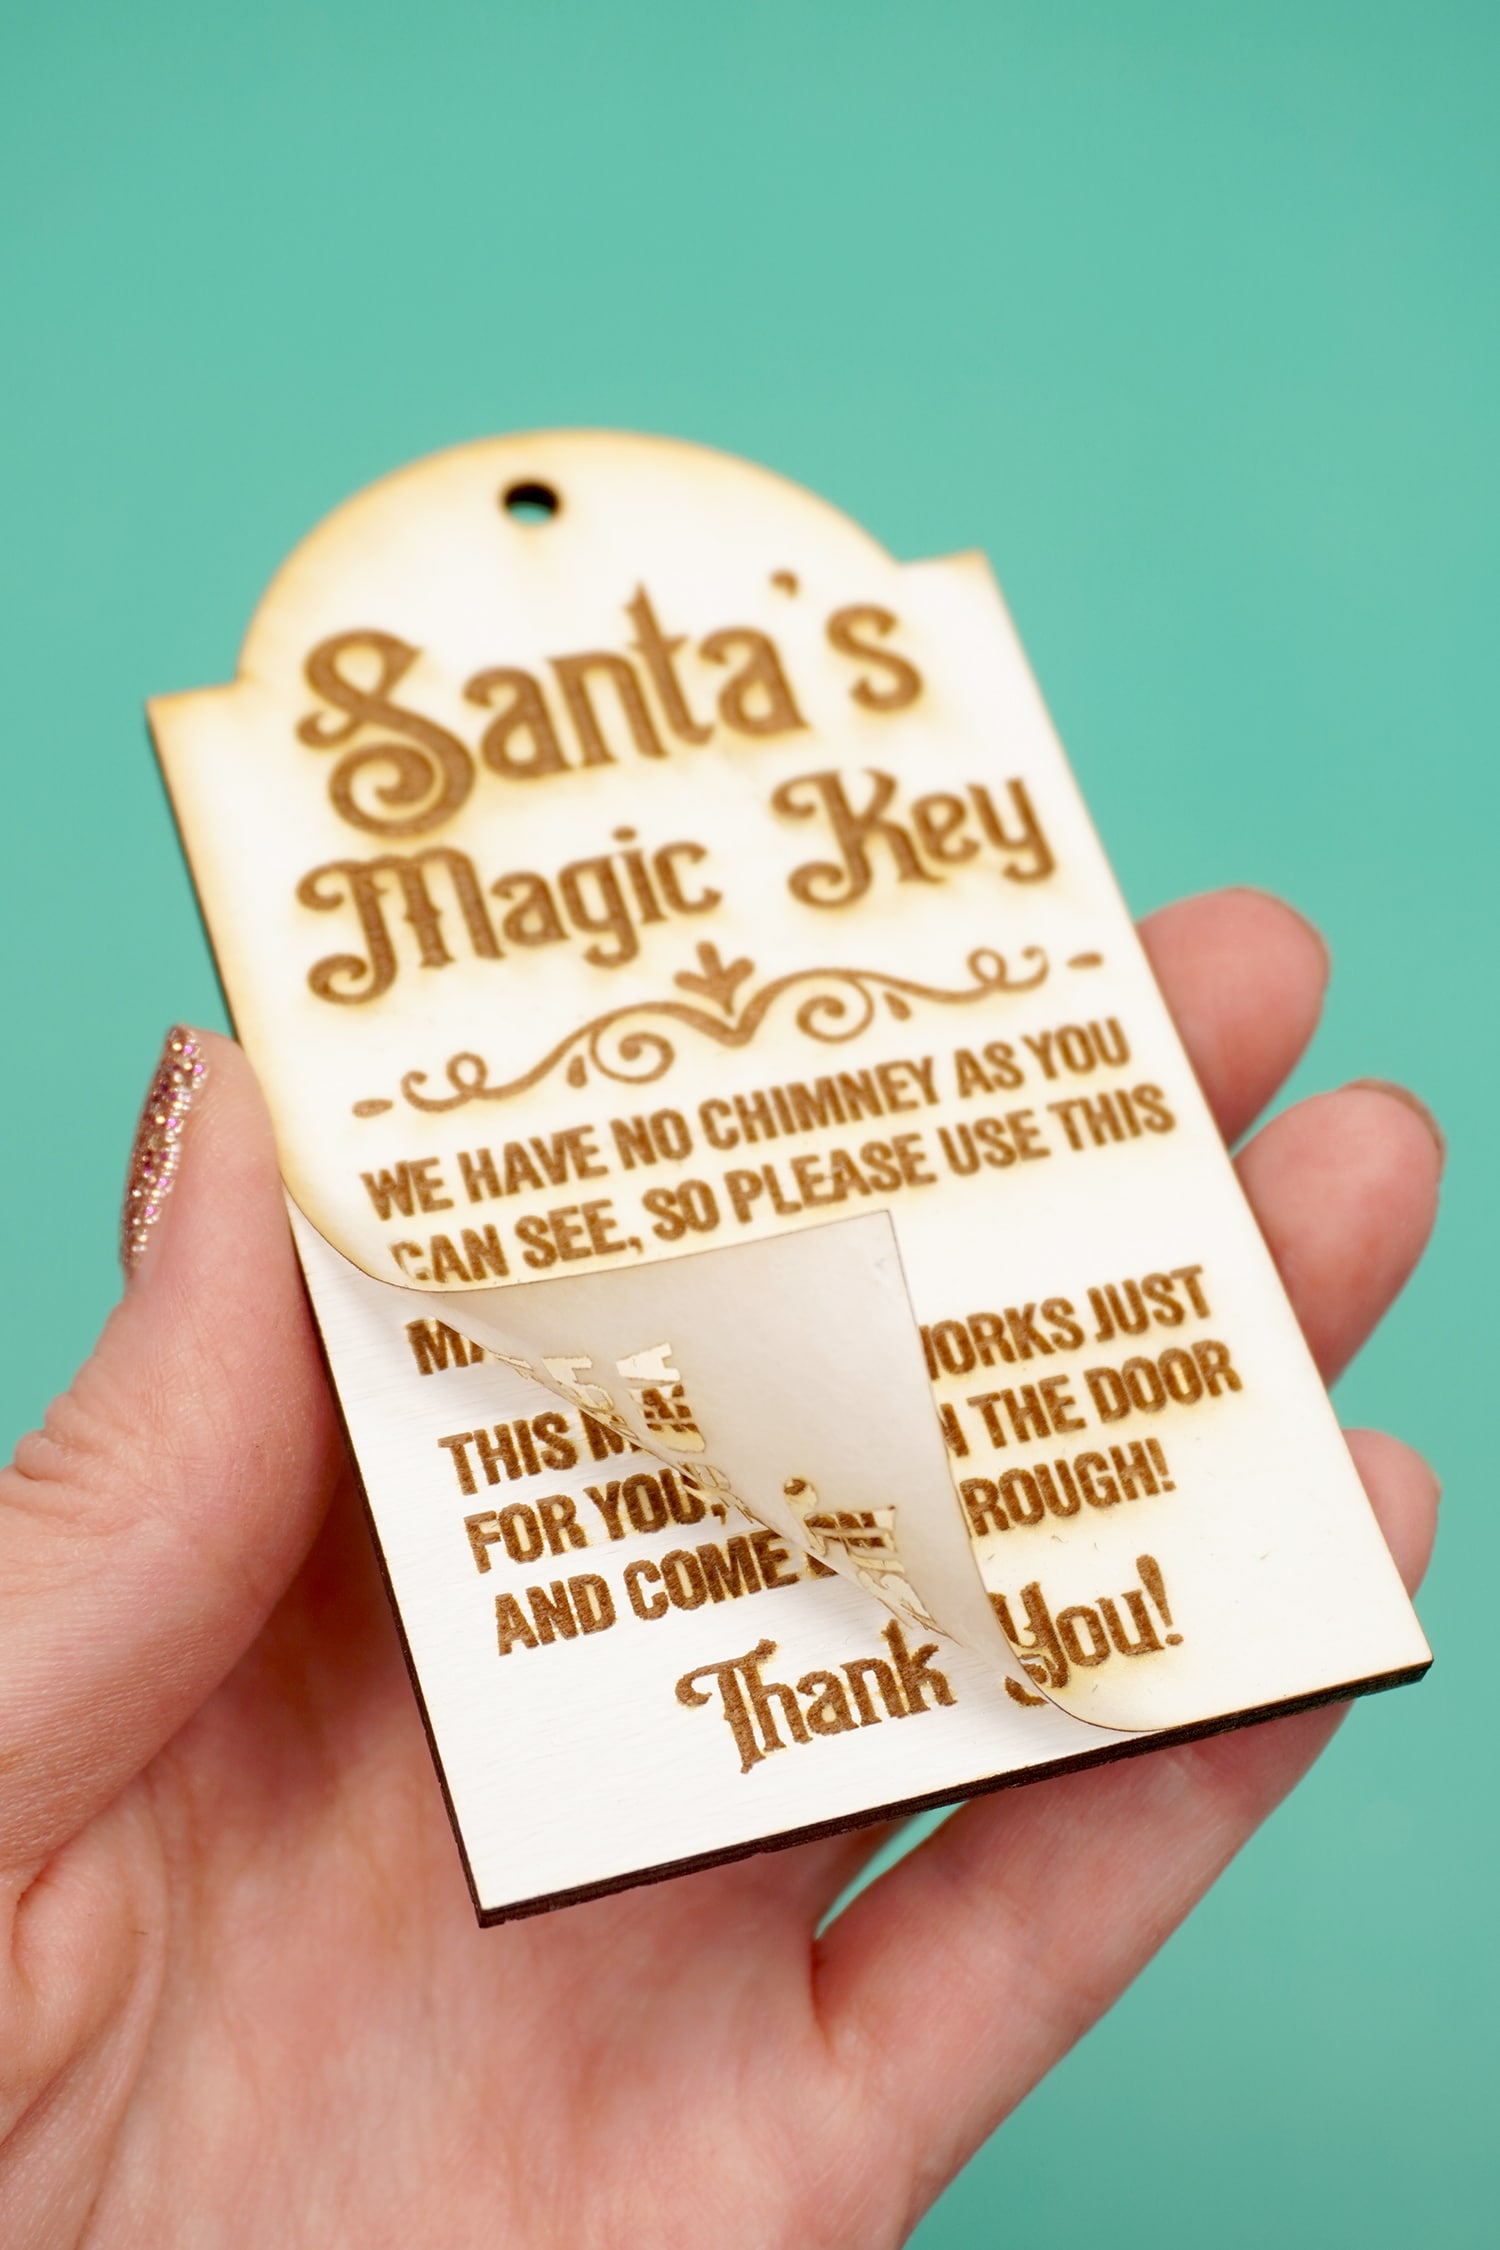
Carefully remove the masking from the tag. Use tweezers to help remove any of the small pieces if needed.
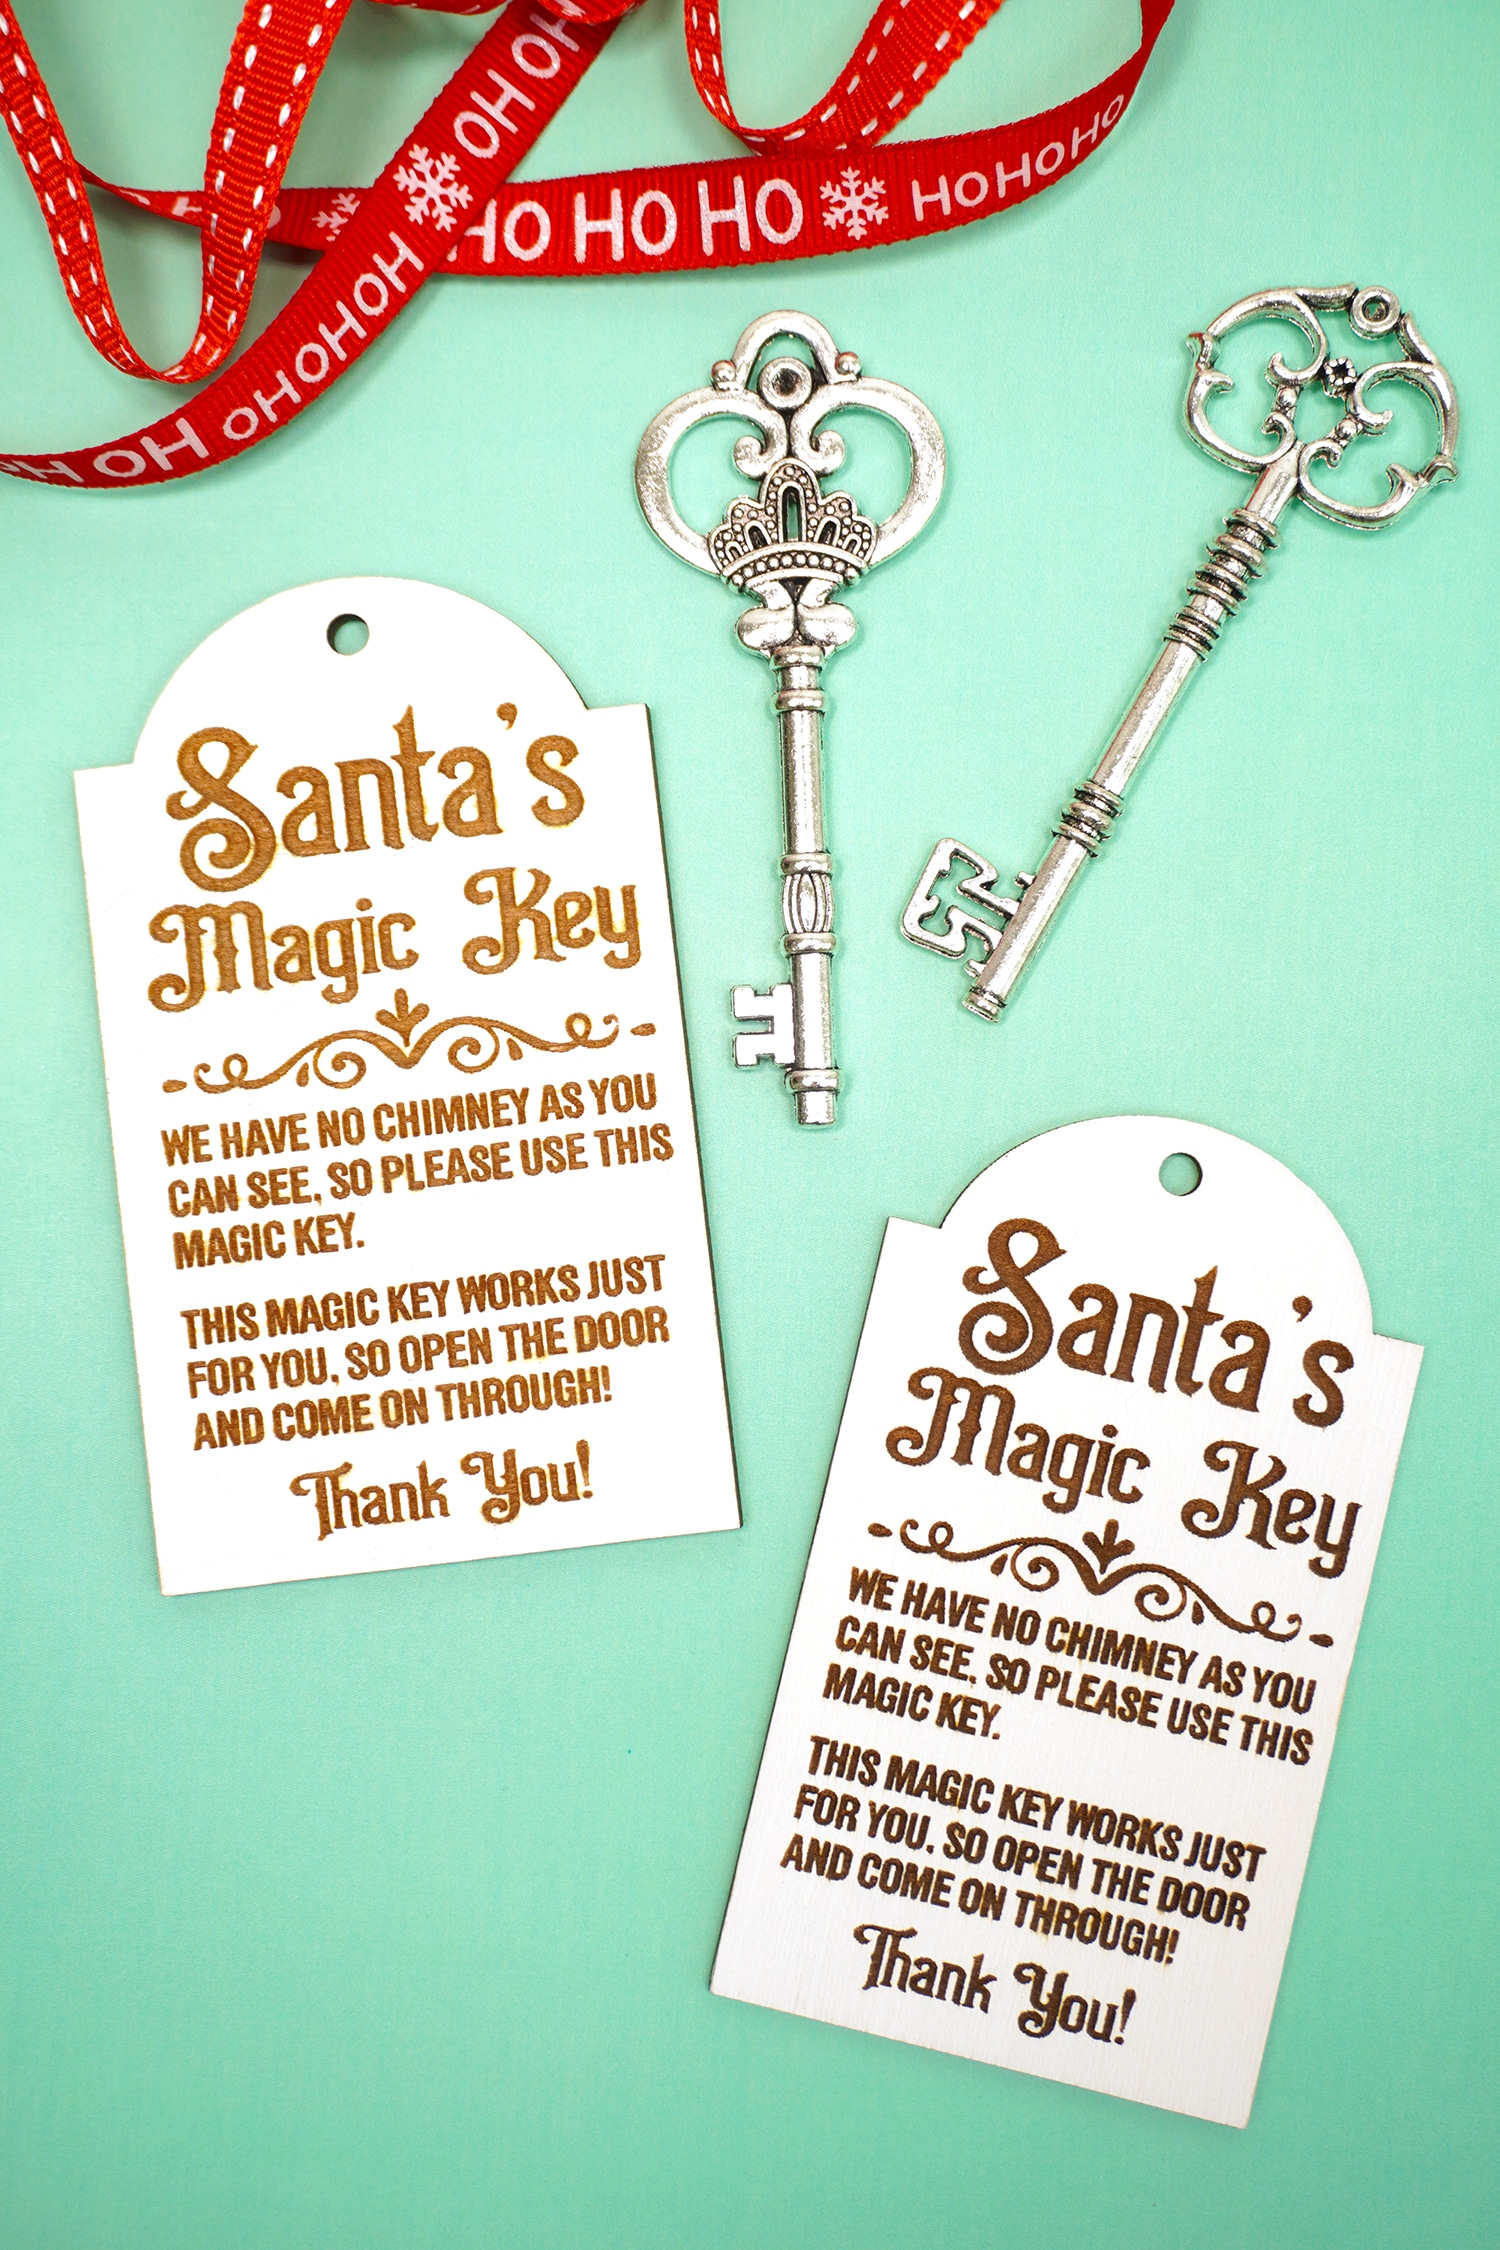
Cut a length of grosgrain ribbon approximately 6″ long. Use the jewelry pliers to add a 10mm jump ring to the key.
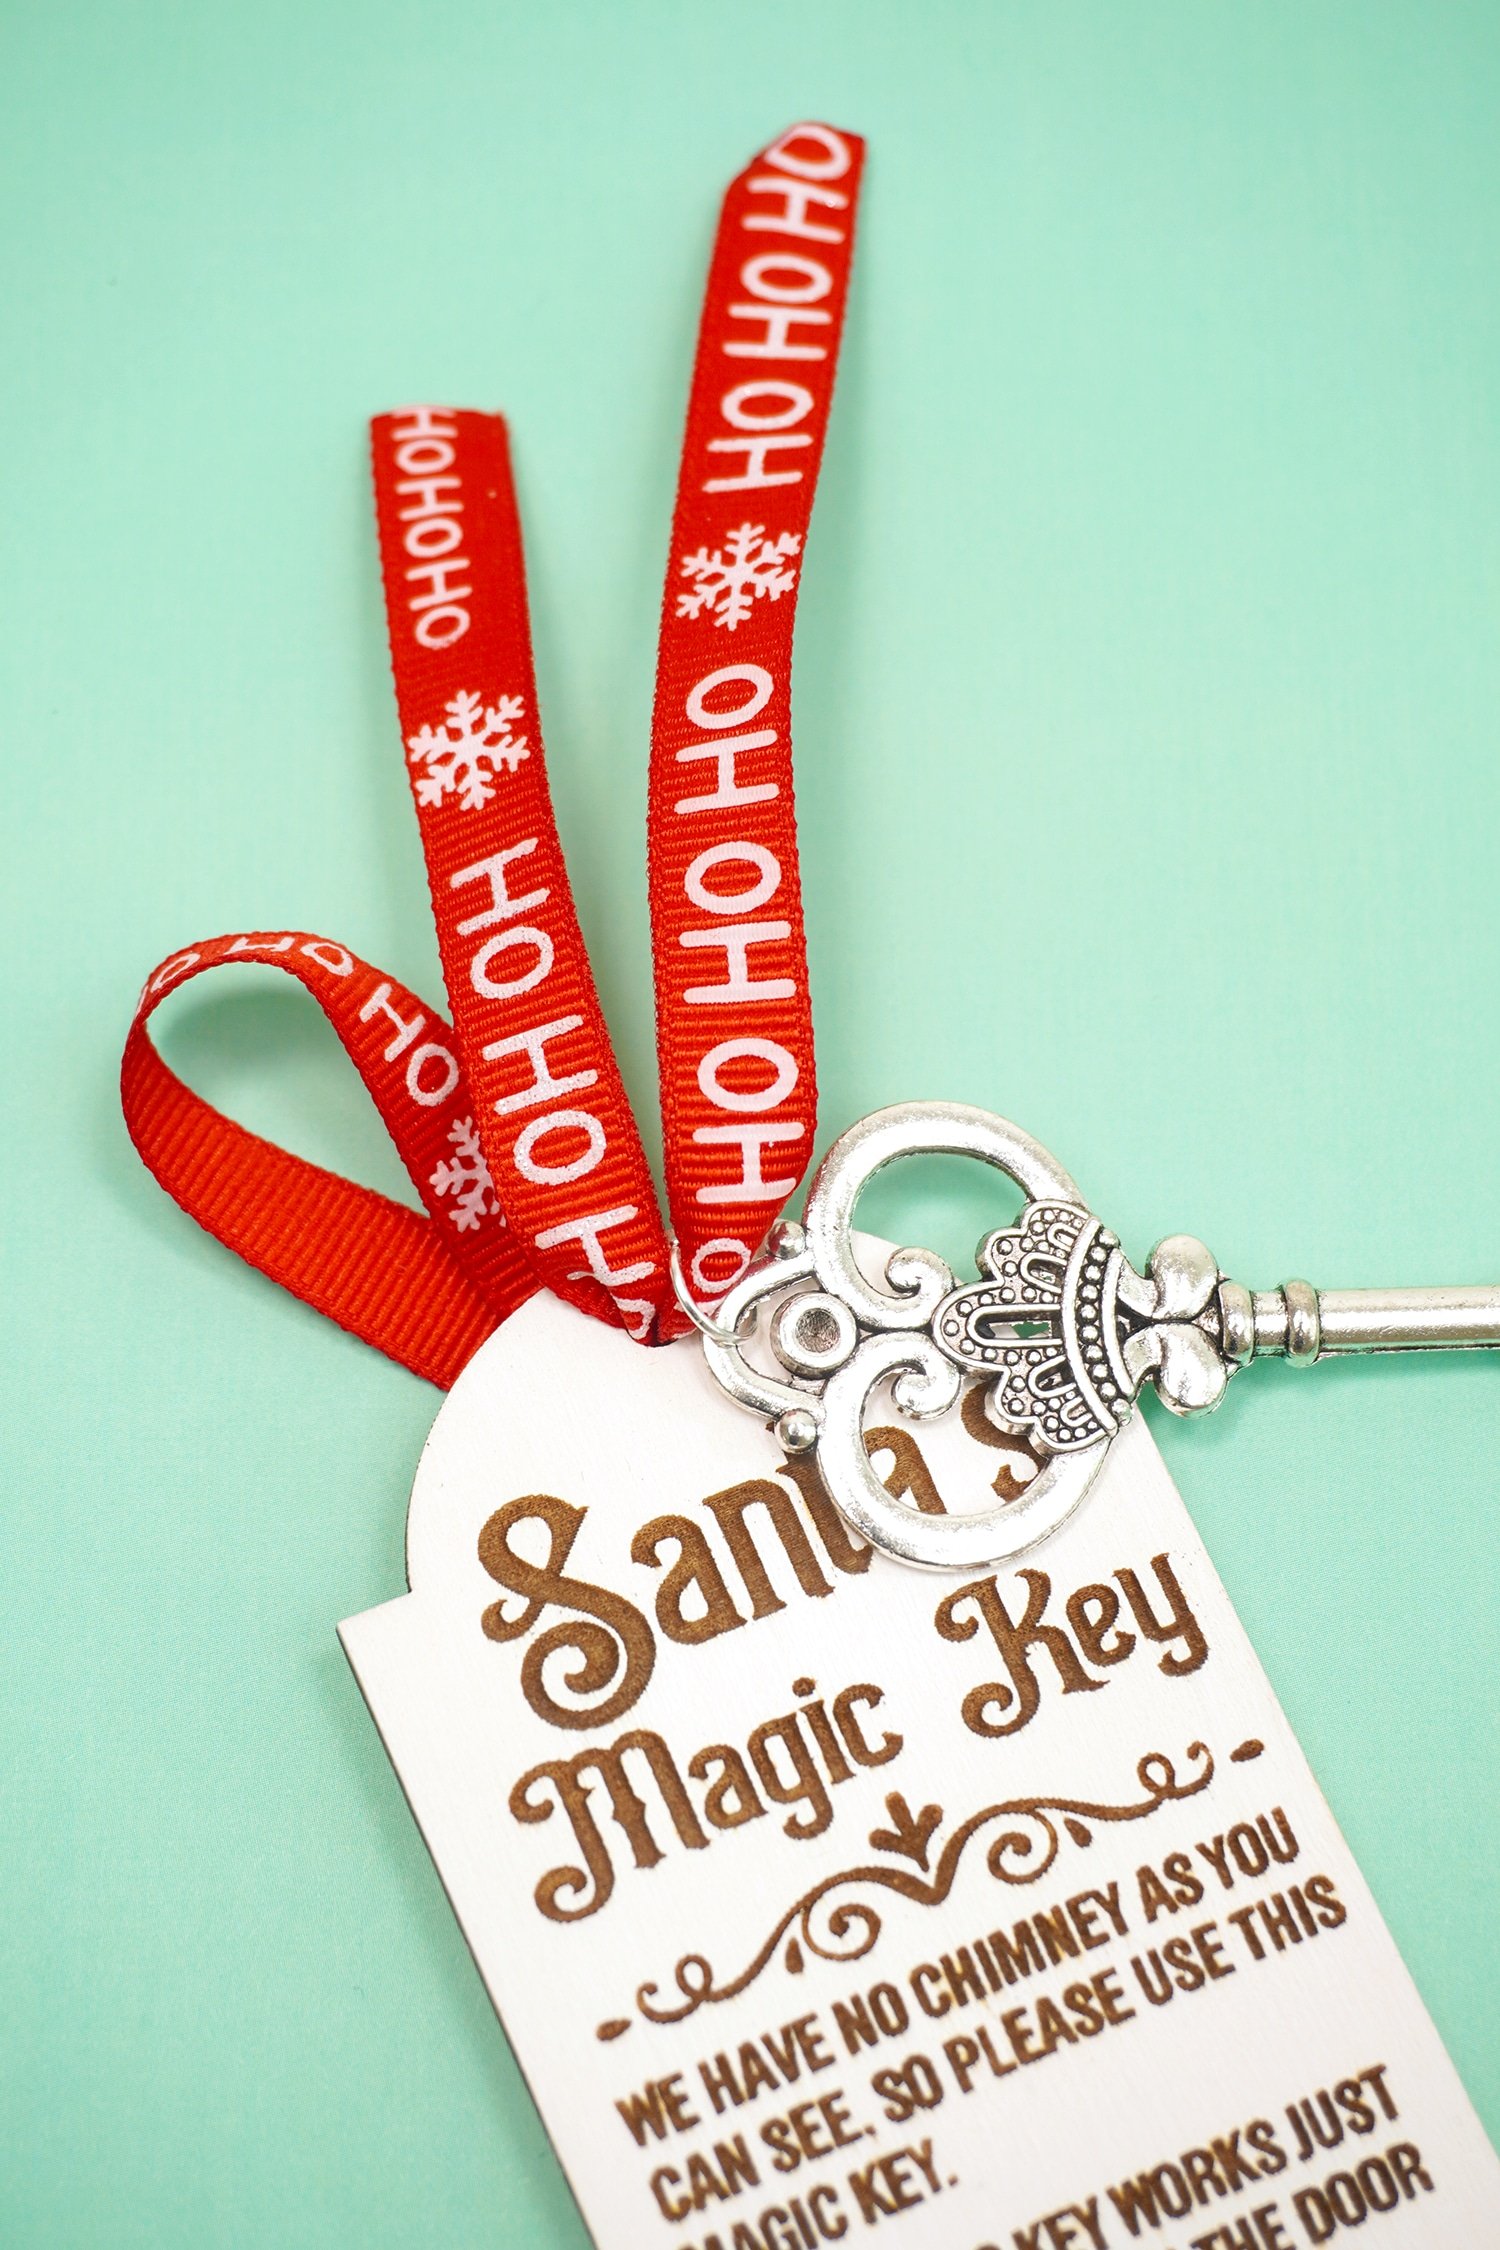
Loop the ribbon in half, and feed the loop through the front of the tag. Slide the key ring over one of the ribbon ends on the front side.
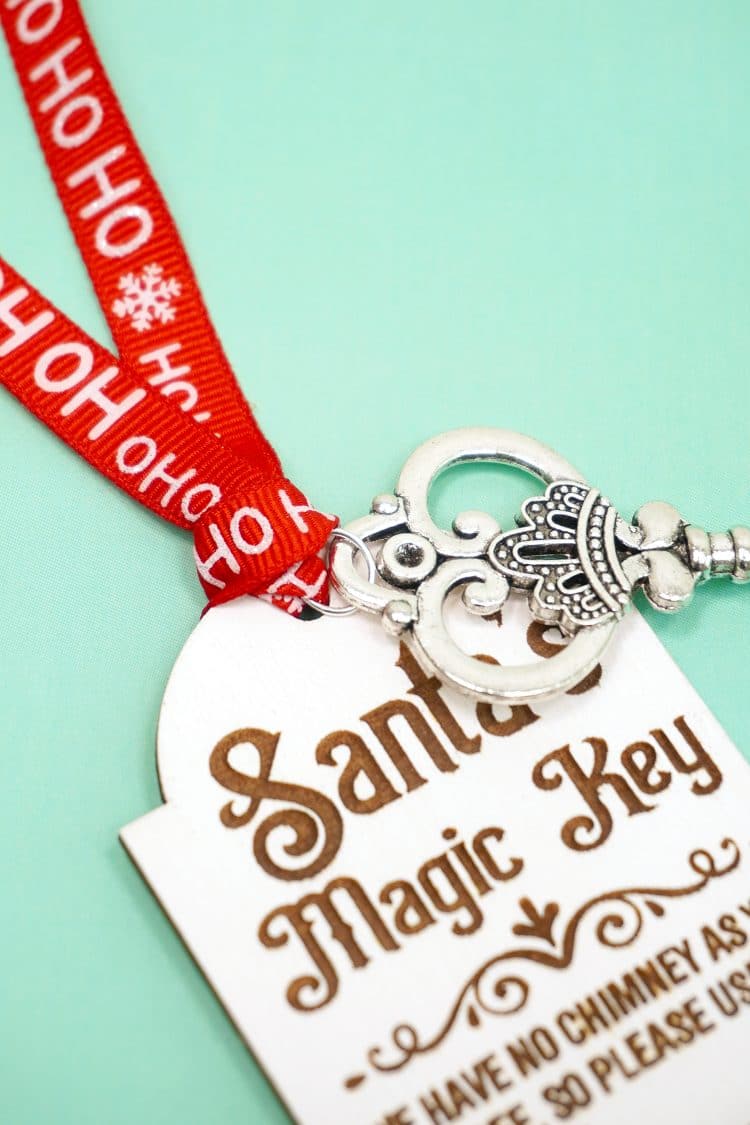
Bring the loop around to the front of the tag, feed the ends of the ribbon through the loop, and gently tighten the knot.
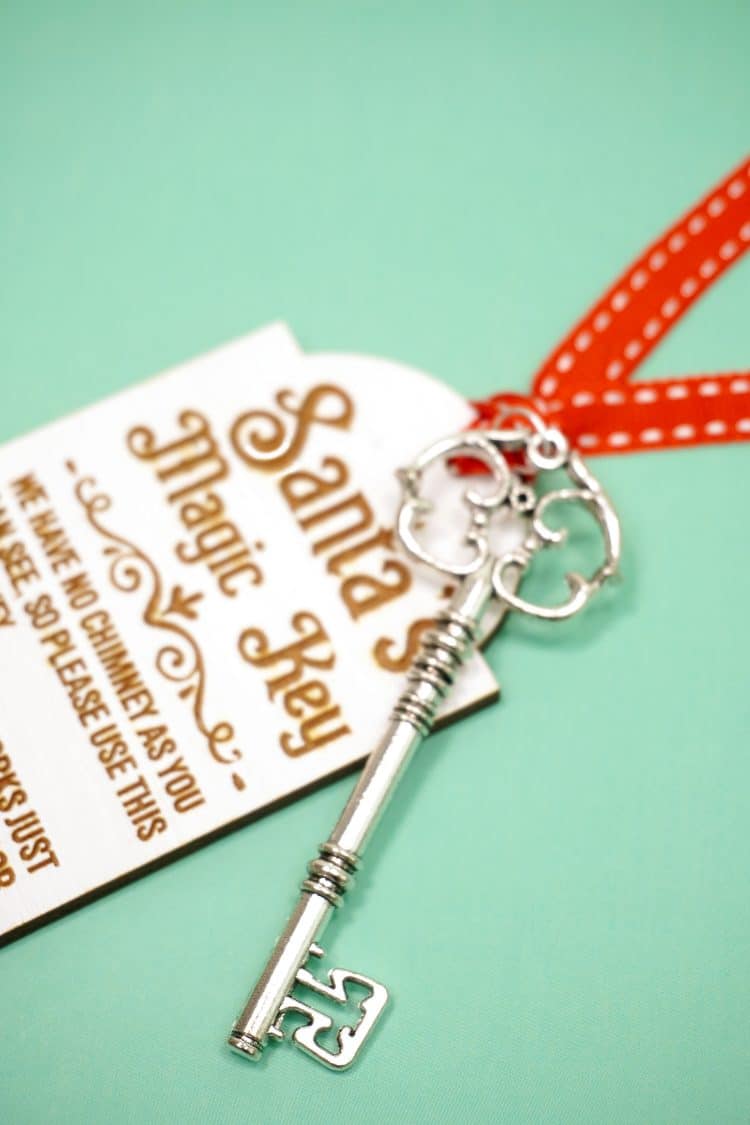
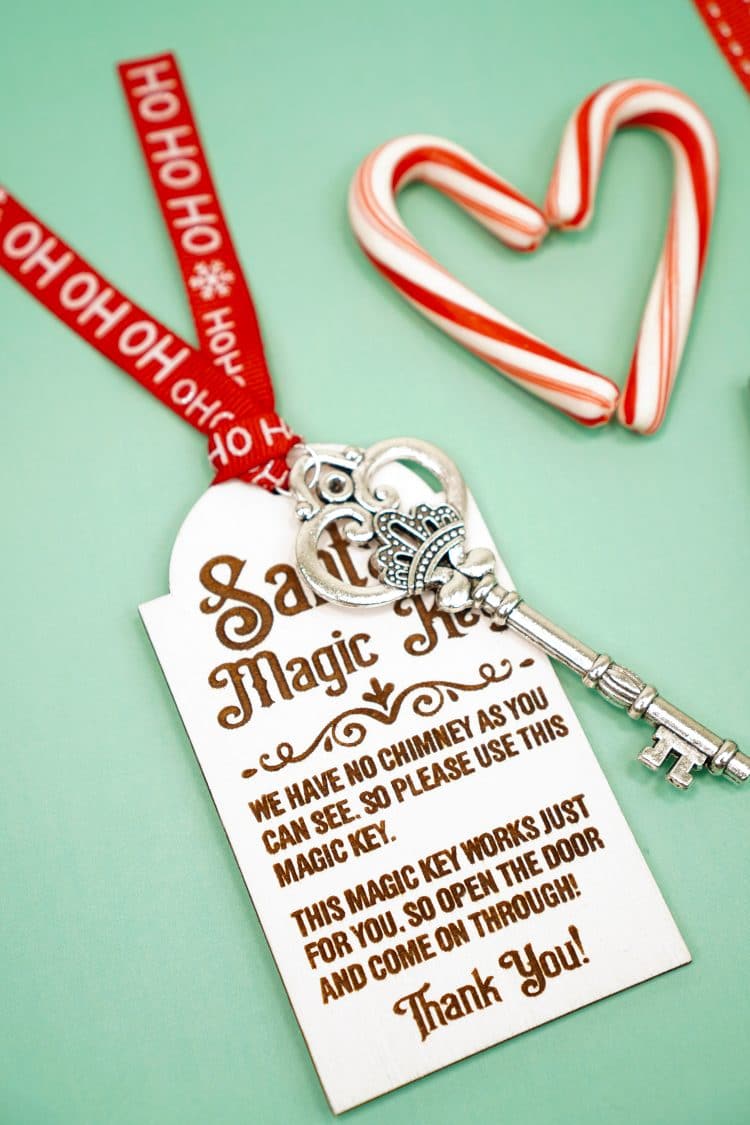
All ready for Christmas Eve!
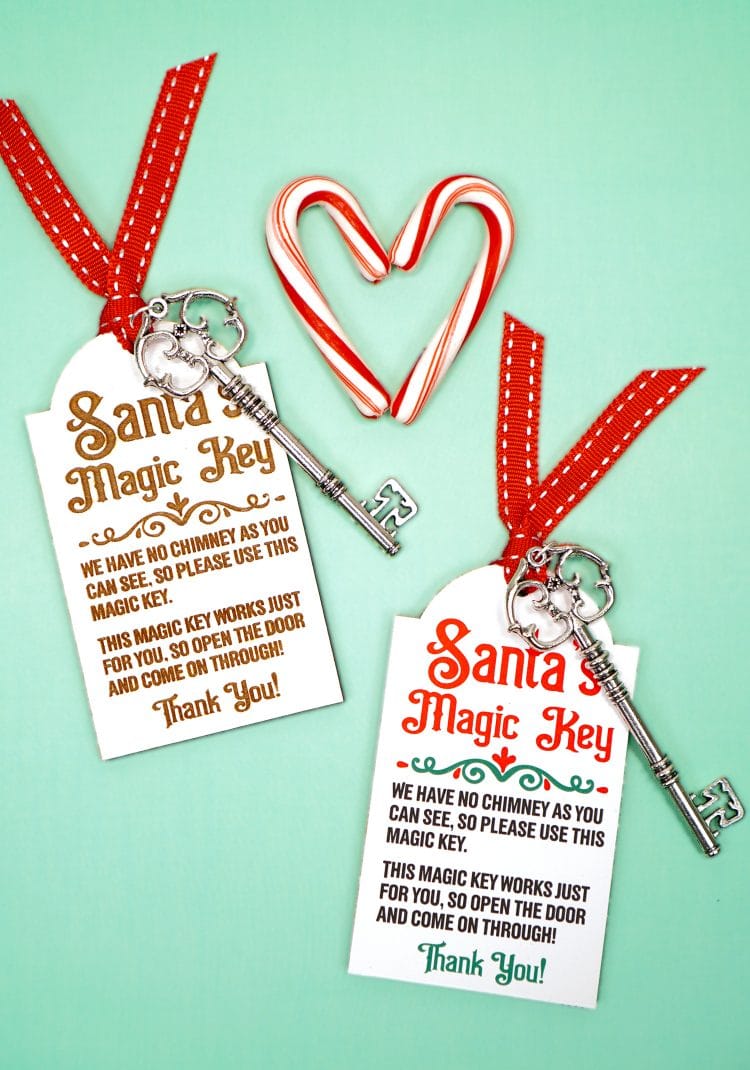
No matter which style of our magic keys you create, Santa will certainly be able to find his way inside your home on Christmas Eve now! 🎅
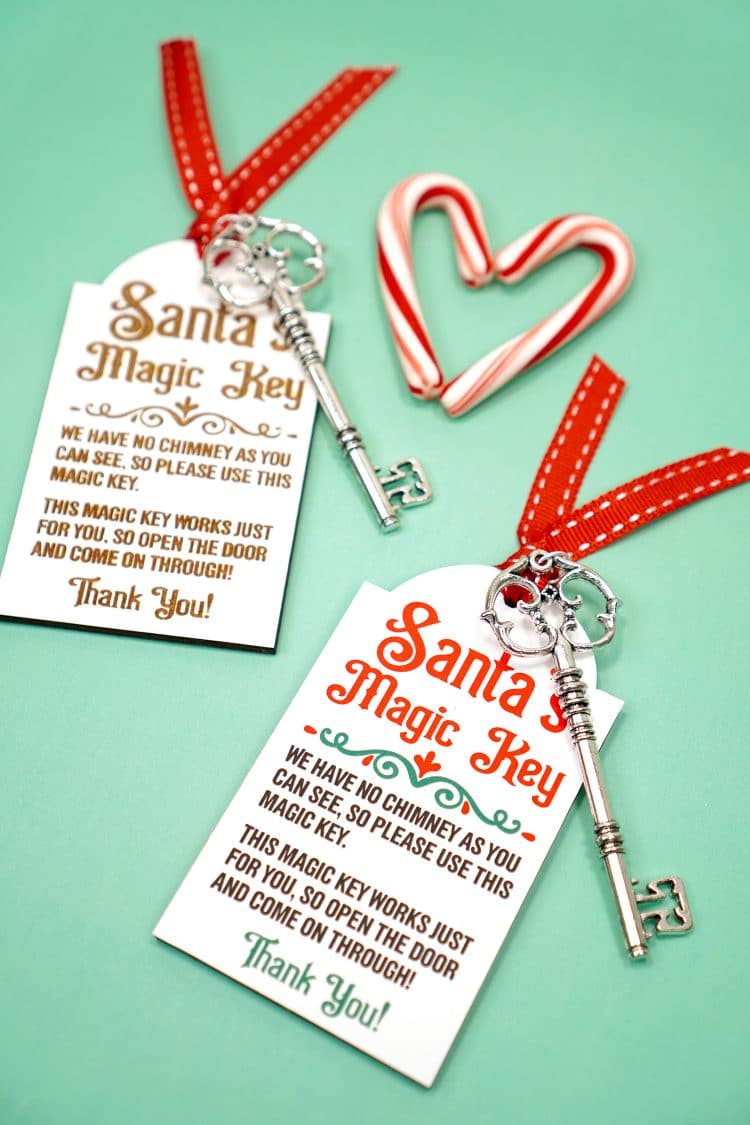
Where Do You Put Santa’s Magic Key?
Leave your Magic Key out for Santa on Christmas Eve by placing it on your doorstep or hanging from your front door. Santa’s Christmas magic allows him to enter your home using the key instead of coming down a chimney.
Get the Santa’s Magic Key SVG File Here
This file is Crafting File #51 in our Freebie Library! Get the password to our Freebie Library by signing up for our Email Club in the form below! If you are already a club member with the password, hop on over to the Freebie Library to download the file now!
All free downloads from Happiness is Homemade are for PERSONAL and CLASSROOM USE ONLY. You MAY NOT share, distribute, sell, or use these files for commercial purposes, including print-on-demand. Commercial licenses for SVG and PNG Crafting Files may be purchased in the Happiness is Homemade Shop. Please read our full license terms here.
Download Trouble?
Can’t find the download form? Having trouble with the file? Check out our Digital Downloads FAQ page for answers to the most common troubleshooting questions!
Santa’s Magic Keys are a fun Christmas craft to make, and they serve a wonderful purpose in helping to reassure little minds that Santa will be able to pay them a visit on Christmas Eve! I hope you have fun making your own!

Check Out These Other Christmas Crafts!
 Cardboard Gingerbread Houses + SVG Files
 Free Christmas Countdown SVG +16 Christmas Cut Files
 The Best Cricut Holiday Gift Ideas for Crafters
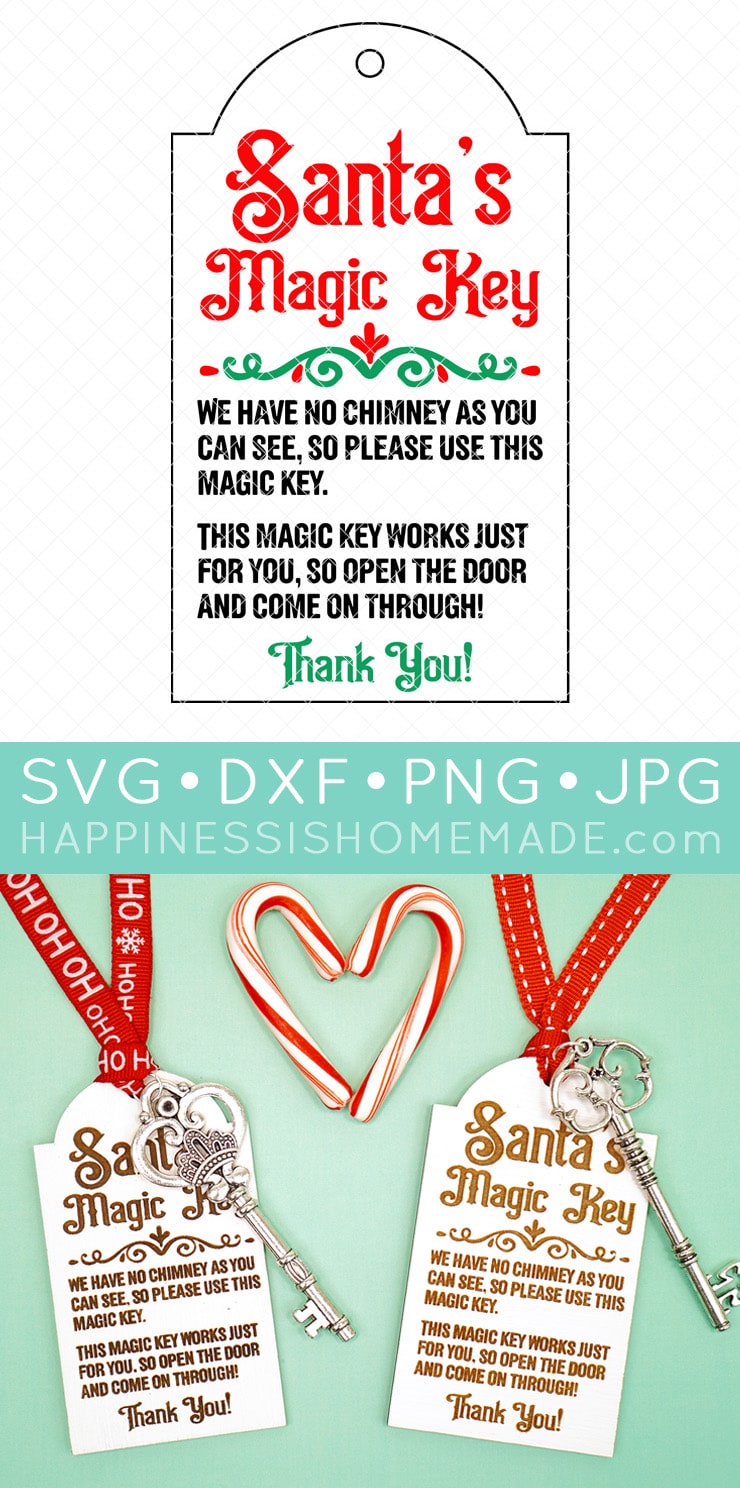
 Santa’s Magic Key Printable Tag + SVG File
 Personalized Christmas Ornaments with Cricut Infusible Ink
 25+ DIY Neighbor Gifts with Cricut
 Christmas Baby Onesie with Cricut Infusible Ink
 Free Christmas SVG Files
Don’t Forget to Pin This Post for Later!

Heidi Kundin has captivated the hearts of millions with her colorful and inspiring approach to crafting, celebrations, and family fun. With over 15 years of experience, Happiness is Homemade has become a must-visit destination for those seeking quick and easy creative ideas and last-minute solutions. Heidi’s warm personality shines through her posts, inviting readers to join her on a creative journey that’s fun, rewarding, and achievable. Heidi is also the author of Homemade Bath Bombs & More and DIY Tie-Dye.

