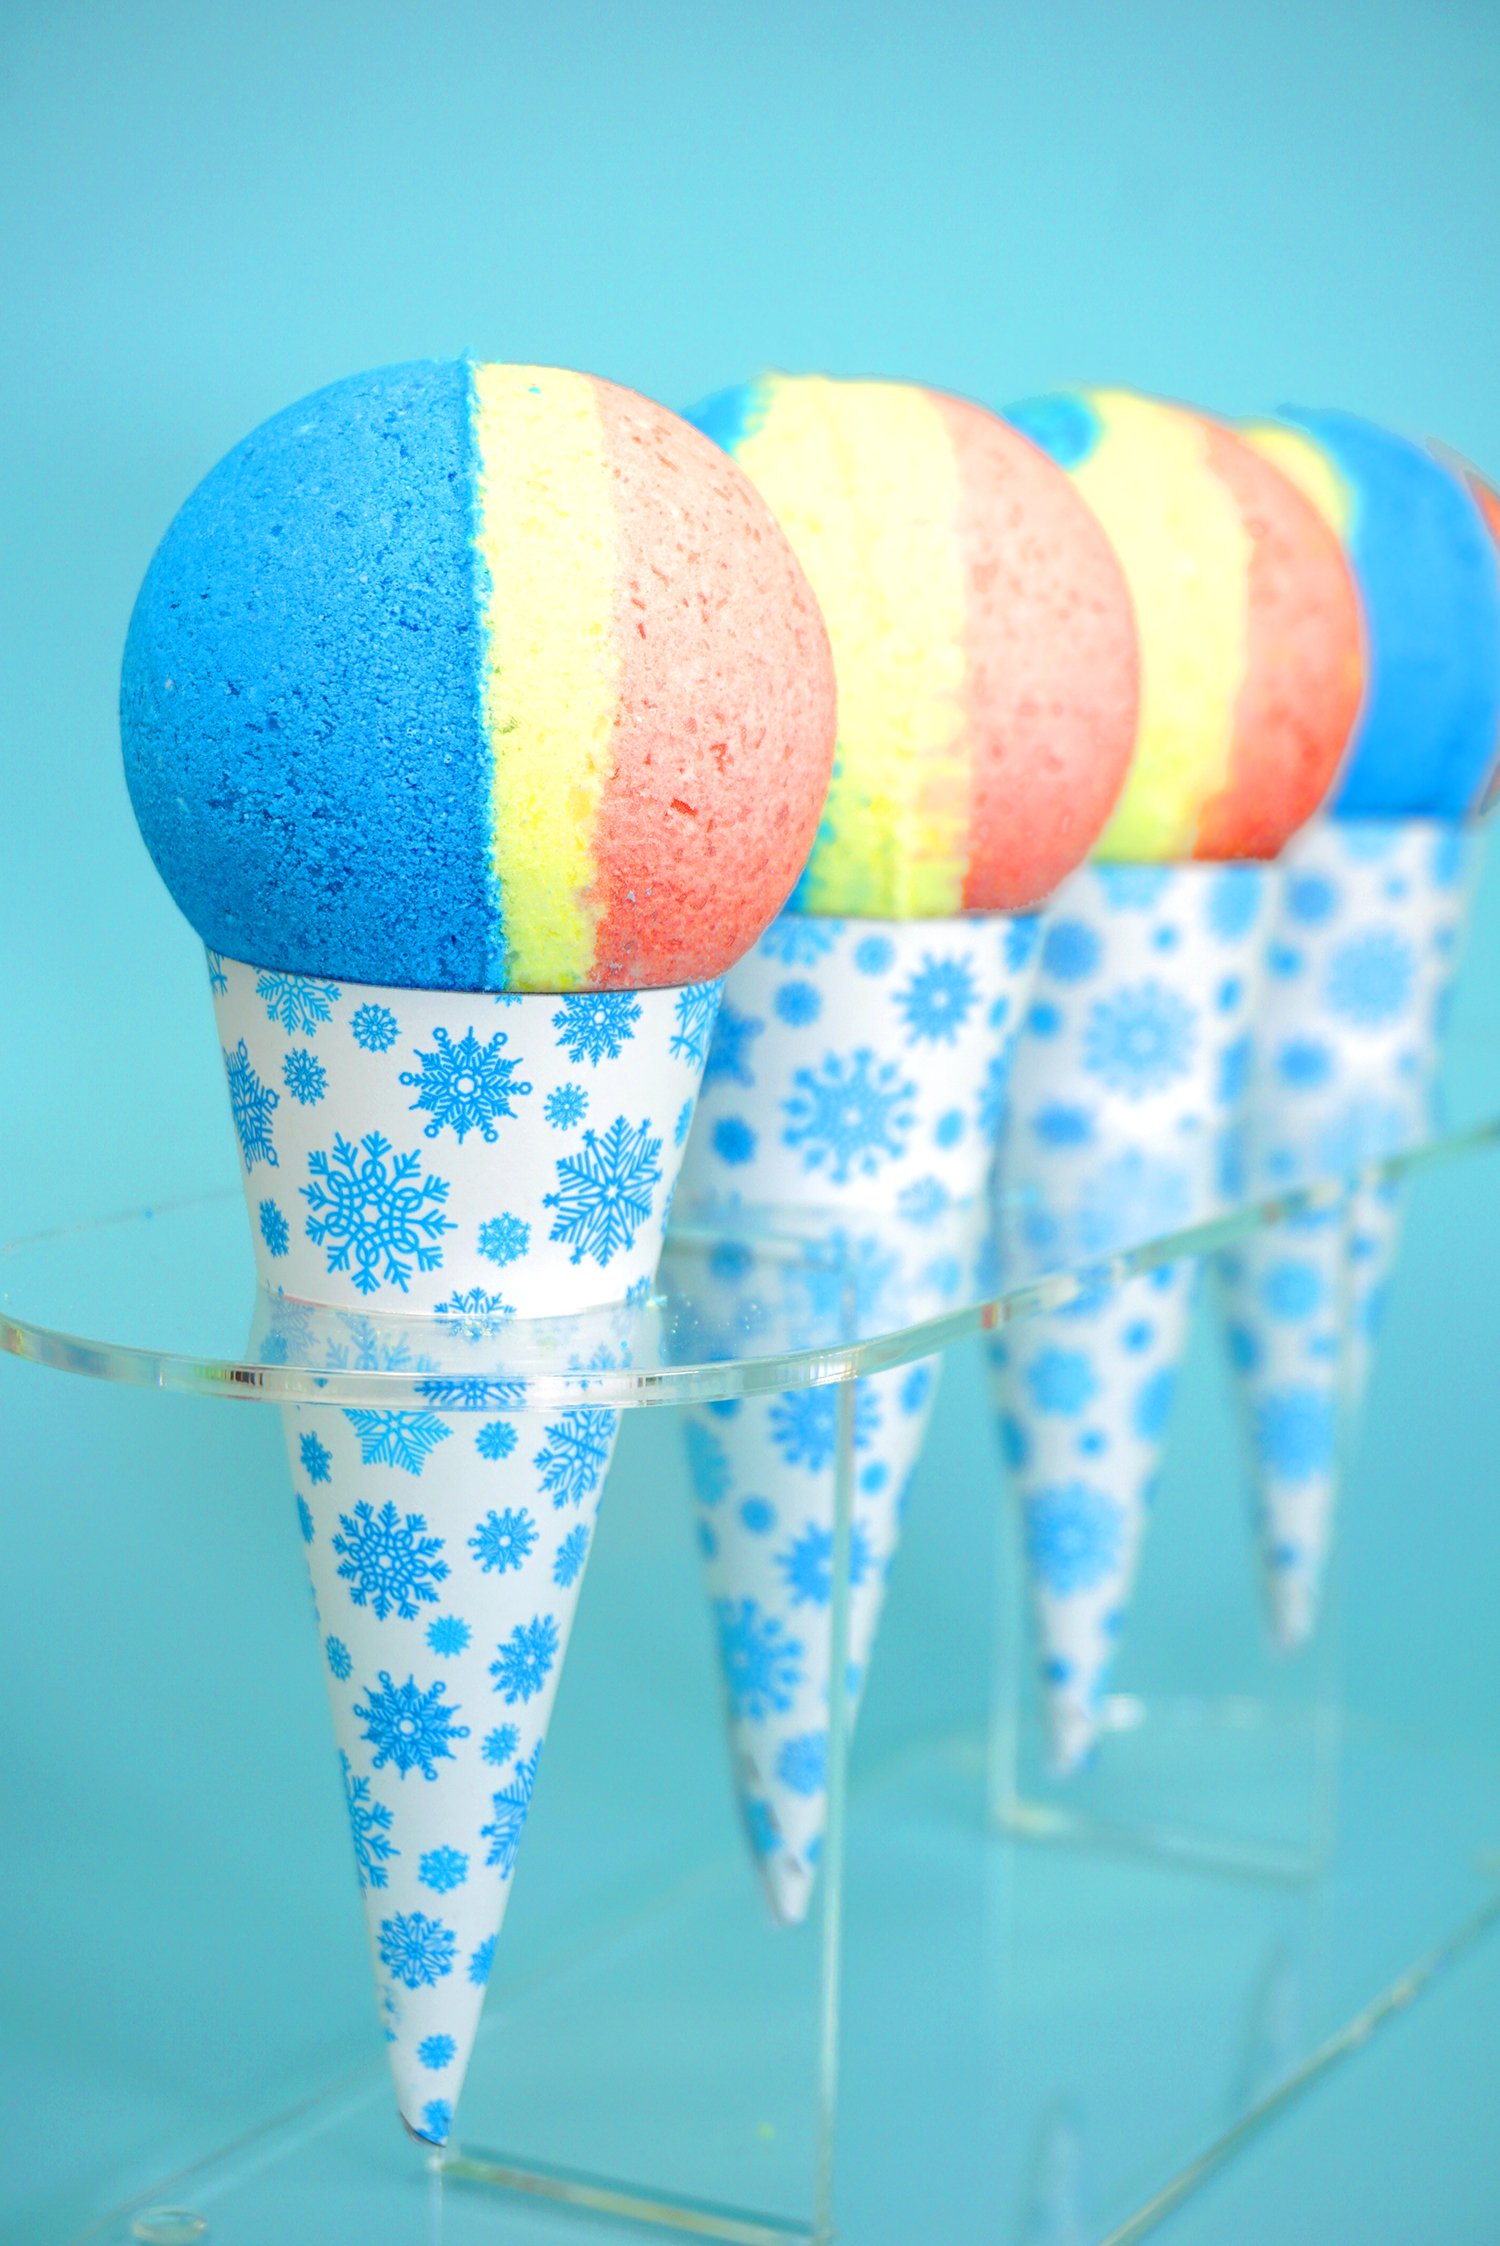
Want to learn how to make bath bombs? This easy and foolproof DIY bath bomb recipe is perfect for beginners! These snow cone bath bombs make a great homemade gift idea for friends, family, neighbors, teachers, and more!
This post may contain affiliate links. I will receive a small commission from these sales at no additional cost to you!
Snow Cone DIY Bath Bombs
Have you ever wanted to learn how to make DIY bath bombs? It’s easier than it might look! These fun and summery snow cone bath bombs look adorable, and they’re SUPER easy to make, too! Just follow our simple bath bomb recipe to make your very own homemade bath bombs!
What is a Bath Bomb?
According to Wikipedia, “Bath bombs are hard-packed mixtures of dry ingredients which effervesce when wet. They are used to add essential oils, scent, bubbles or color to bathwater.” Basically, if you want to make your bath time extra fun, toss a bath bomb into your bathtub to add colorful fizz and fragrance!
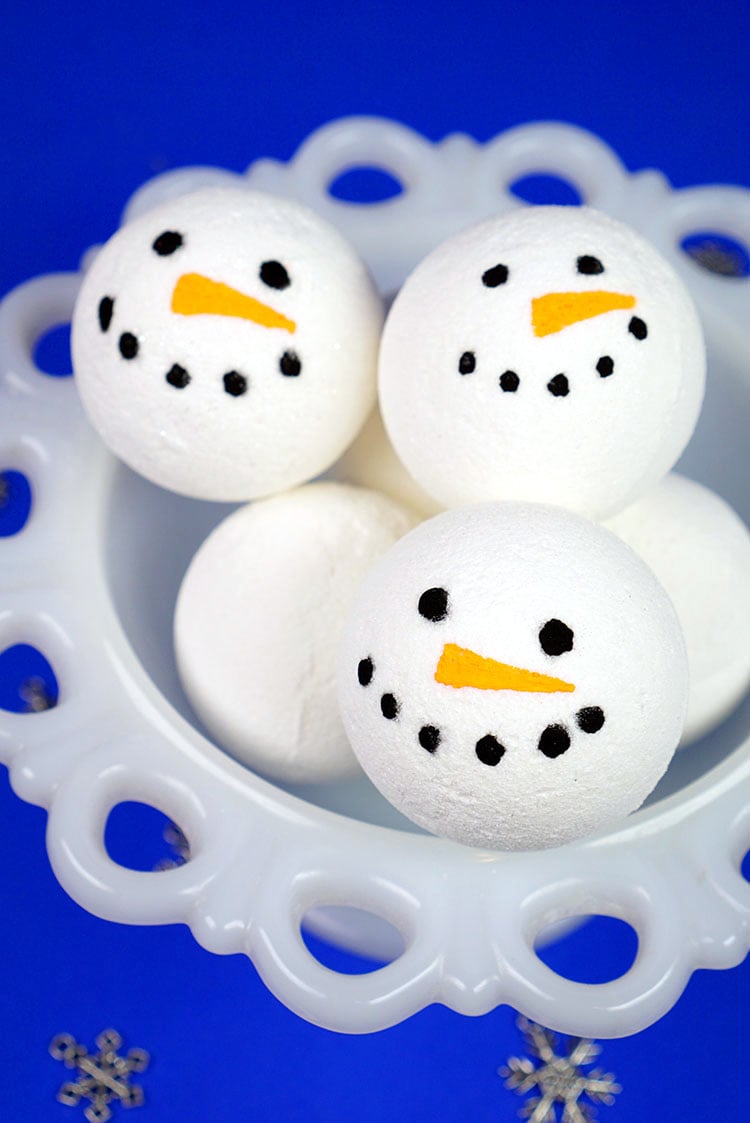
These snow cone bath bombs use the same classic bath bomb recipe that we previously shared when we made our Snowman Bath Bombs, so if you want to see additional step-by-step photos for how to make bath bombs, be sure to check out that post as well!
What You’ll Need:
- Baking Soda
- Citric Acid
- Epsom Salt
- Cornstarch
- Coconut Oil (I prefer Fractionated Coconut Oil)
- Fine Mist Spray Bottle of Water or Witch Hazel
- Fragrance Oil (in any fragrance of your choice – we used a combination of strawberry, blueberry, and banana!) or Essential Oils (optional)
- Bath Bomb Molds or Plastic Ornaments
- Red, Blue, and Yellow Cosmetic Mica Powder
Mix together the dry ingredients, and then divide the mixture into three smaller bowls. Add a small amount of cosmetic coloring to each bowl. Mix up the wet ingredients (do not add the fragrance oils yet unless you’re only using a single scent) and evenly divide the liquid among the three bowls – be careful not to pour too much liquid into one spot or the mixture will start to fizz! Add 10 drops of fragrance oil to each of the bowls and carefully stir to mix everything together. Add a few spritzes of witch hazel as needed until the mixture holds together when formed.
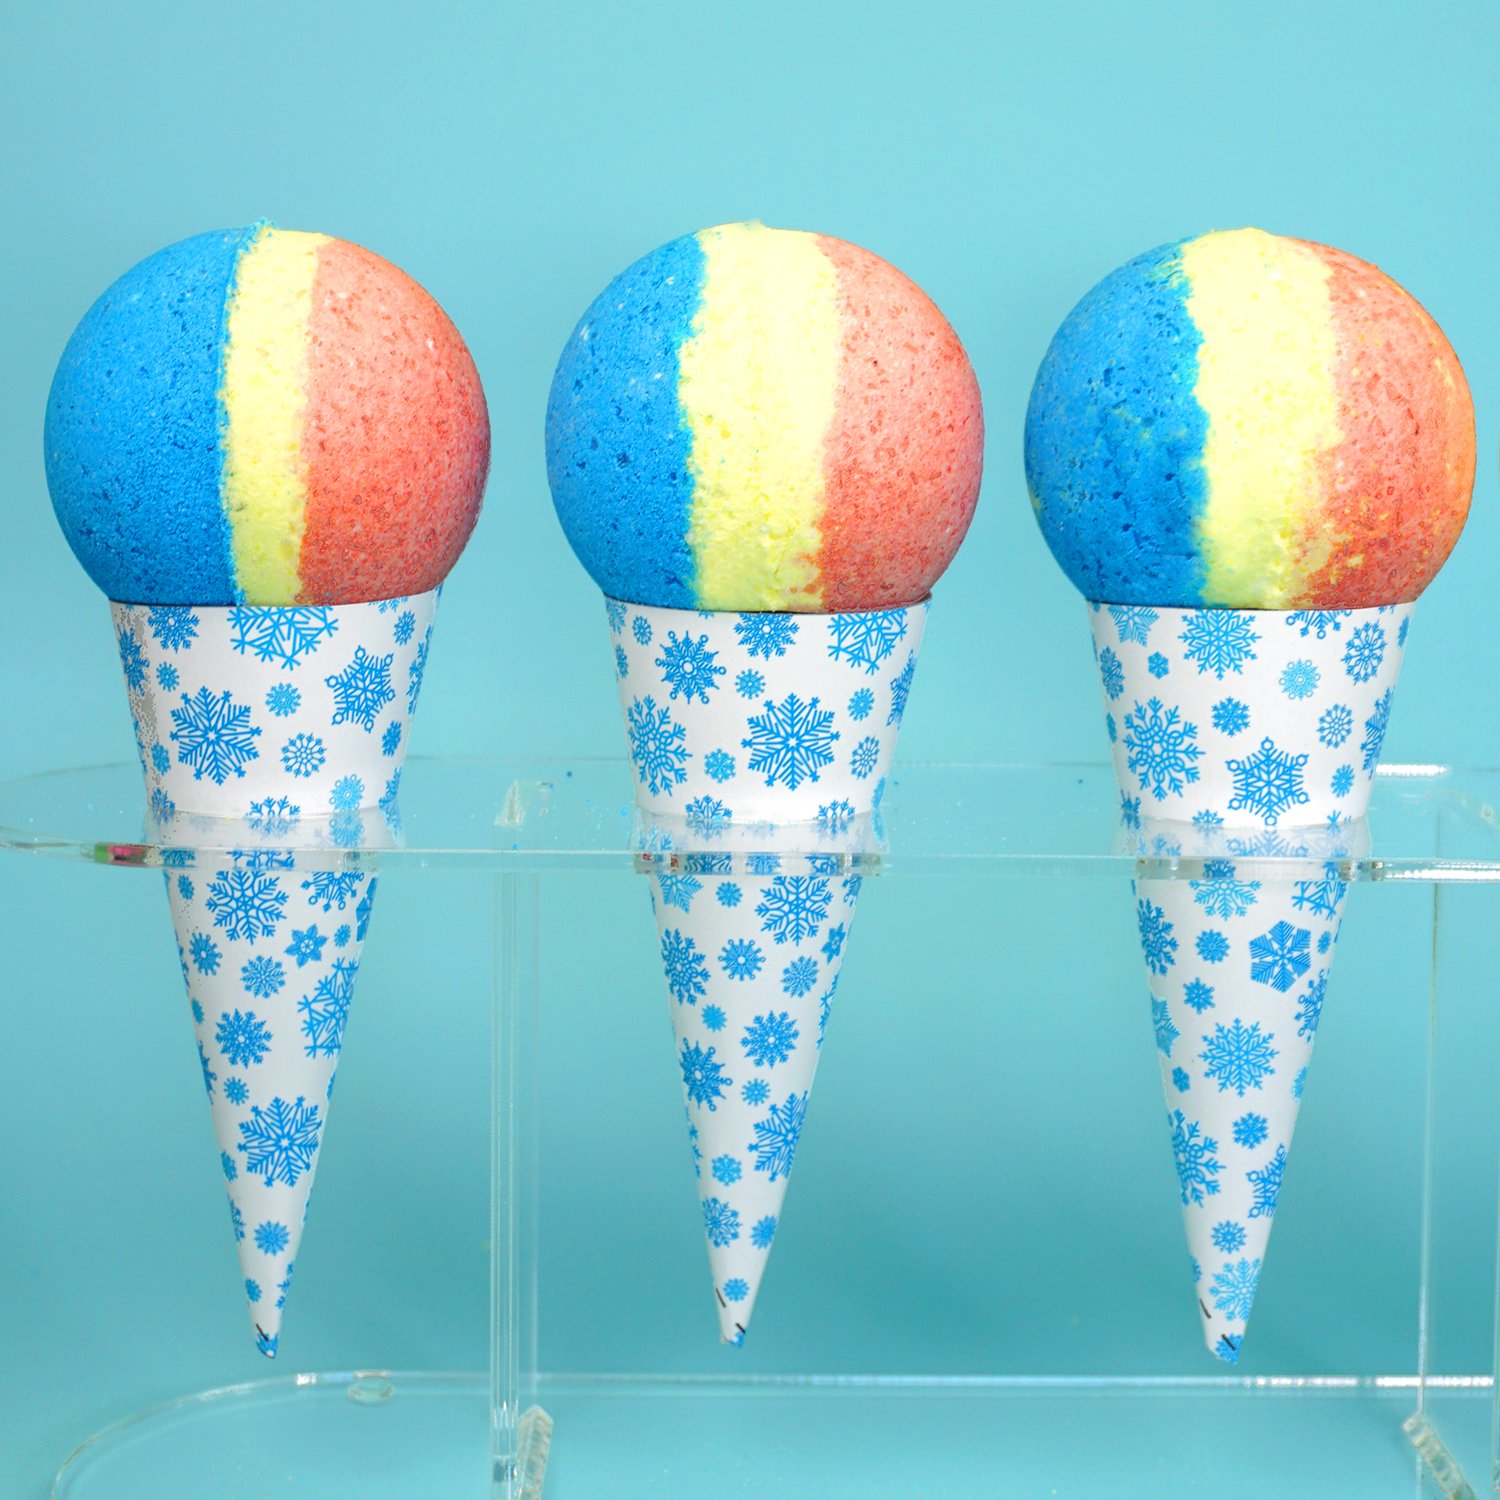
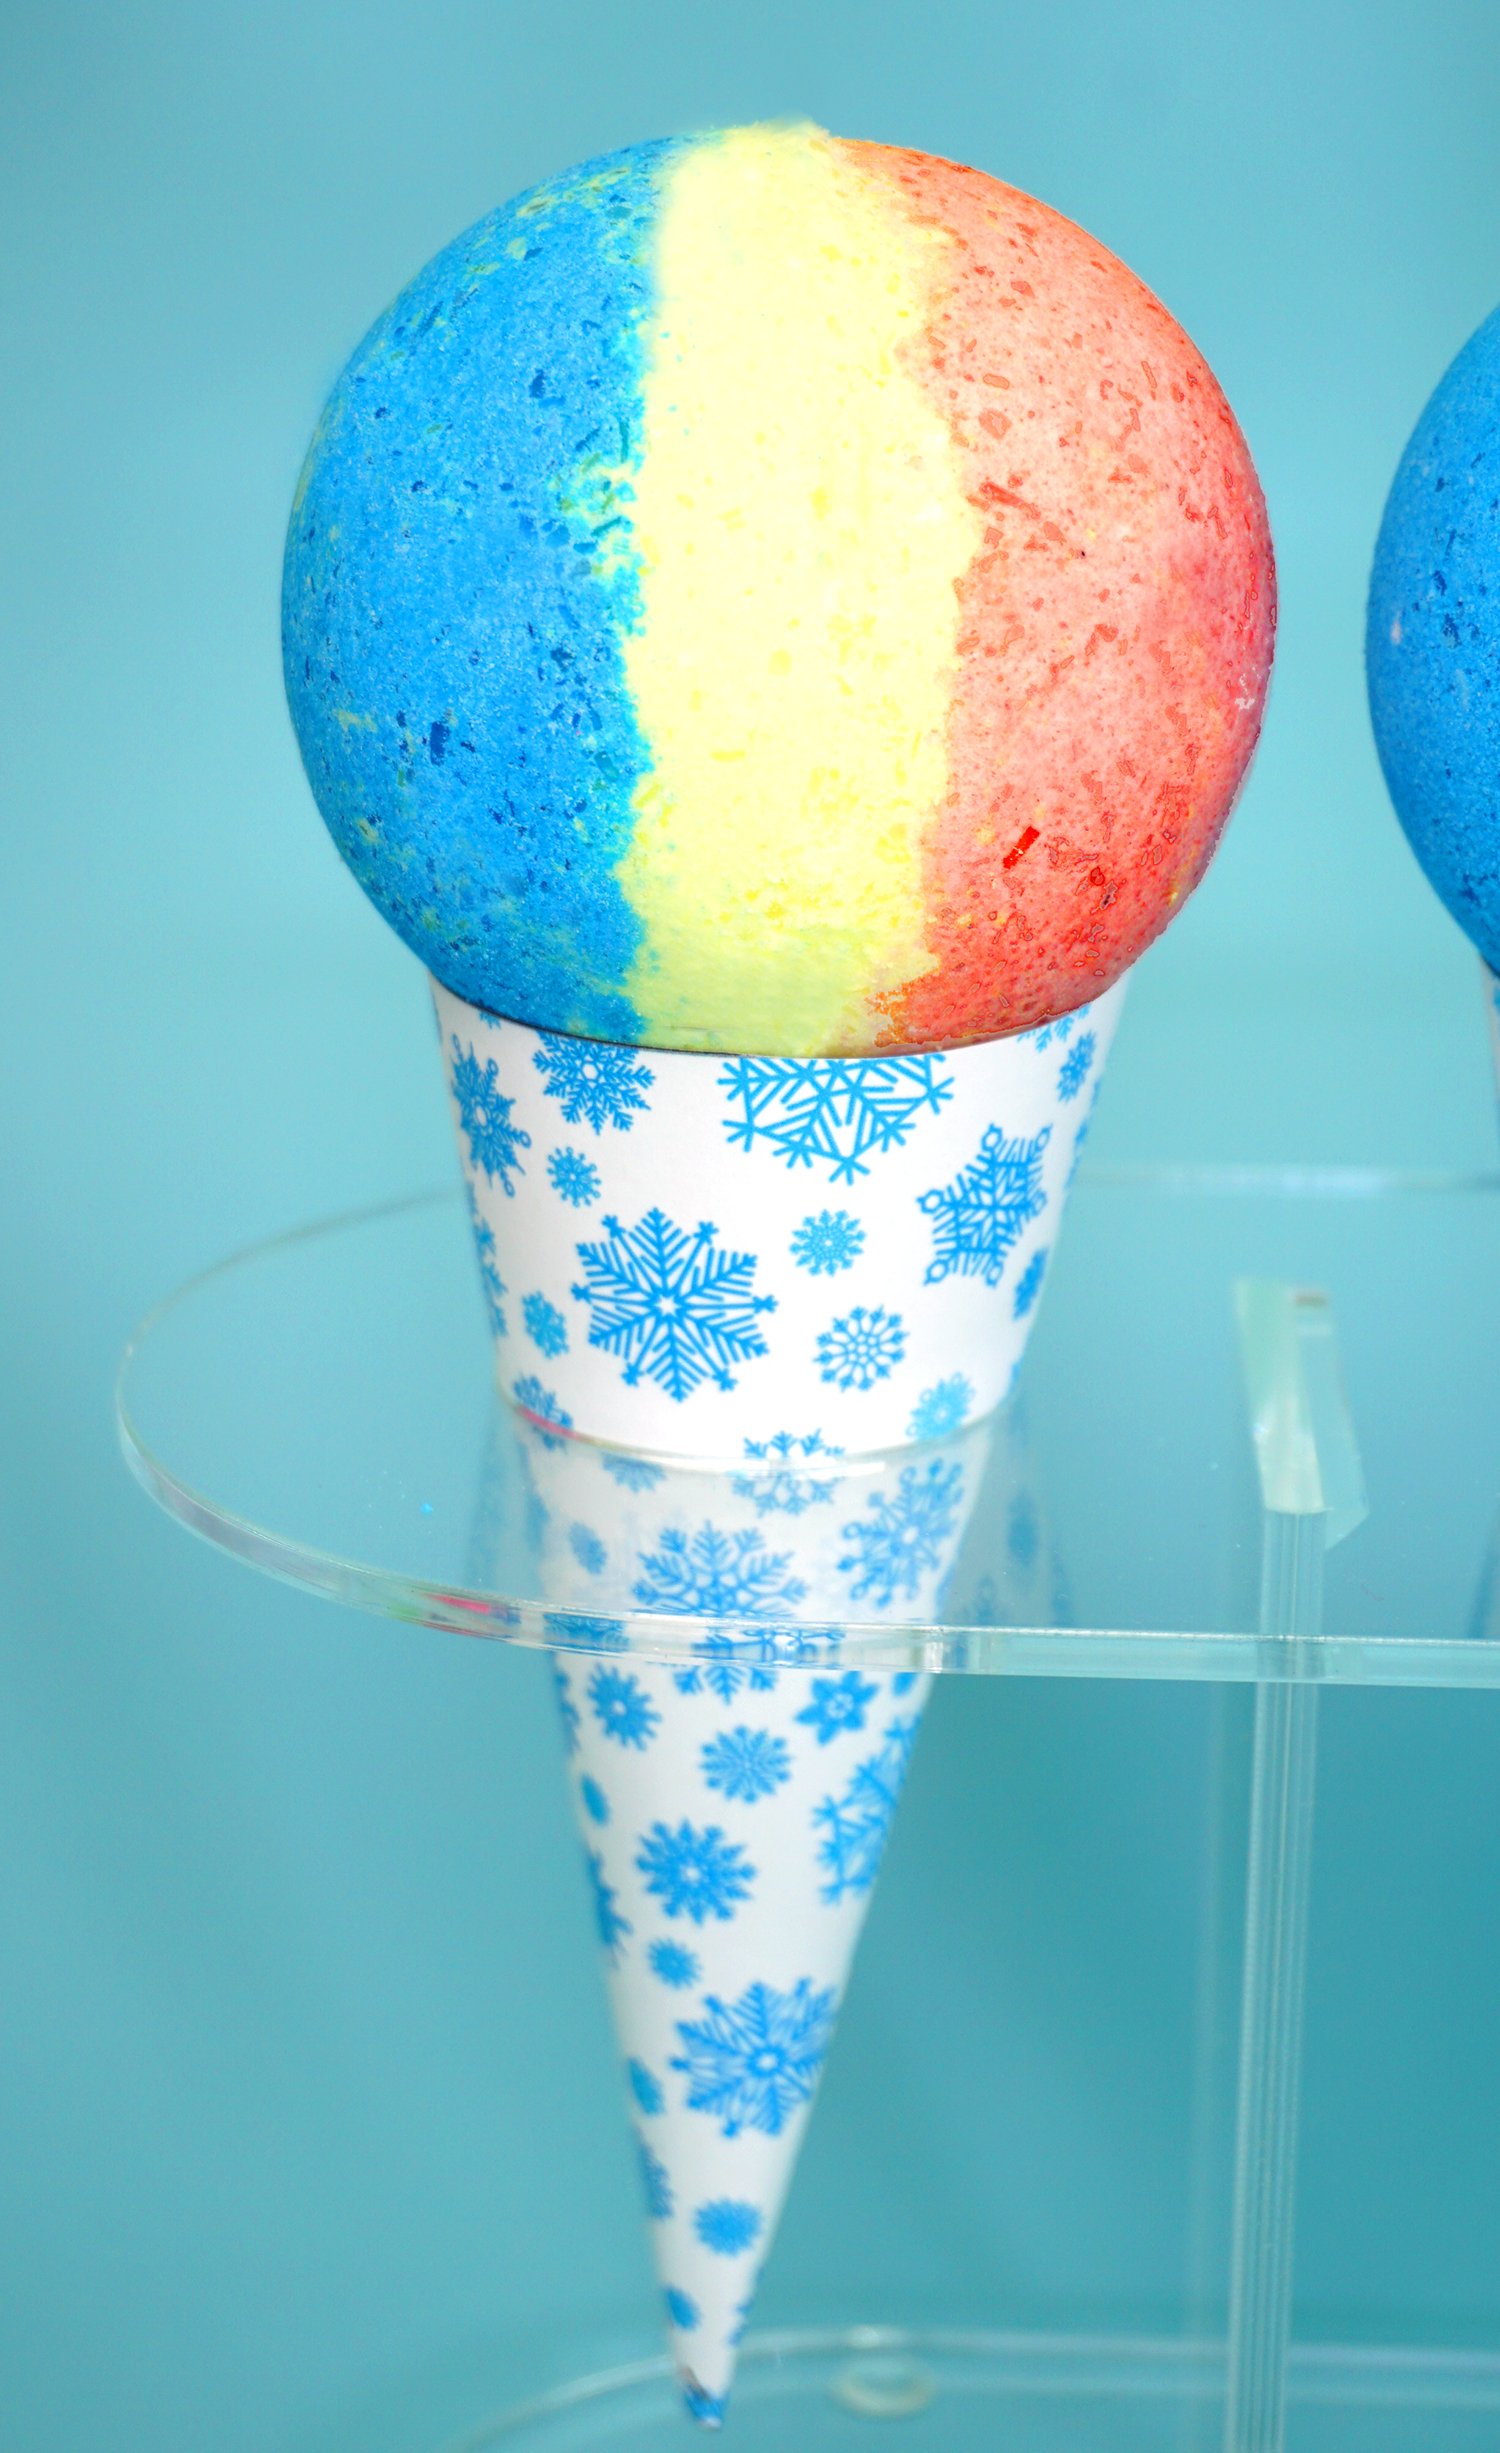
Layer the different colors into the bath bomb molds and allow them to dry for at least 6 hours before removing them from the molds. I generally allow my bath bombs to dry for an additional 24 hours after unmolding before packaging them up to ensure that they are completely cured and hardened.
Snow Cone Bath Bomb Recipe
Snow Cone Bath Bombs
What You’ll Need:
- 1 cup Baking Soda
- 1/2 cup Citric Acid
- 1/2 cup Epsom Salt
- 1/2 cup Cornstarch
- 3 tbsp. Coconut Oil, melted (may also use Fractionated Coconut Oil)
- 20-30 drops Fragrance or Essential Oil (more or less depending on intensity)
- 2 tbsp. Water or Witch Hazel, in spray bottle
- 1/2 tsp. each Red, Yellow, and Blue Cosmetic Mica Powder
Instructions:
- In a large bowl, mix together the baking soda, salt, citric acid, and cornstarch and stir until thoroughly combined.
- Divide the mixture into three smaller bowls, and add mica colorant to each bowl. Mix well.
- Melt the coconut oil if necessary. Evenly divide the coconut oil between the three bowls and add fragrance or essential oil of choice to each bowl. Slowly and carefully combine the wet ingredients with the dry ingredients. Be careful not to add too much liquid at once or the citric acid reaction will start to bubble and fizz!
- Squeeze the bath bomb mixture in your hand to test if it will stick together. If not, spray the mixture with 1-2 spritzes of water or witch hazel, mix well, and test again. Repeat until you reach the desired consistency. You want the mixture to hold together when compressed and compacted, but DO NOT GET THE MIXTURE TOO WET!
- Fill the mold with layers of the bath bomb mixture, pressing down to ensure that it is completely filled. Fill the other half of the mold, and press both filled halves tightly together.
- Allow the bath bombs to dry for at least 6 hours before unmolding. I recommend drying for an additional 24 hours after unmolding before handling, decorating, and gift packaging (if time allows).
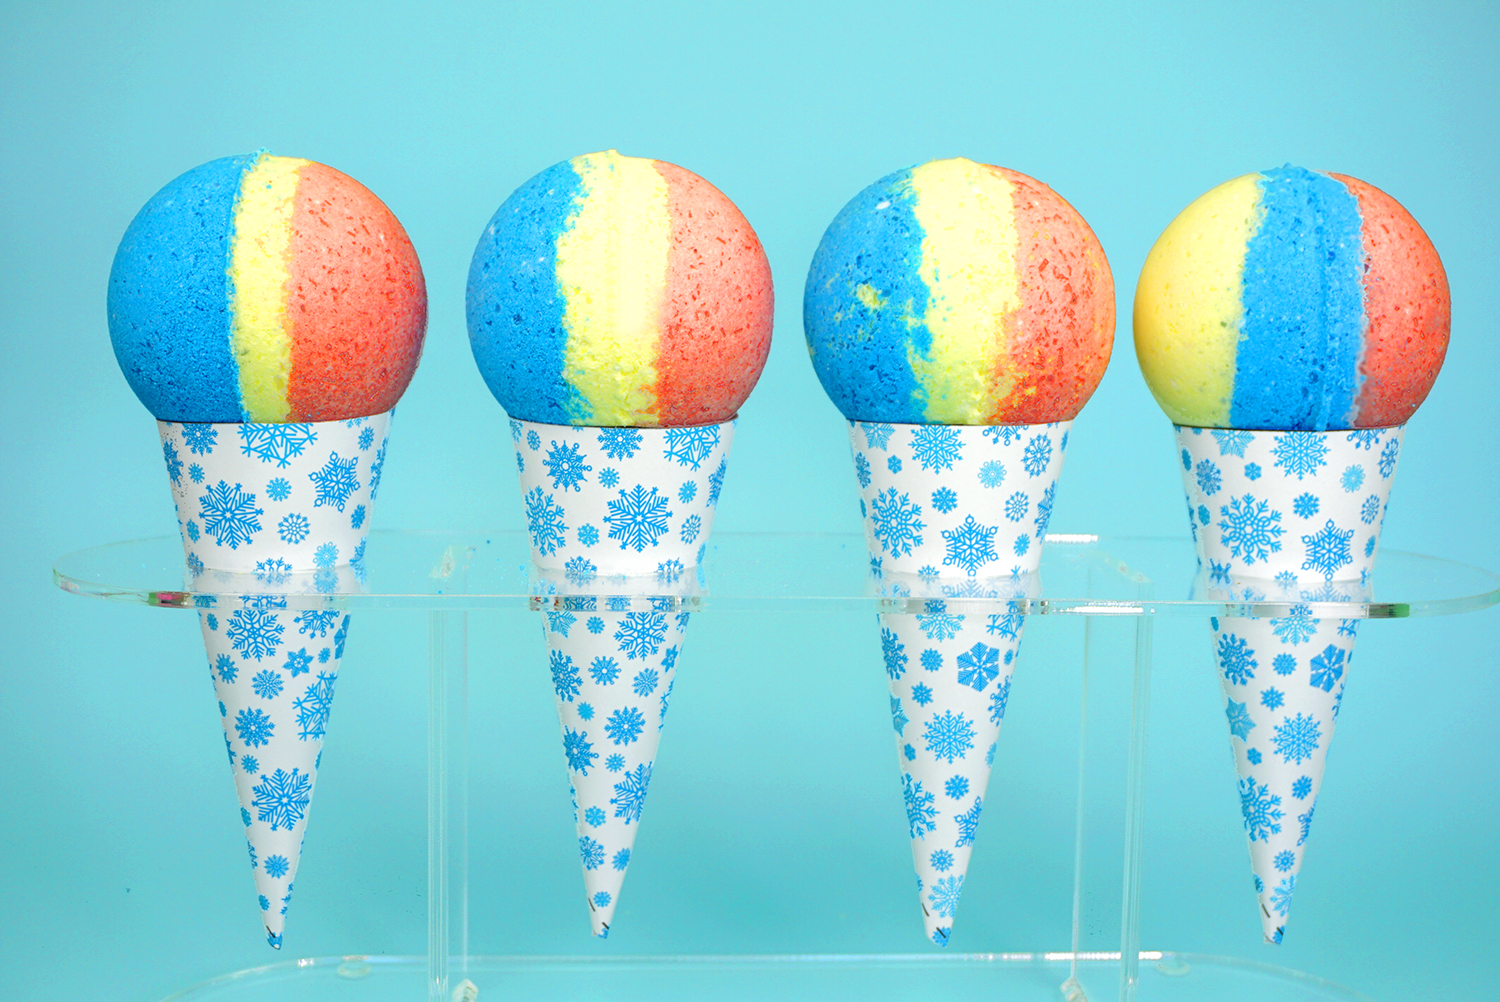
If desired, print out our cute snow cone paper wrappers to display your snow cone bath bombs – perfect for gift-giving! I like to wrap the entire package in a cone-shaped gift bag for easy gift-giving! Get the snow cone paper wrappers template HERE!

Pin these Snow Cone DIY Bath Bombs for Later!
You May Also Like:
Easy Snowman DIY Bath Bomb Recipe

Heidi Kundin has captivated the hearts of millions with her colorful and inspiring approach to crafting, celebrations, and family fun. With over 15 years of experience, Happiness is Homemade has become a must-visit destination for those seeking quick and easy creative ideas and last-minute solutions. Heidi’s warm personality shines through her posts, inviting readers to join her on a creative journey that’s fun, rewarding, and achievable. Heidi is also the author of Homemade Bath Bombs & More and DIY Tie-Dye.

