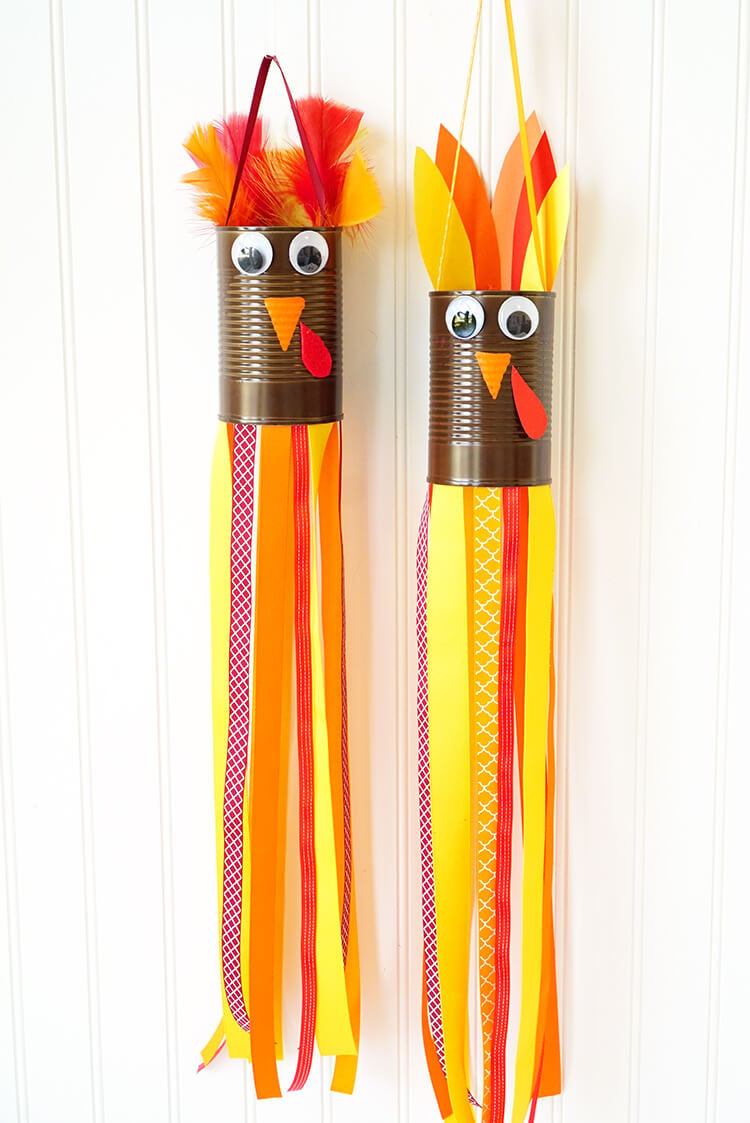
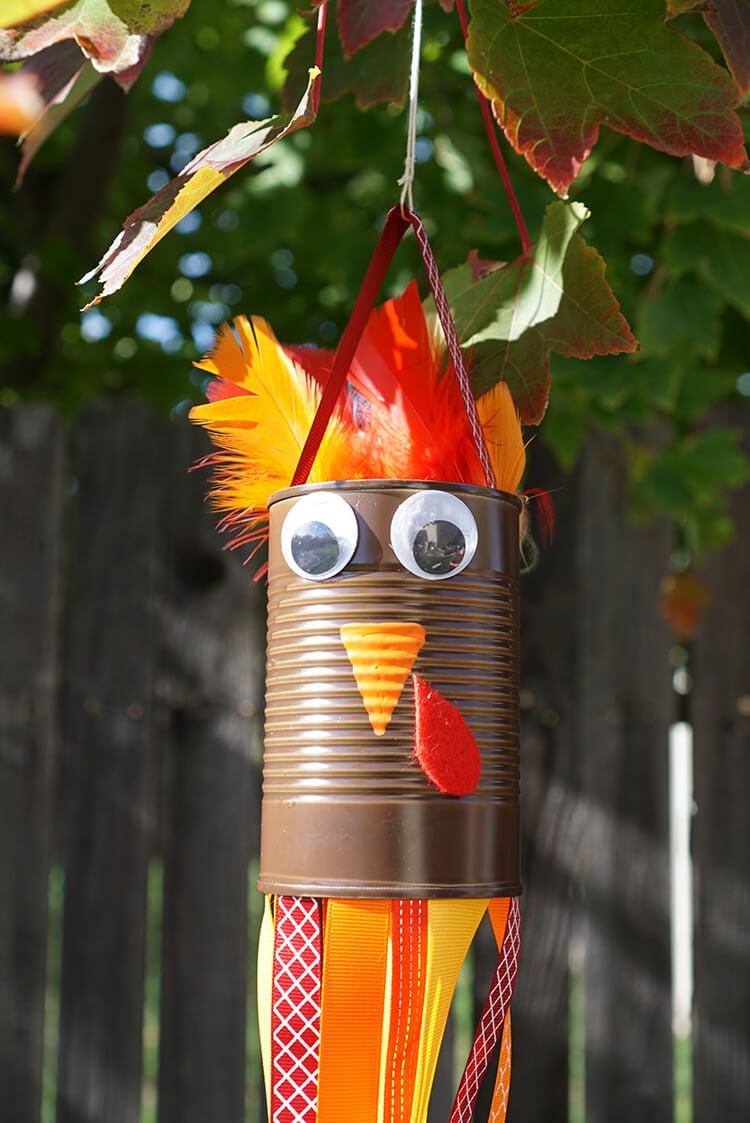
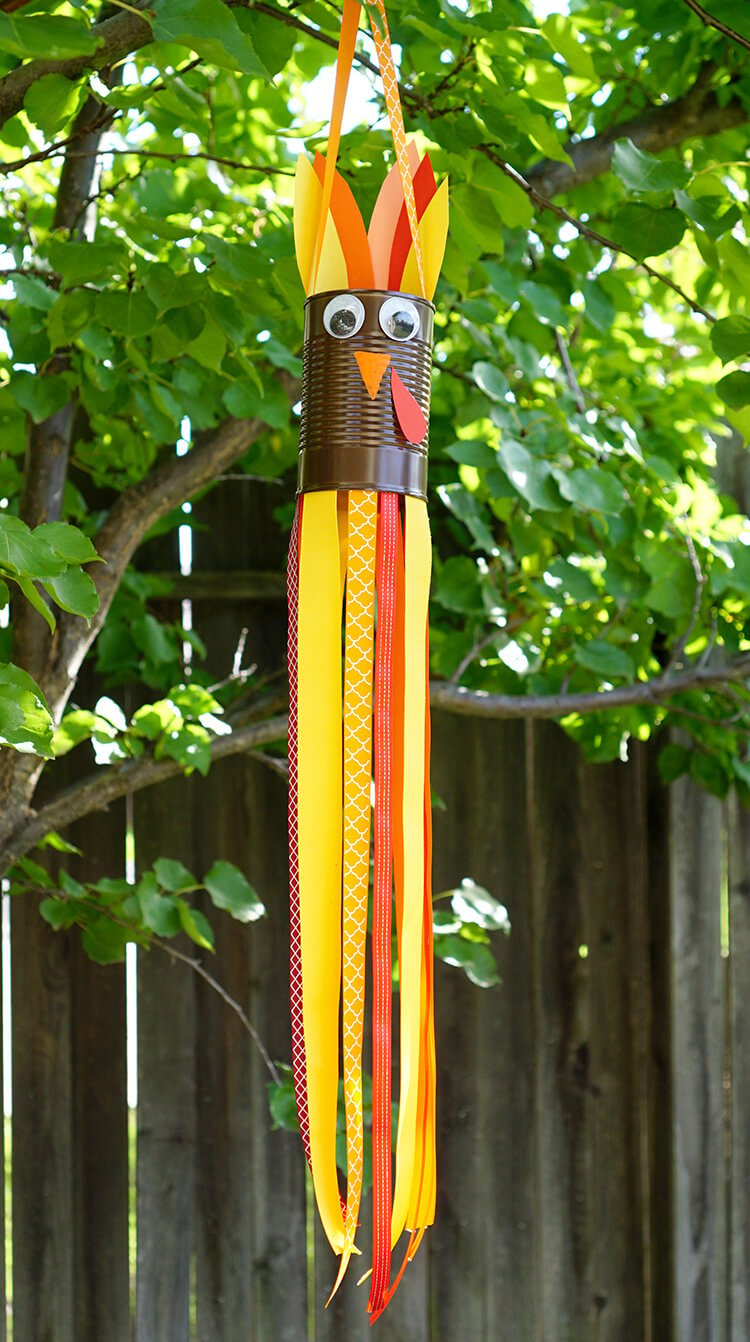
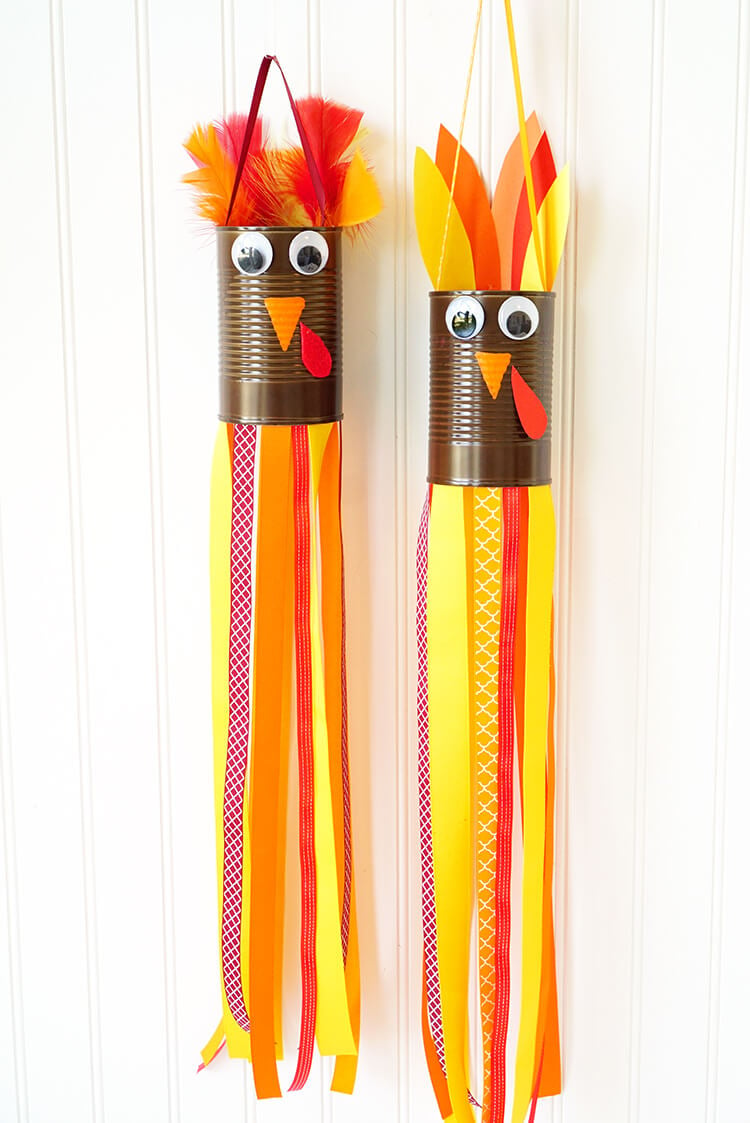
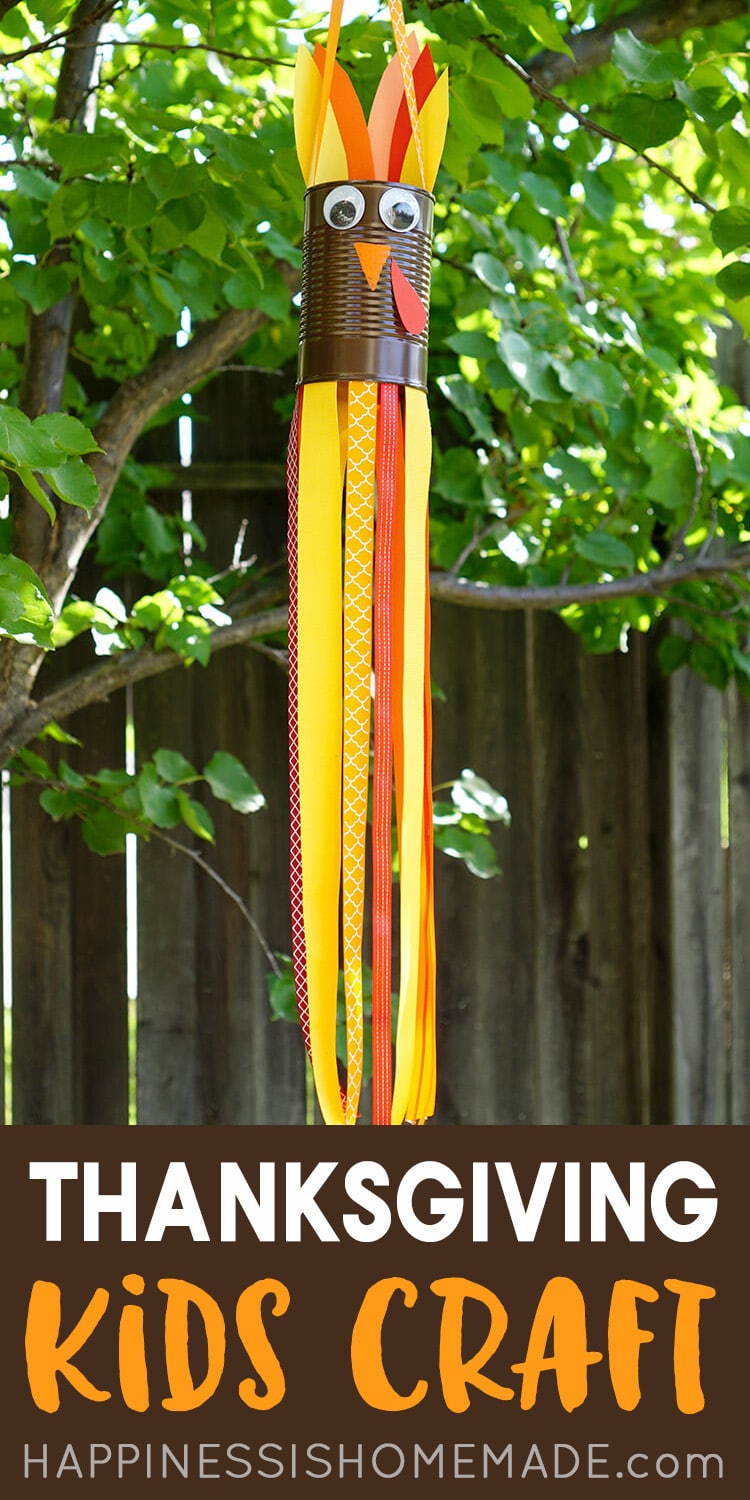
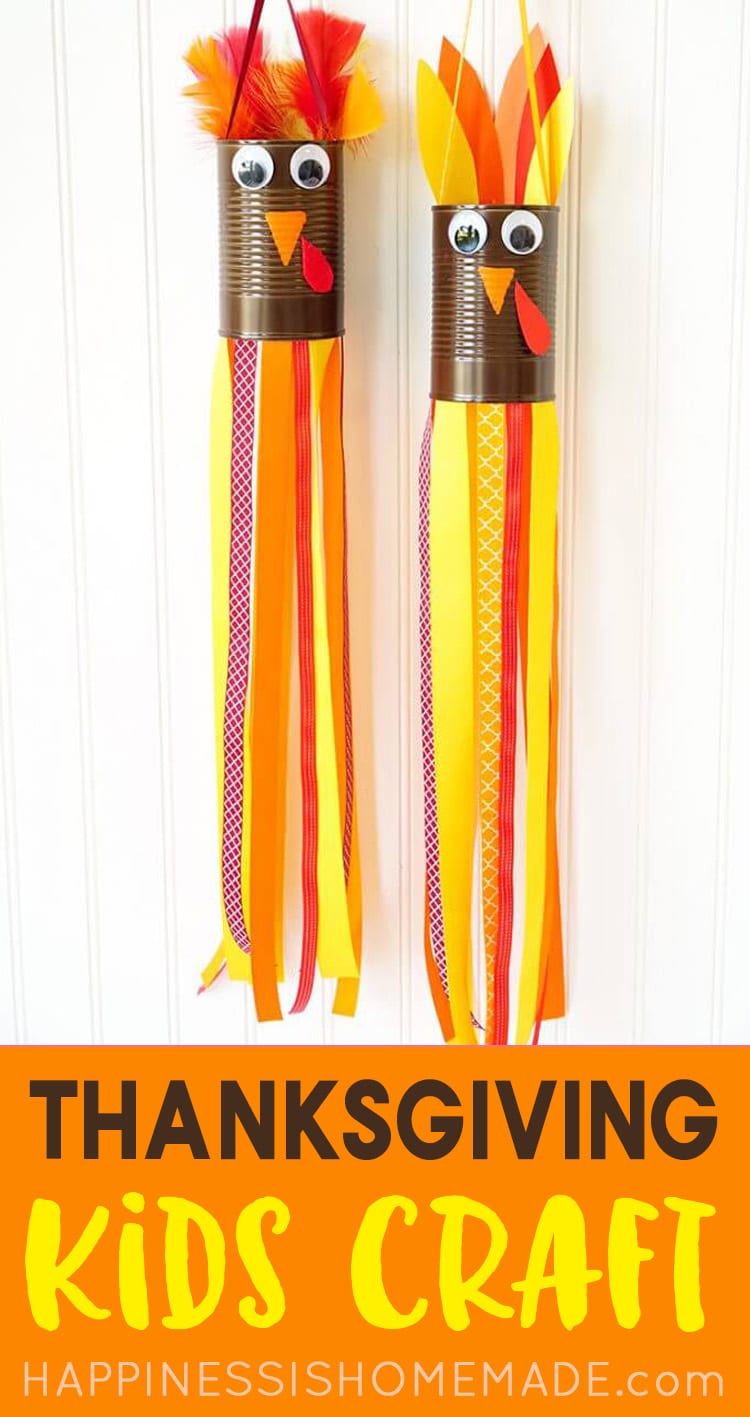
Need a quick and easy Thanksgiving kids craft? These adorable turkey windsocks made from a recycled tin can, ribbon, Elmer’s glue, and crafty odds and ends are the cutest Thanksgiving turkeys around!
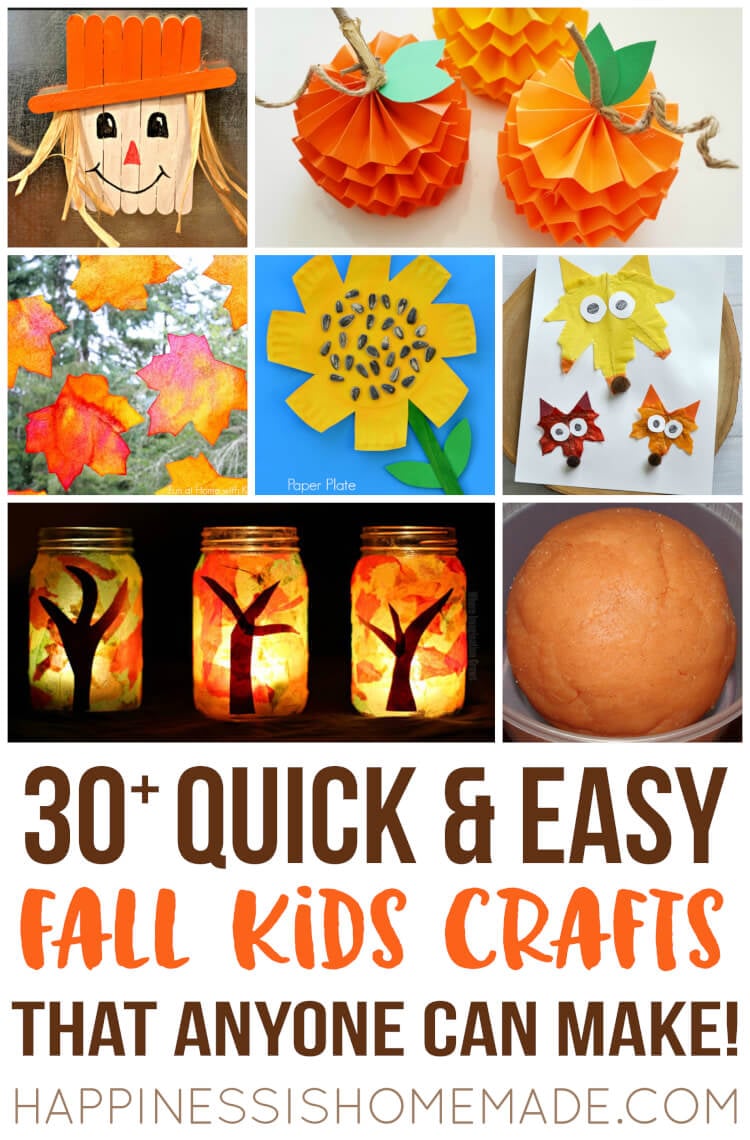
We recently shared a list of 30+ Easy Fall Kids Crafts That Anyone Can Make, and today we’re adding one more quick kids’ craft to the repertoire with these easy Thanksgiving Turkey Windsocks! This adorable Thanksgiving craft comes together in under 30 minutes (excluding drying time) and makes a sweet addition to your fall holiday decor.
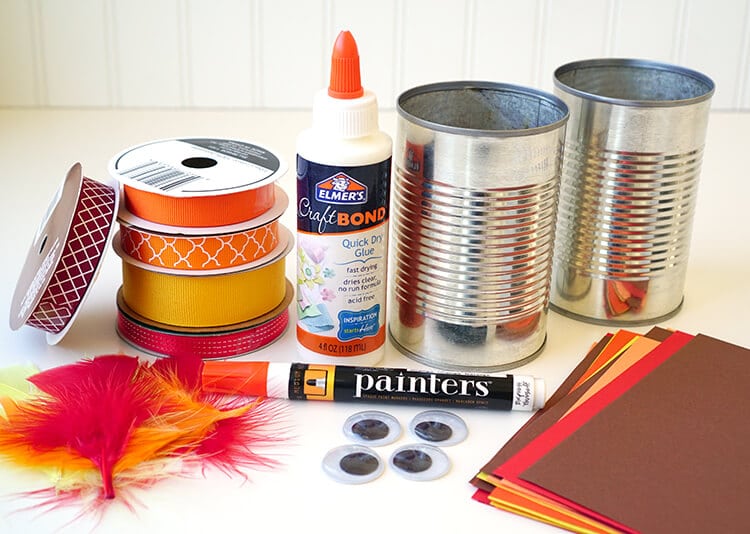
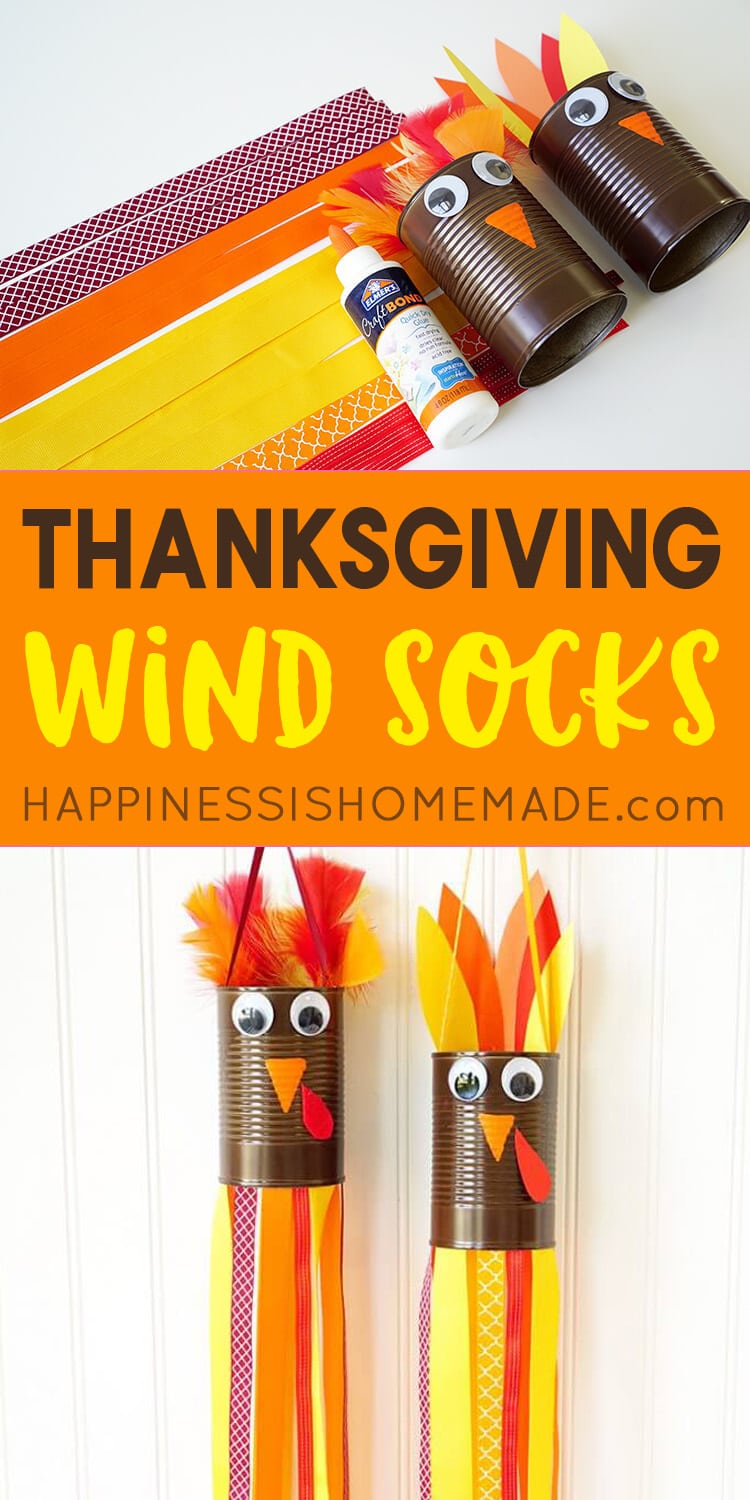
Supplies Needed to Make Turkey Windsocks:
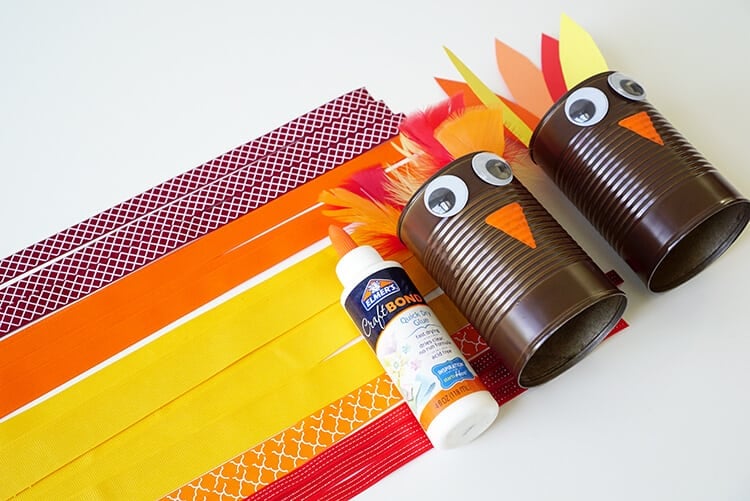
- Recycled Food Can (cleaned and dried, with top and bottom removed)
- Brown Paint
- Elmer’s CraftBond Quick Dry Glue
- Elmer’s Medium Tip Painters Pen, Orange
- Large Googly Eyes
- Ribbons in Fall Colors
- Feathers, Felt, and/or Construction Paper in Fall Colors (can mix and match)
- Masking Tape, optional
For this project, there are lots of different options in material choices that can be mixed and matched to create your craft. In our example windsocks, we used construction paper and feathers for the turkey’s feathers, but you could also use felt, crepe paper, leaves, or other similar supplies that you may already have on-hand.
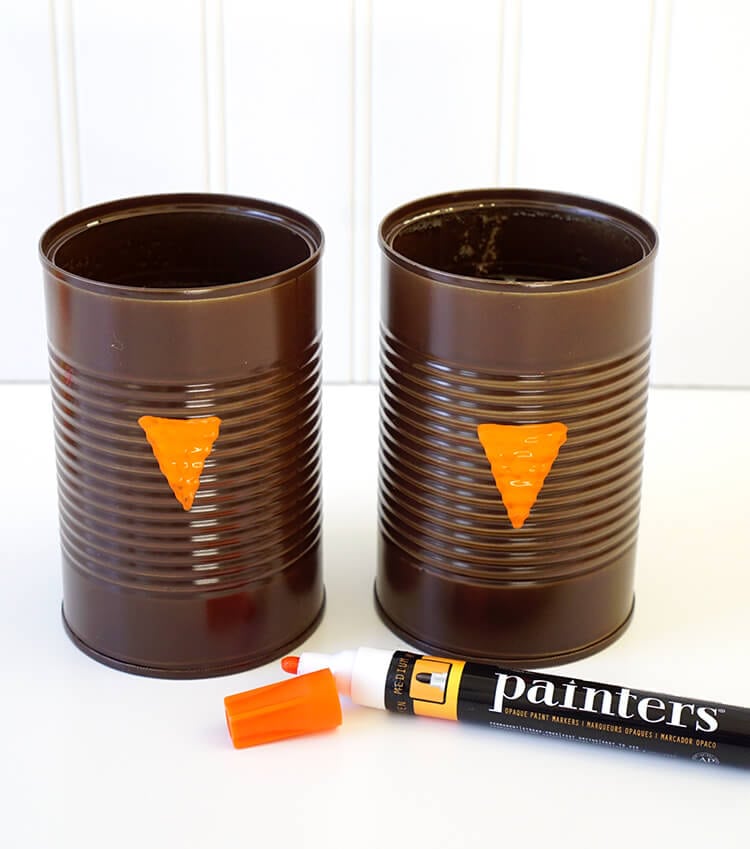
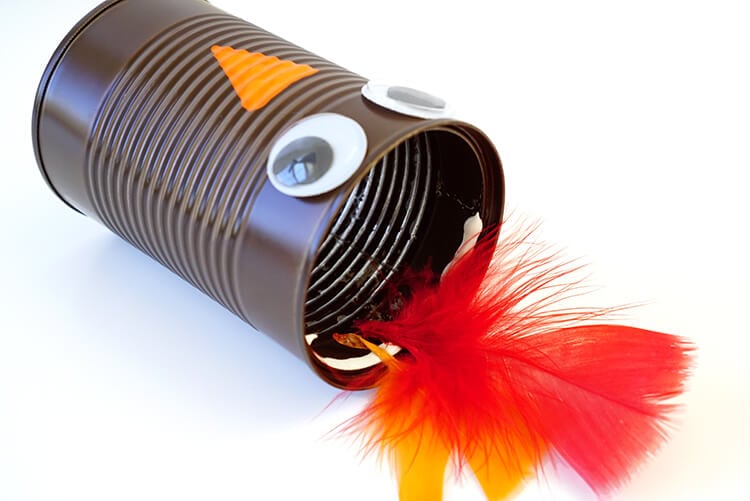
Start by painting the can brown and allowing it to dry completely before using the Painters marker to draw the turkey’s beak.
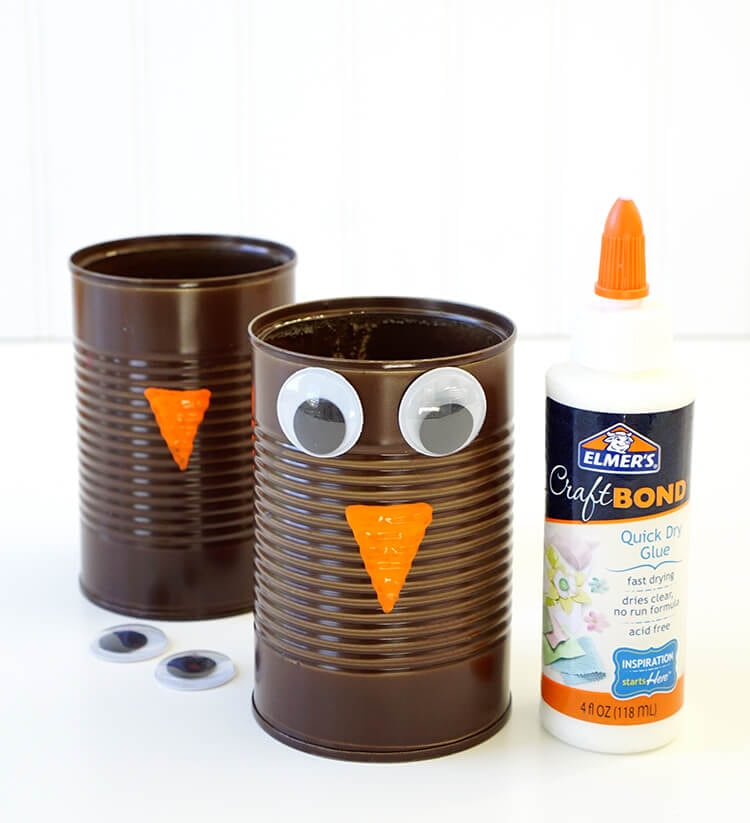
Attach the googly eyes to the can using Elmer’s CraftBond Quick Dry glue.
Run a thick line of glue inside the rim at the back side of the can, and attach the turkey’s tail “feathers” (made from actual feathers, construction paper, felt, etc.). Note: if the interior rim of your can has sharp edges, you can cover it with a layer or two of masking tape to protect your fingers!
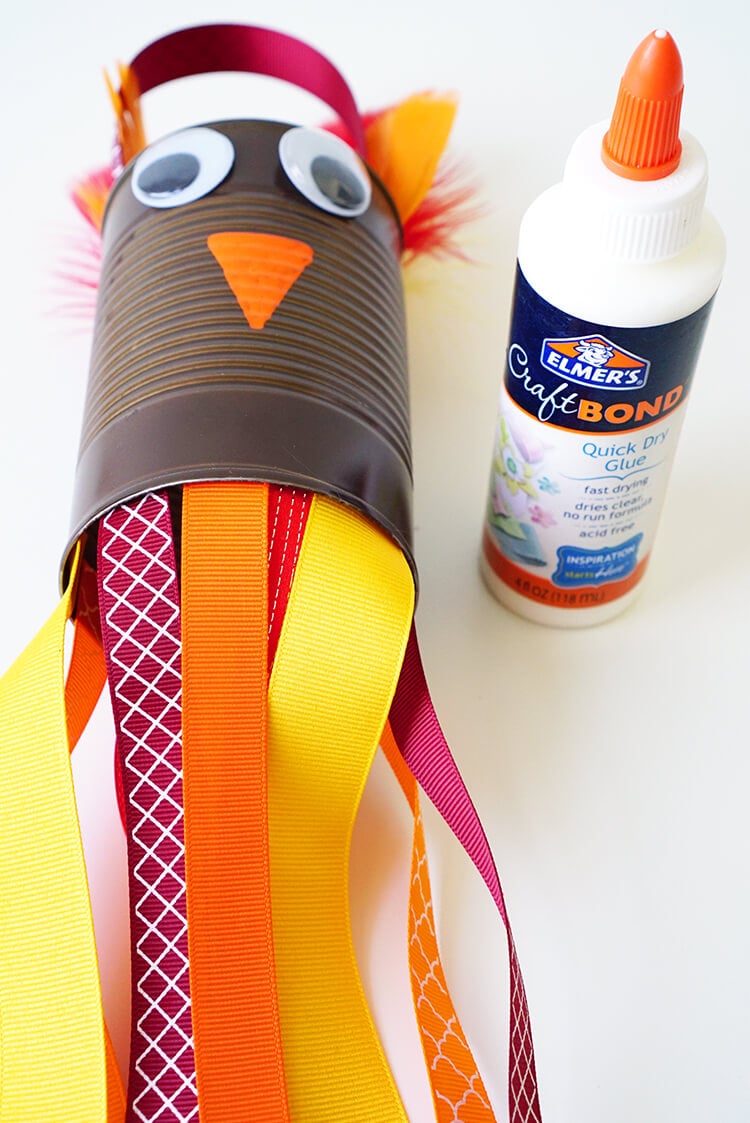
Cut 10-15 pieces of ribbon approximately 18″ in length.
Run another thick line of Elmer’s CraftBond glue around the entire inside rim at the bottom of the can, and use the glue to attach the ribbon streamers. Allow to dry completely.
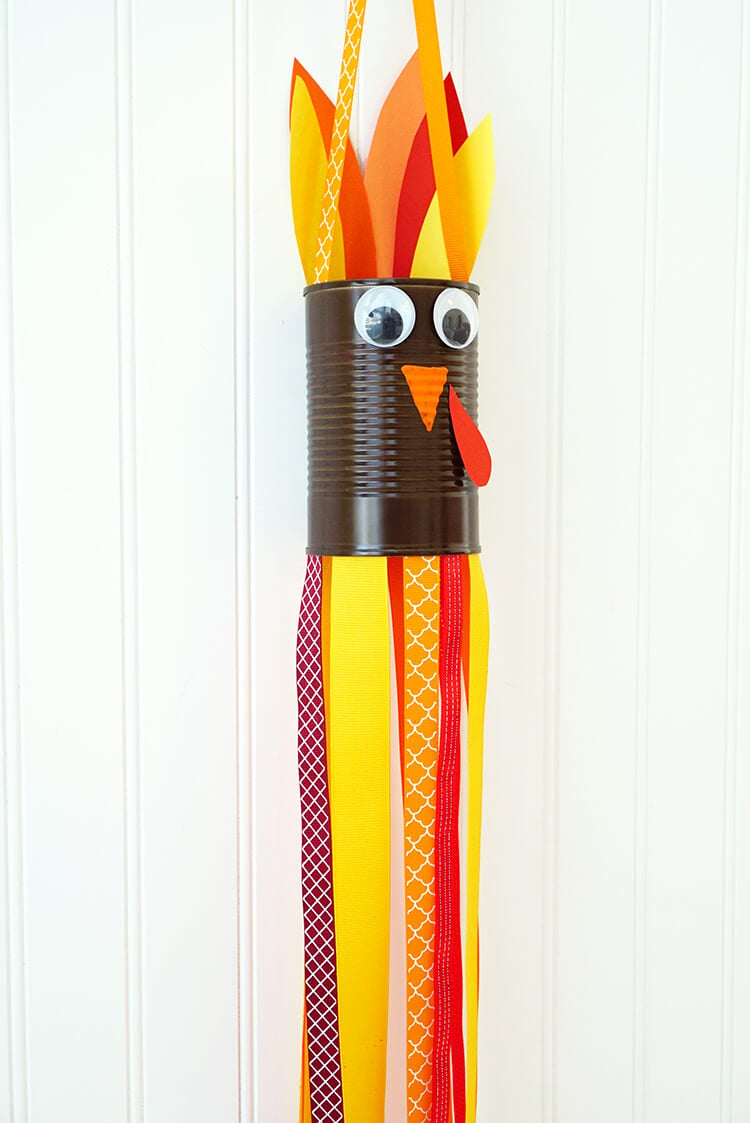
Use the glue to attach a red wattle (made of felt or paper) and a ribbon for hanging.
Easy peasy and super cute!
For more fun craft ideas, be sure to sign up for the Elmer’s Newsletter and check them out on Twitter, Facebook, Instagram & Pinterest! Happy crafting!
WANT MORE THANKSGIVING FUN & GAMES?
GET OUR MEGA GAMES & ACTIVITIES BUNDLE NOW!

You May Also Like:
30+ Quick & Easy Kids Crafts That Anyone Can Make!
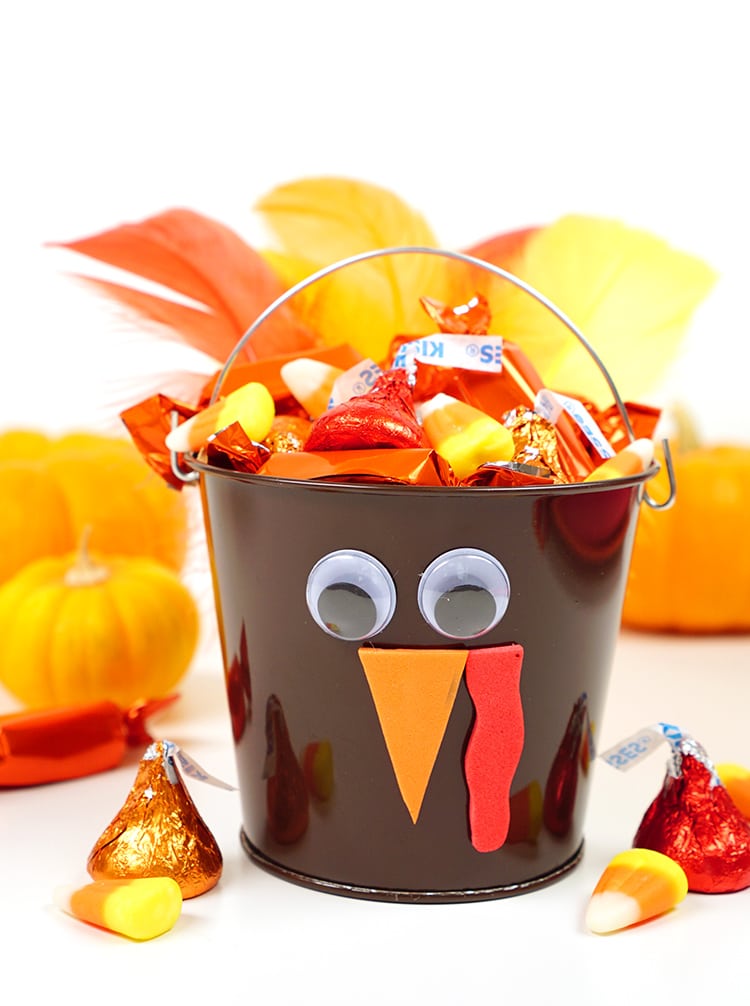
Thanksgiving Turkey Treat Buckets
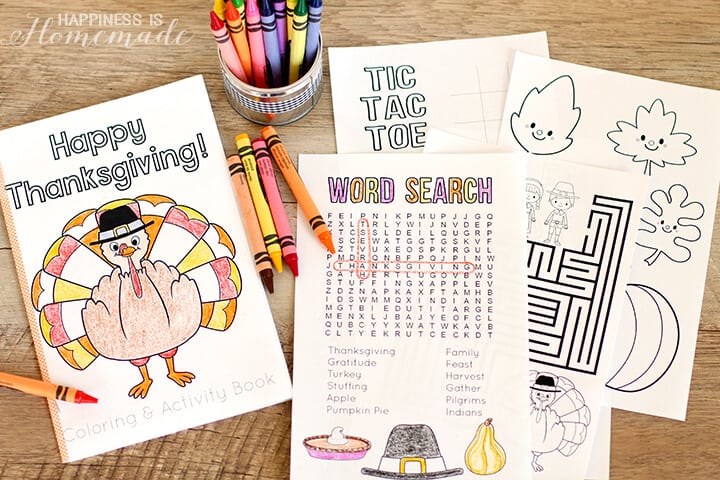
Printable Thanksgiving Coloring & Activity Book
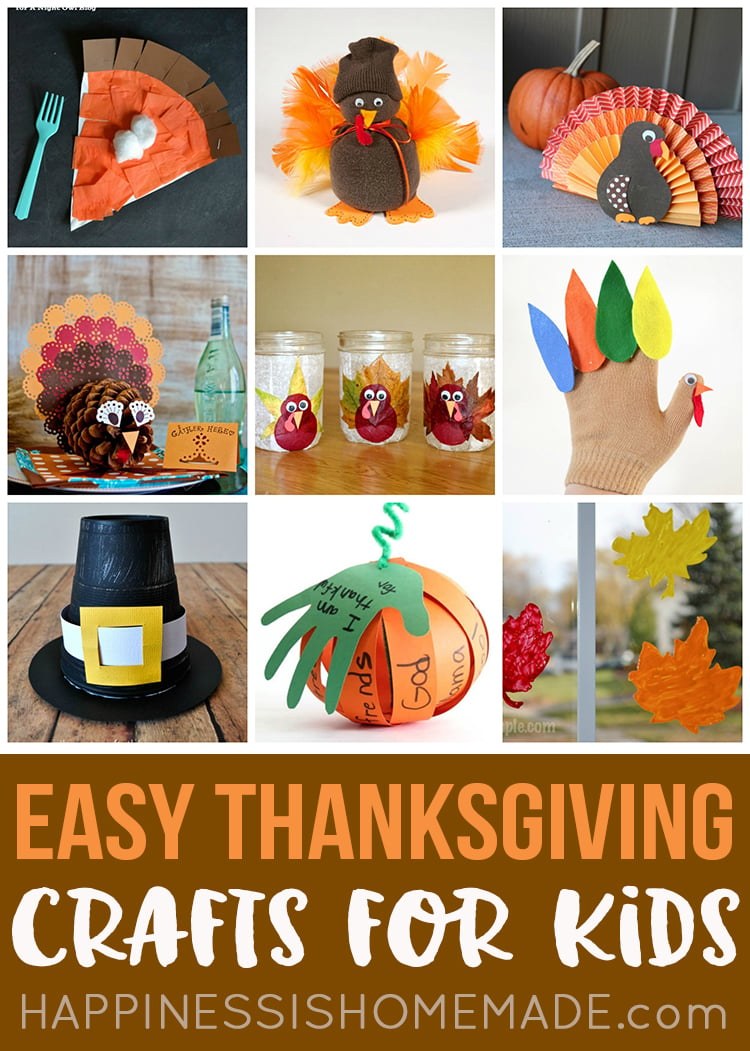
Easy Thanksgiving Crafts for Kids
If you like this idea, don’t forget to pin it!


Heidi Kundin has captivated the hearts of millions with her colorful and inspiring approach to crafting, celebrations, and family fun. With over 15 years of experience, Happiness is Homemade has become a must-visit destination for those seeking quick and easy creative ideas and last-minute solutions. Heidi’s warm personality shines through her posts, inviting readers to join her on a creative journey that’s fun, rewarding, and achievable. Heidi is also the author of Homemade Bath Bombs & More and DIY Tie-Dye.

