Tie-Dye Supplies: What supplies do you need to tie-dye? Discover the must-have tie-dyeing supplies and materials, plus, get links to all the items used in my new book, DIY Tie-Dye!
This post may contain affiliate links. I will receive a small commission from these sales at no additional cost to you!
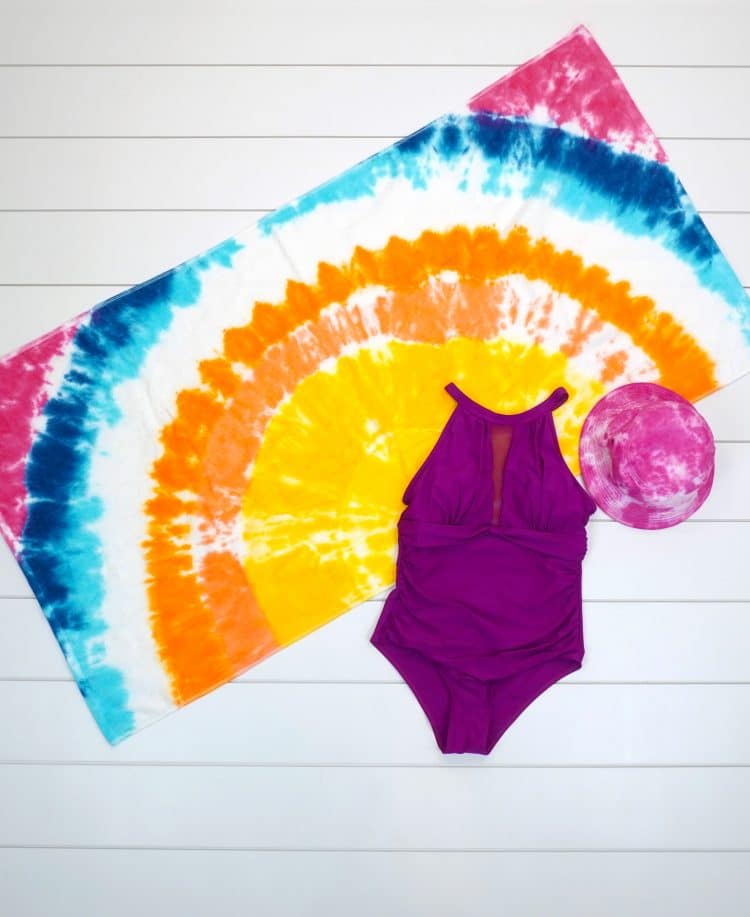
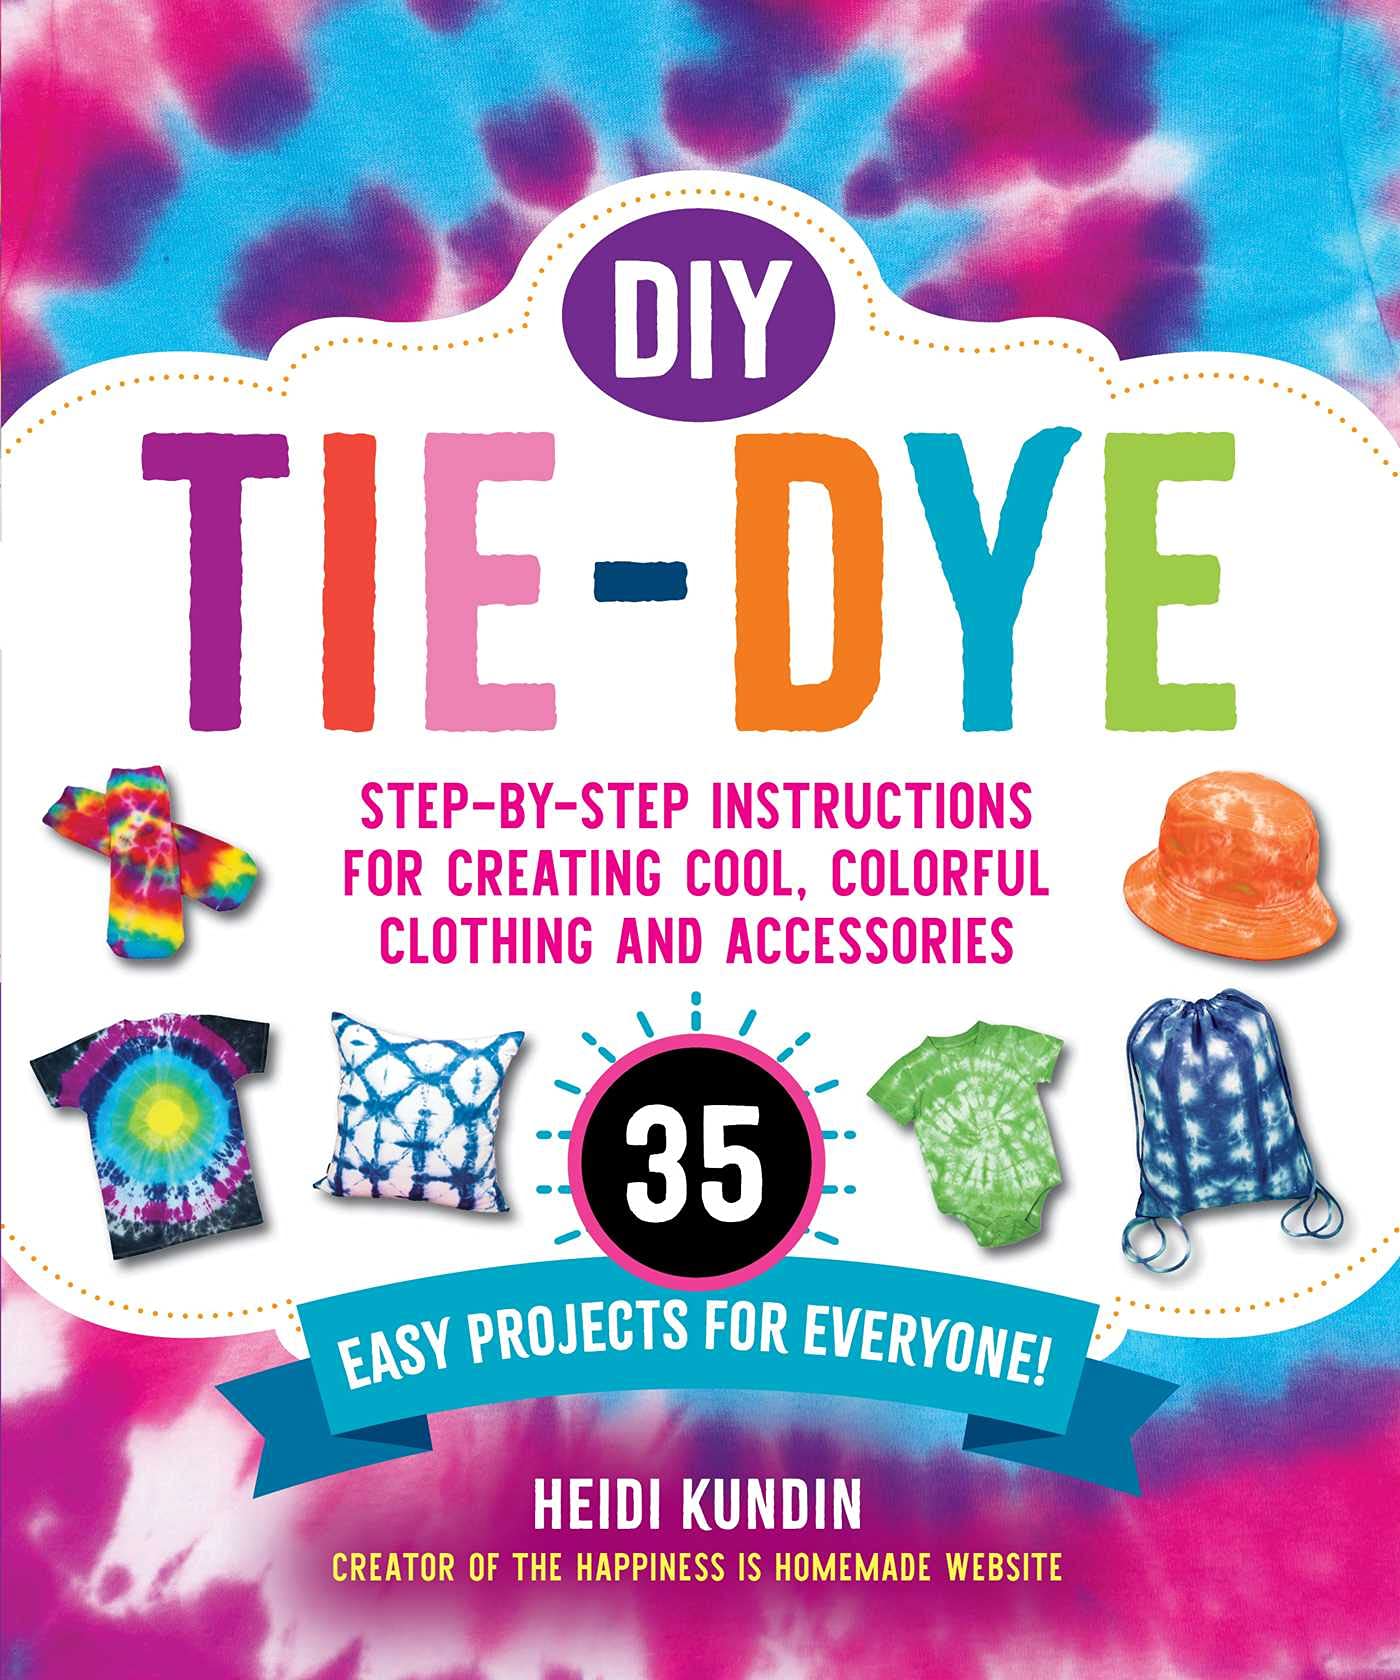
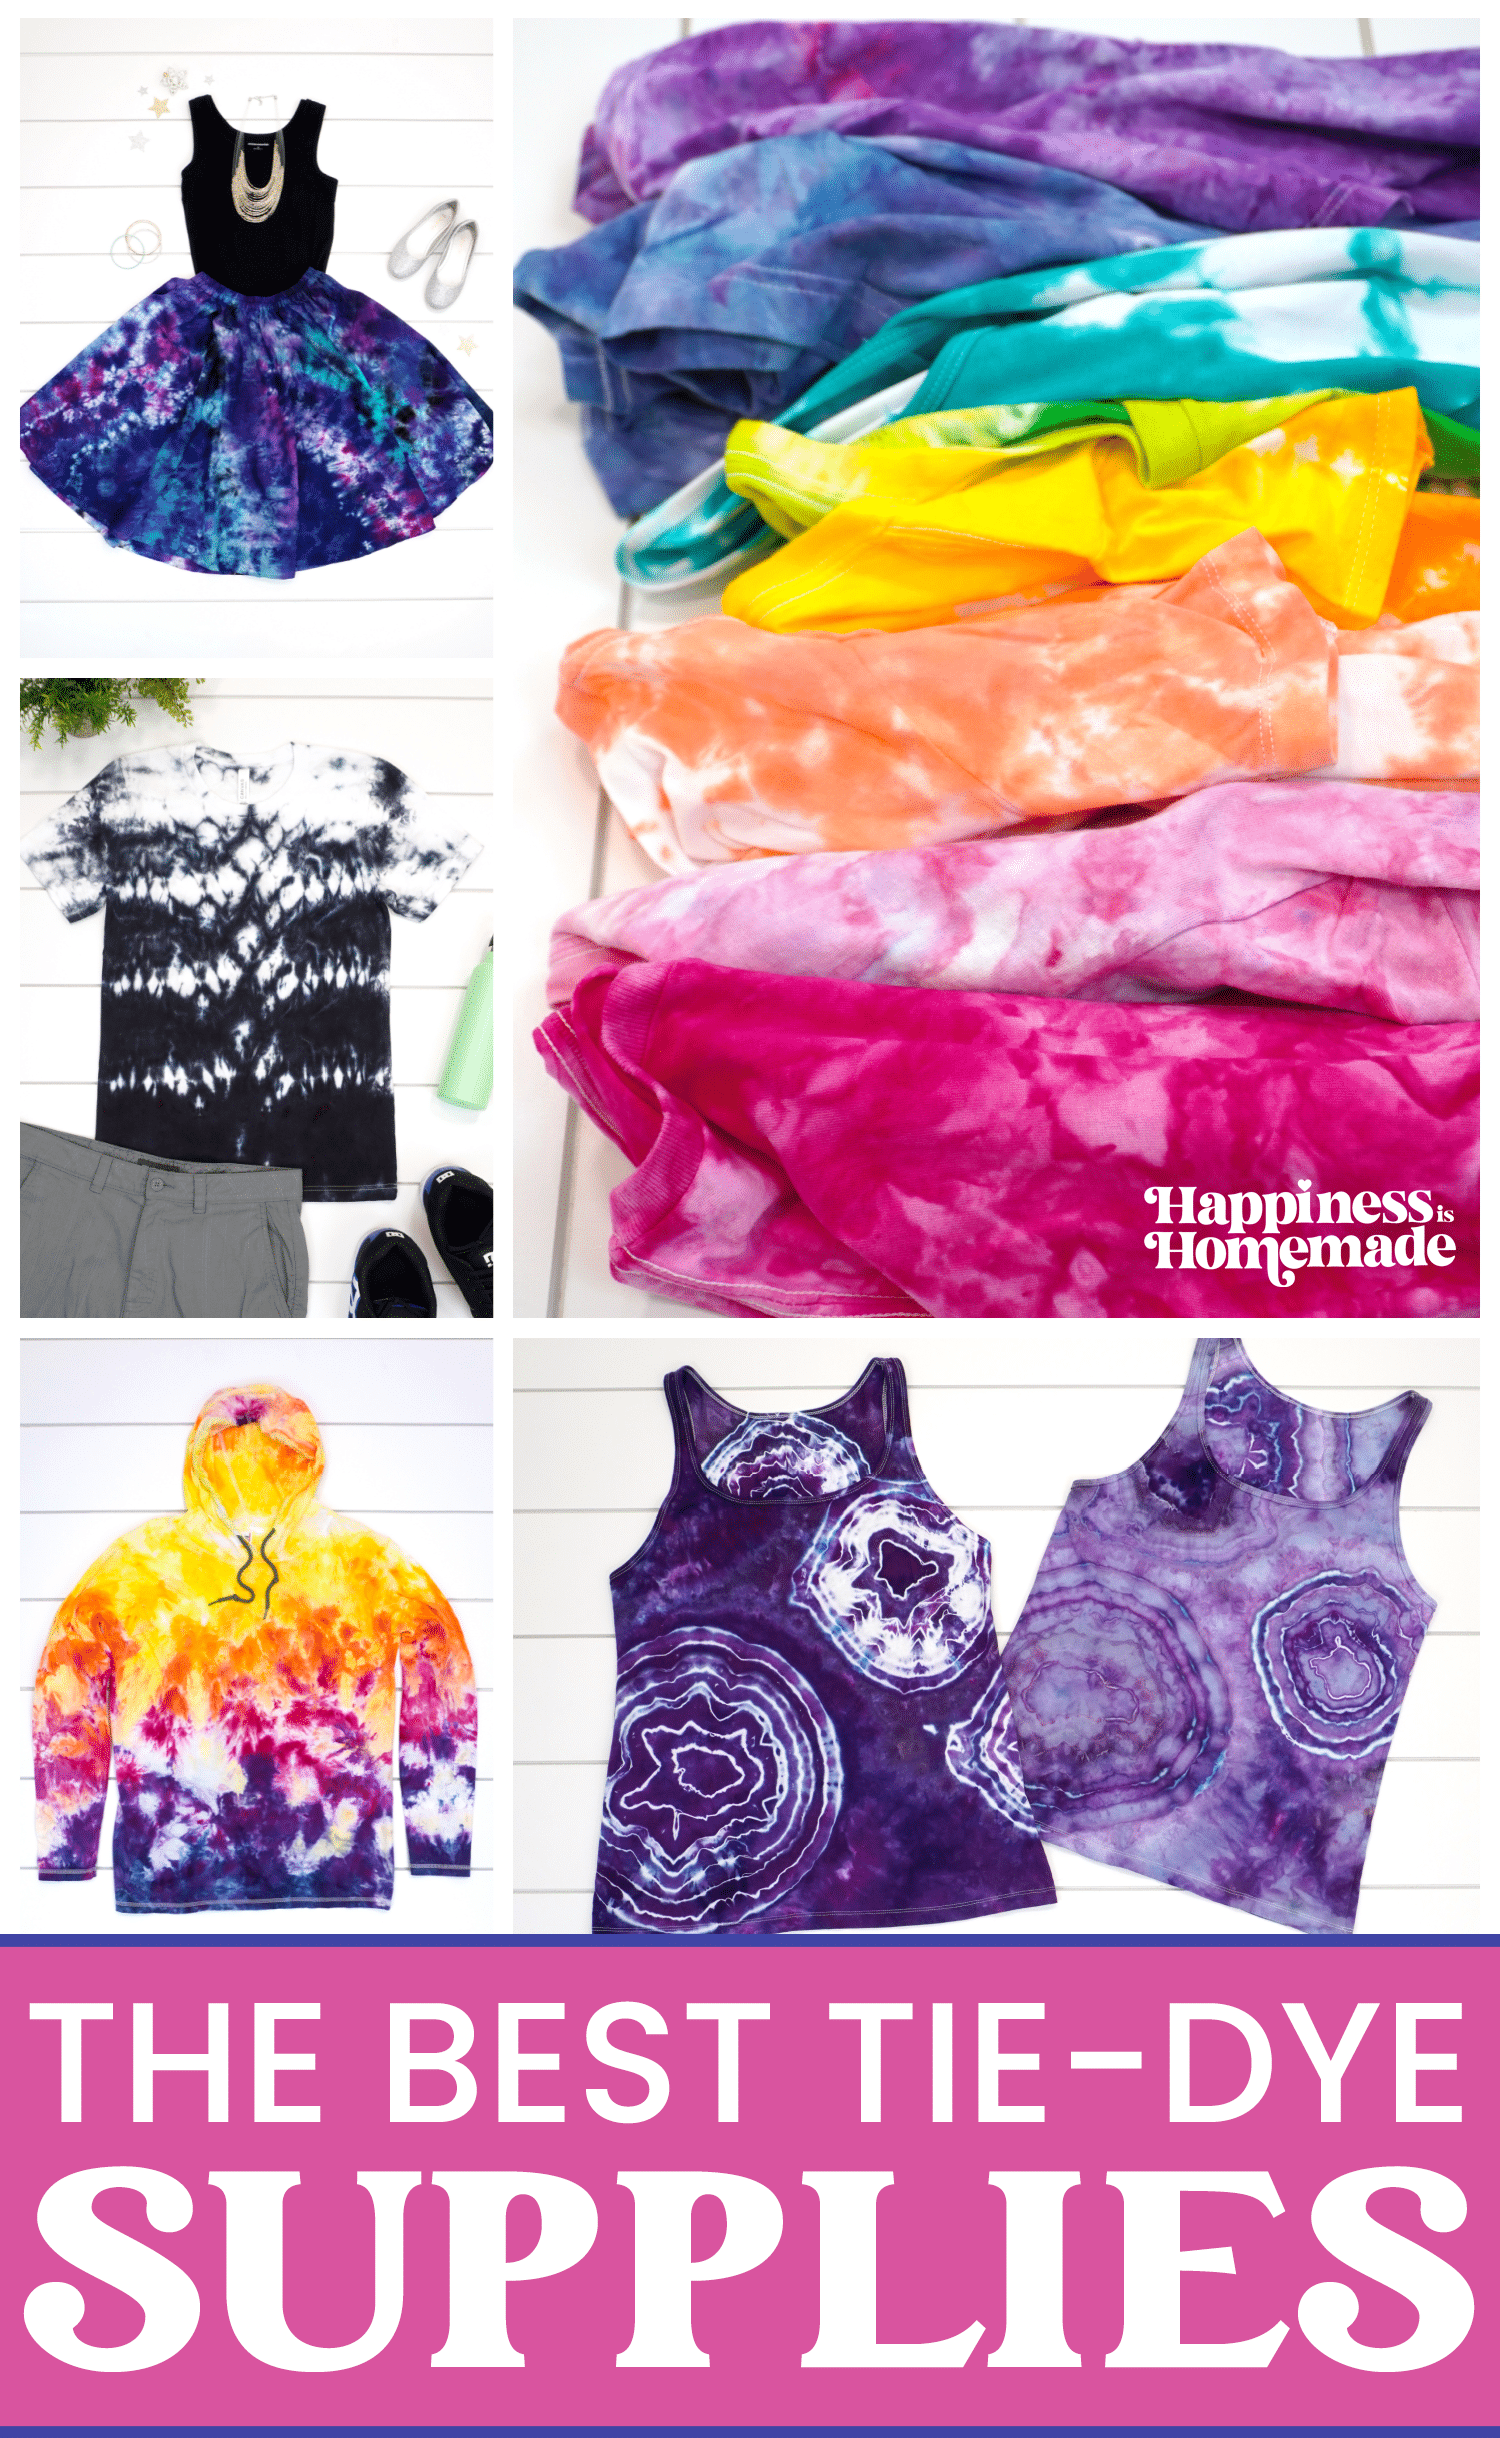
Our new book, DIY Tie-Dye: Step-by-Step Instructions for Creating Cool, Colorful Clothing and Accessories, is here, and we could NOT be more excited to share it with you! We spent months and months creating 35 super awesome tie-dye projects with full step-by-step photo tutorials and instructions, and we hope that you are going to love them as much as we do! I can’t wait to see what you create!
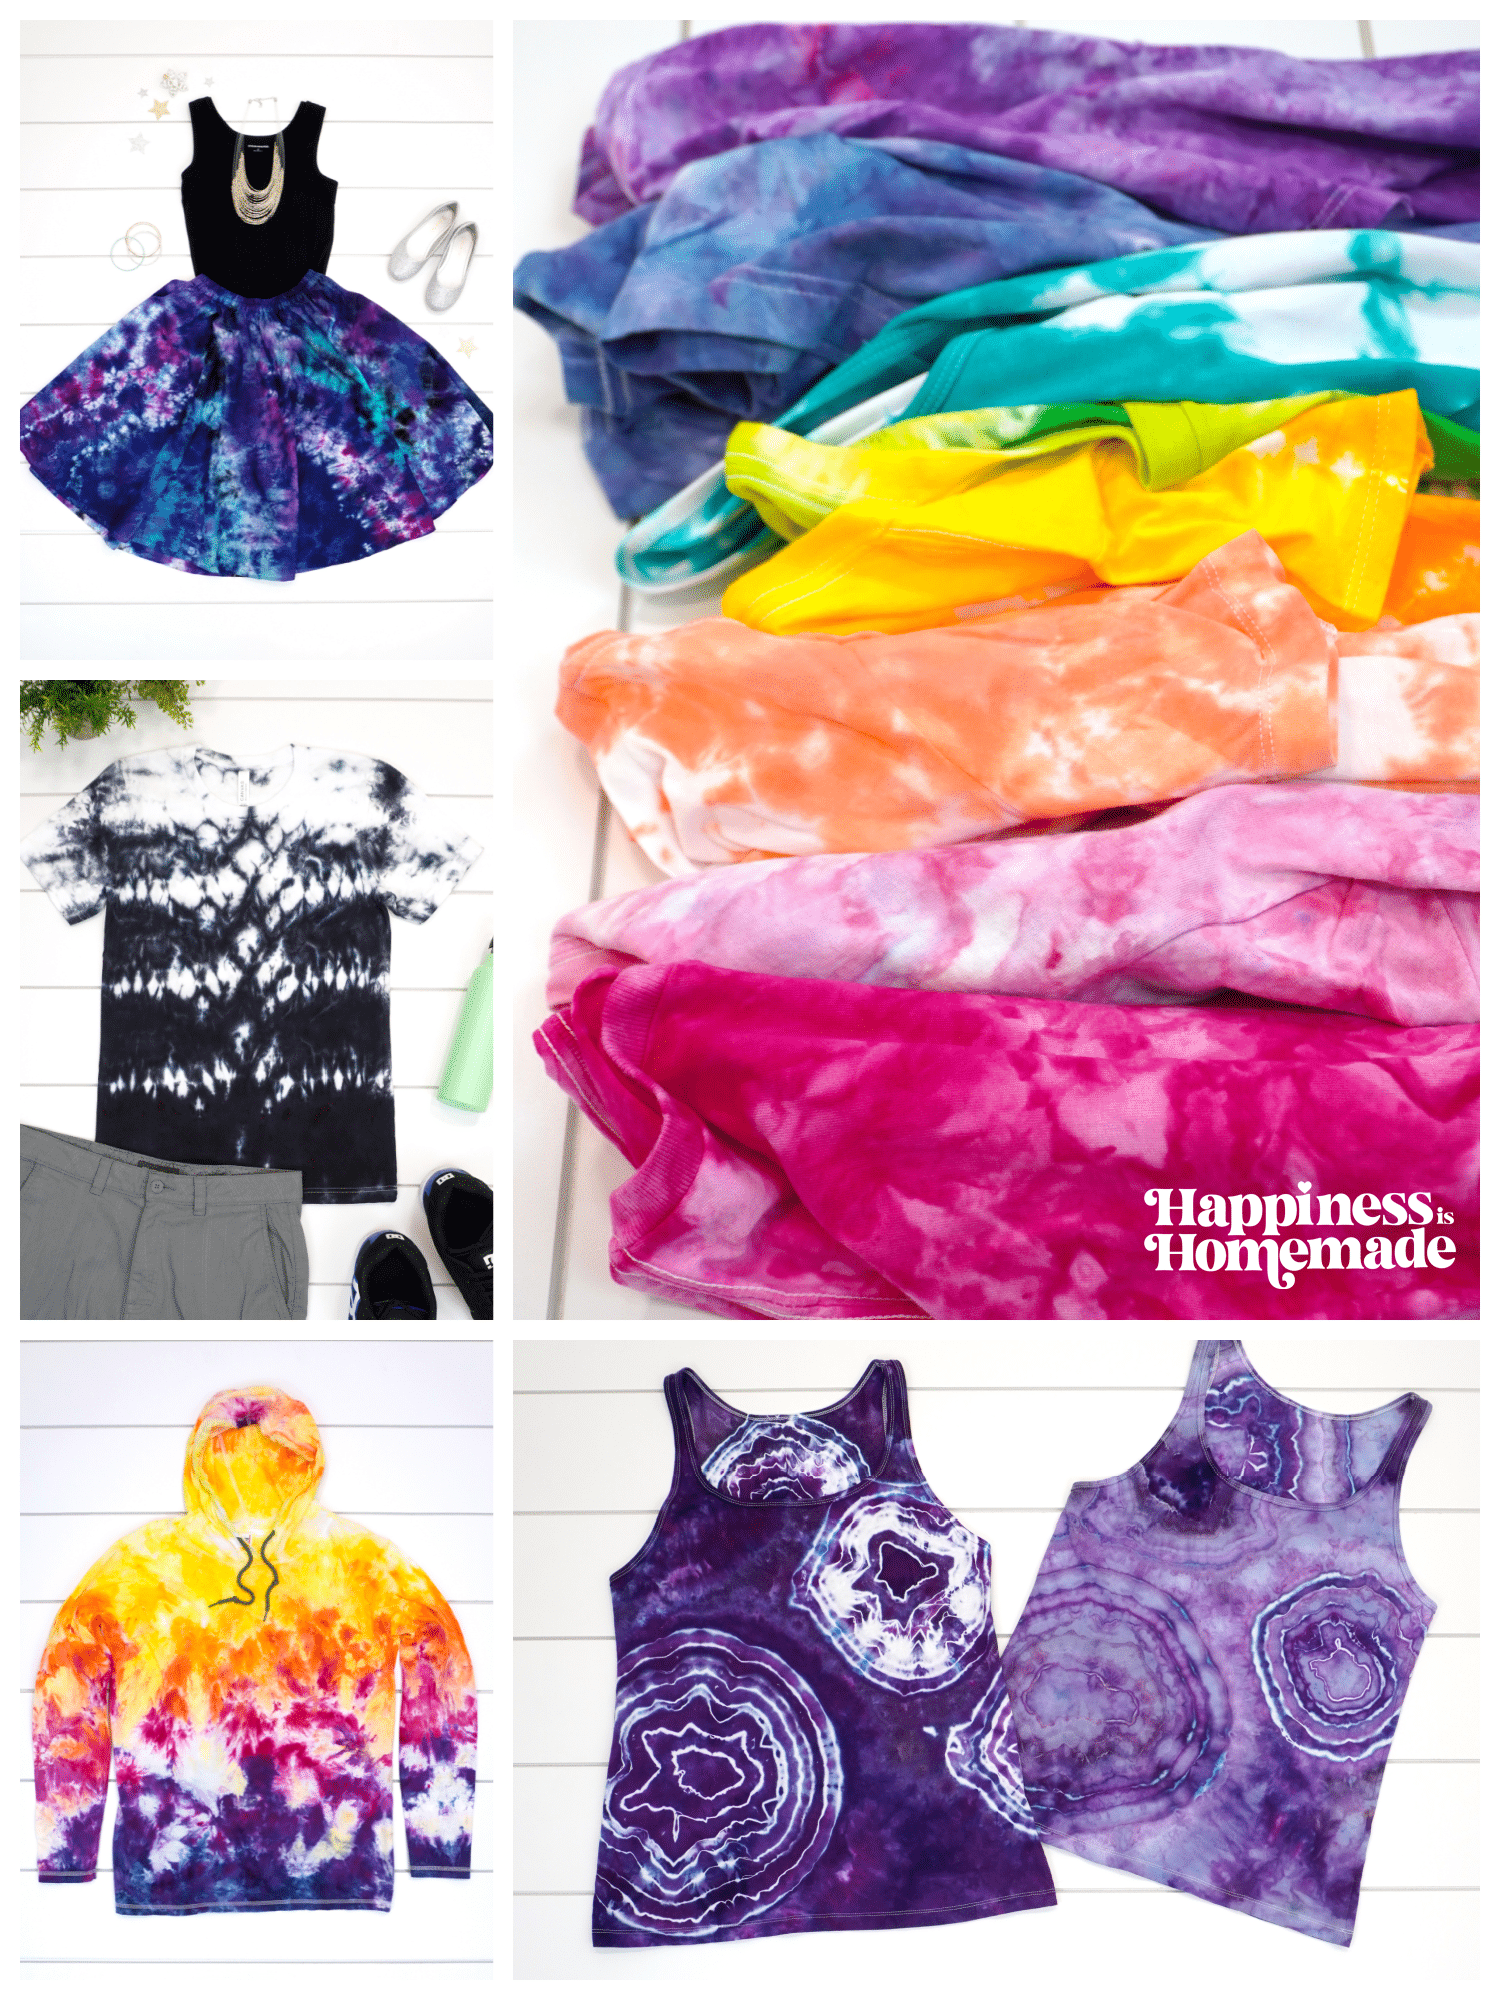
So, what supplies do you need to tie-dye?
As I promised in the book, I am breaking down all of the supplies and materials that we used in the creation of our 35 DIY Tie-Dye projects, with links to purchase the exact equipment and materials that we used. You won’t need all of the supplies listed for each individual project, but this comprehensive list of tie dye supplies covers everything that you might need to experiment with all of the different tie-dye methods and techniques shared.
You May Also Like/Learn More Here:
Tips & Tricks for Tie-Dyeing with Kids
How to Fold a Spiral Tie-Dye Shirt
How to Tie-Dye with Avocado Pits (it’s true! They turn a lovely shade of pink!)
Tie-Dye Supplies: Choosing Your Dyes & Fabrics
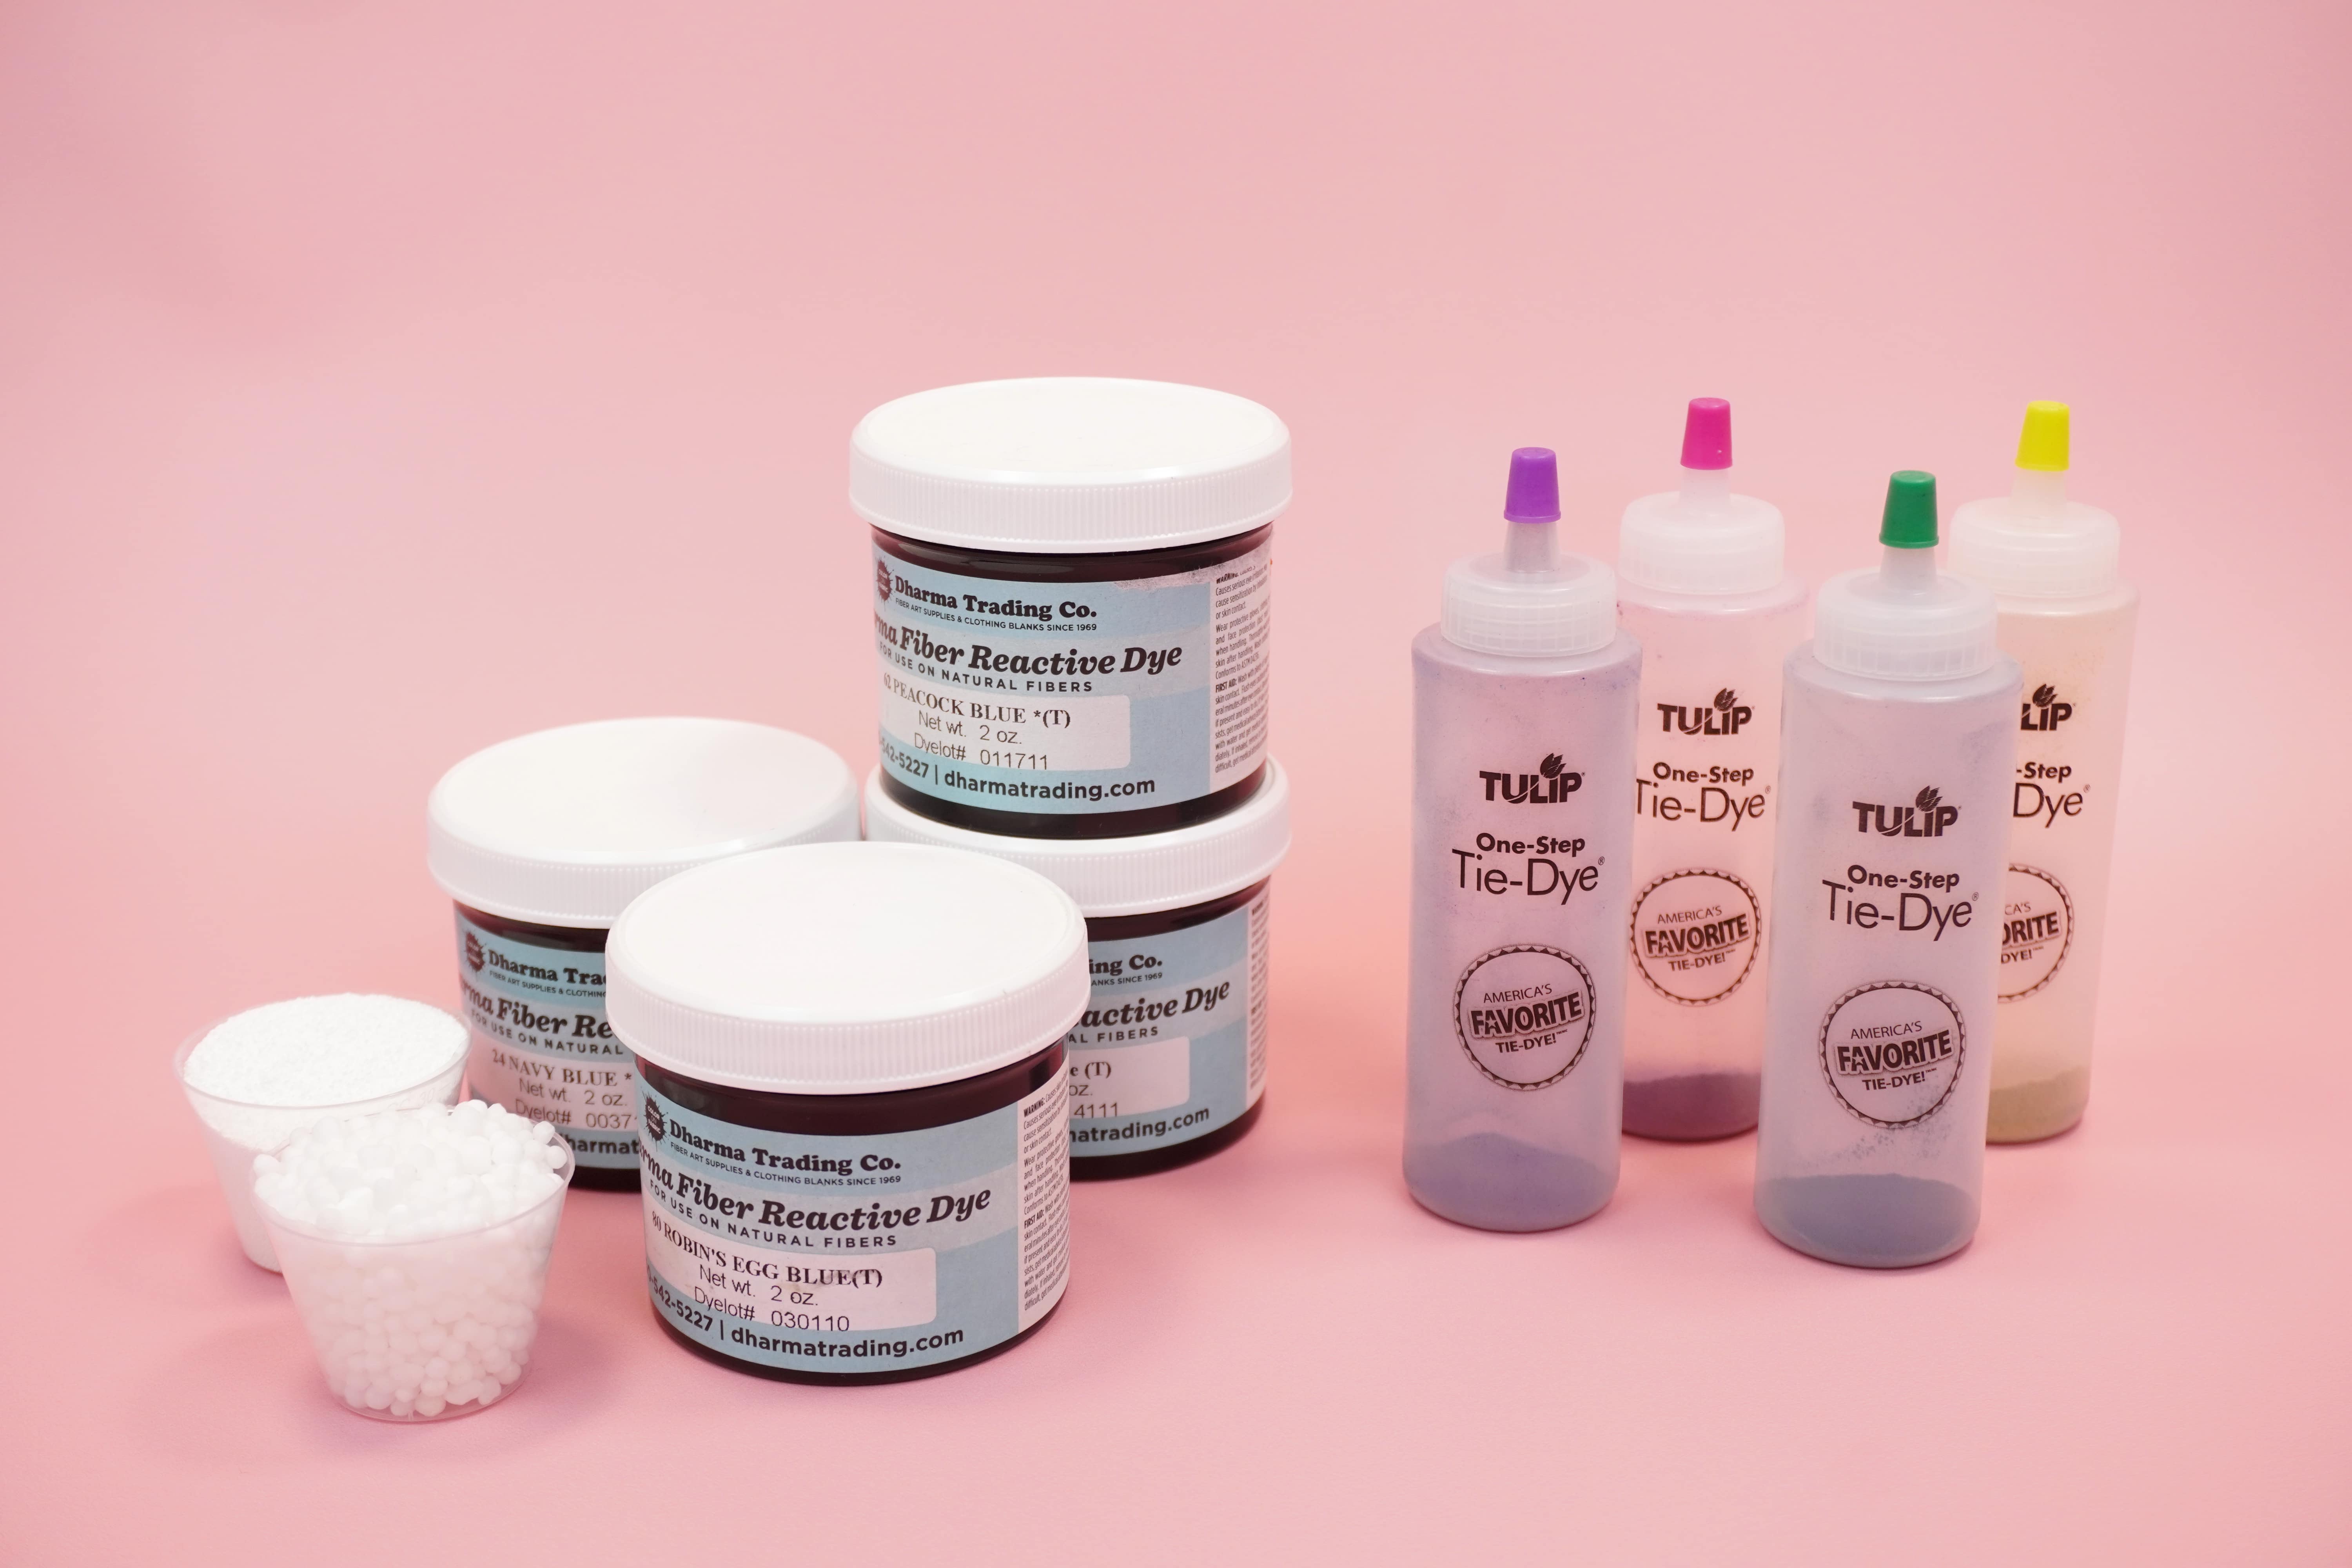
The two main supplies that you’ll need for tie-dyeing are fabric items to dye and dye, of course!
Tie-dyeing works best on natural fabrics such as cotton, rayon, hemp, bamboo, and linen. These fabrics are made with natural fibers that bond easily with fiber-reactive dyes. Items that are 100% natural fiber are preferable, but fabric that is at least 80% natural fiber will take dye well. We don’t recommend dyeing anything that contains less than 65% natural fiber since it will result in decreased color intensity and wash-fastness.
When it comes to tie-dyeing natural fabrics, there are two primary dye options – One-step tie-dye kits or procion fiber reactive dyes.
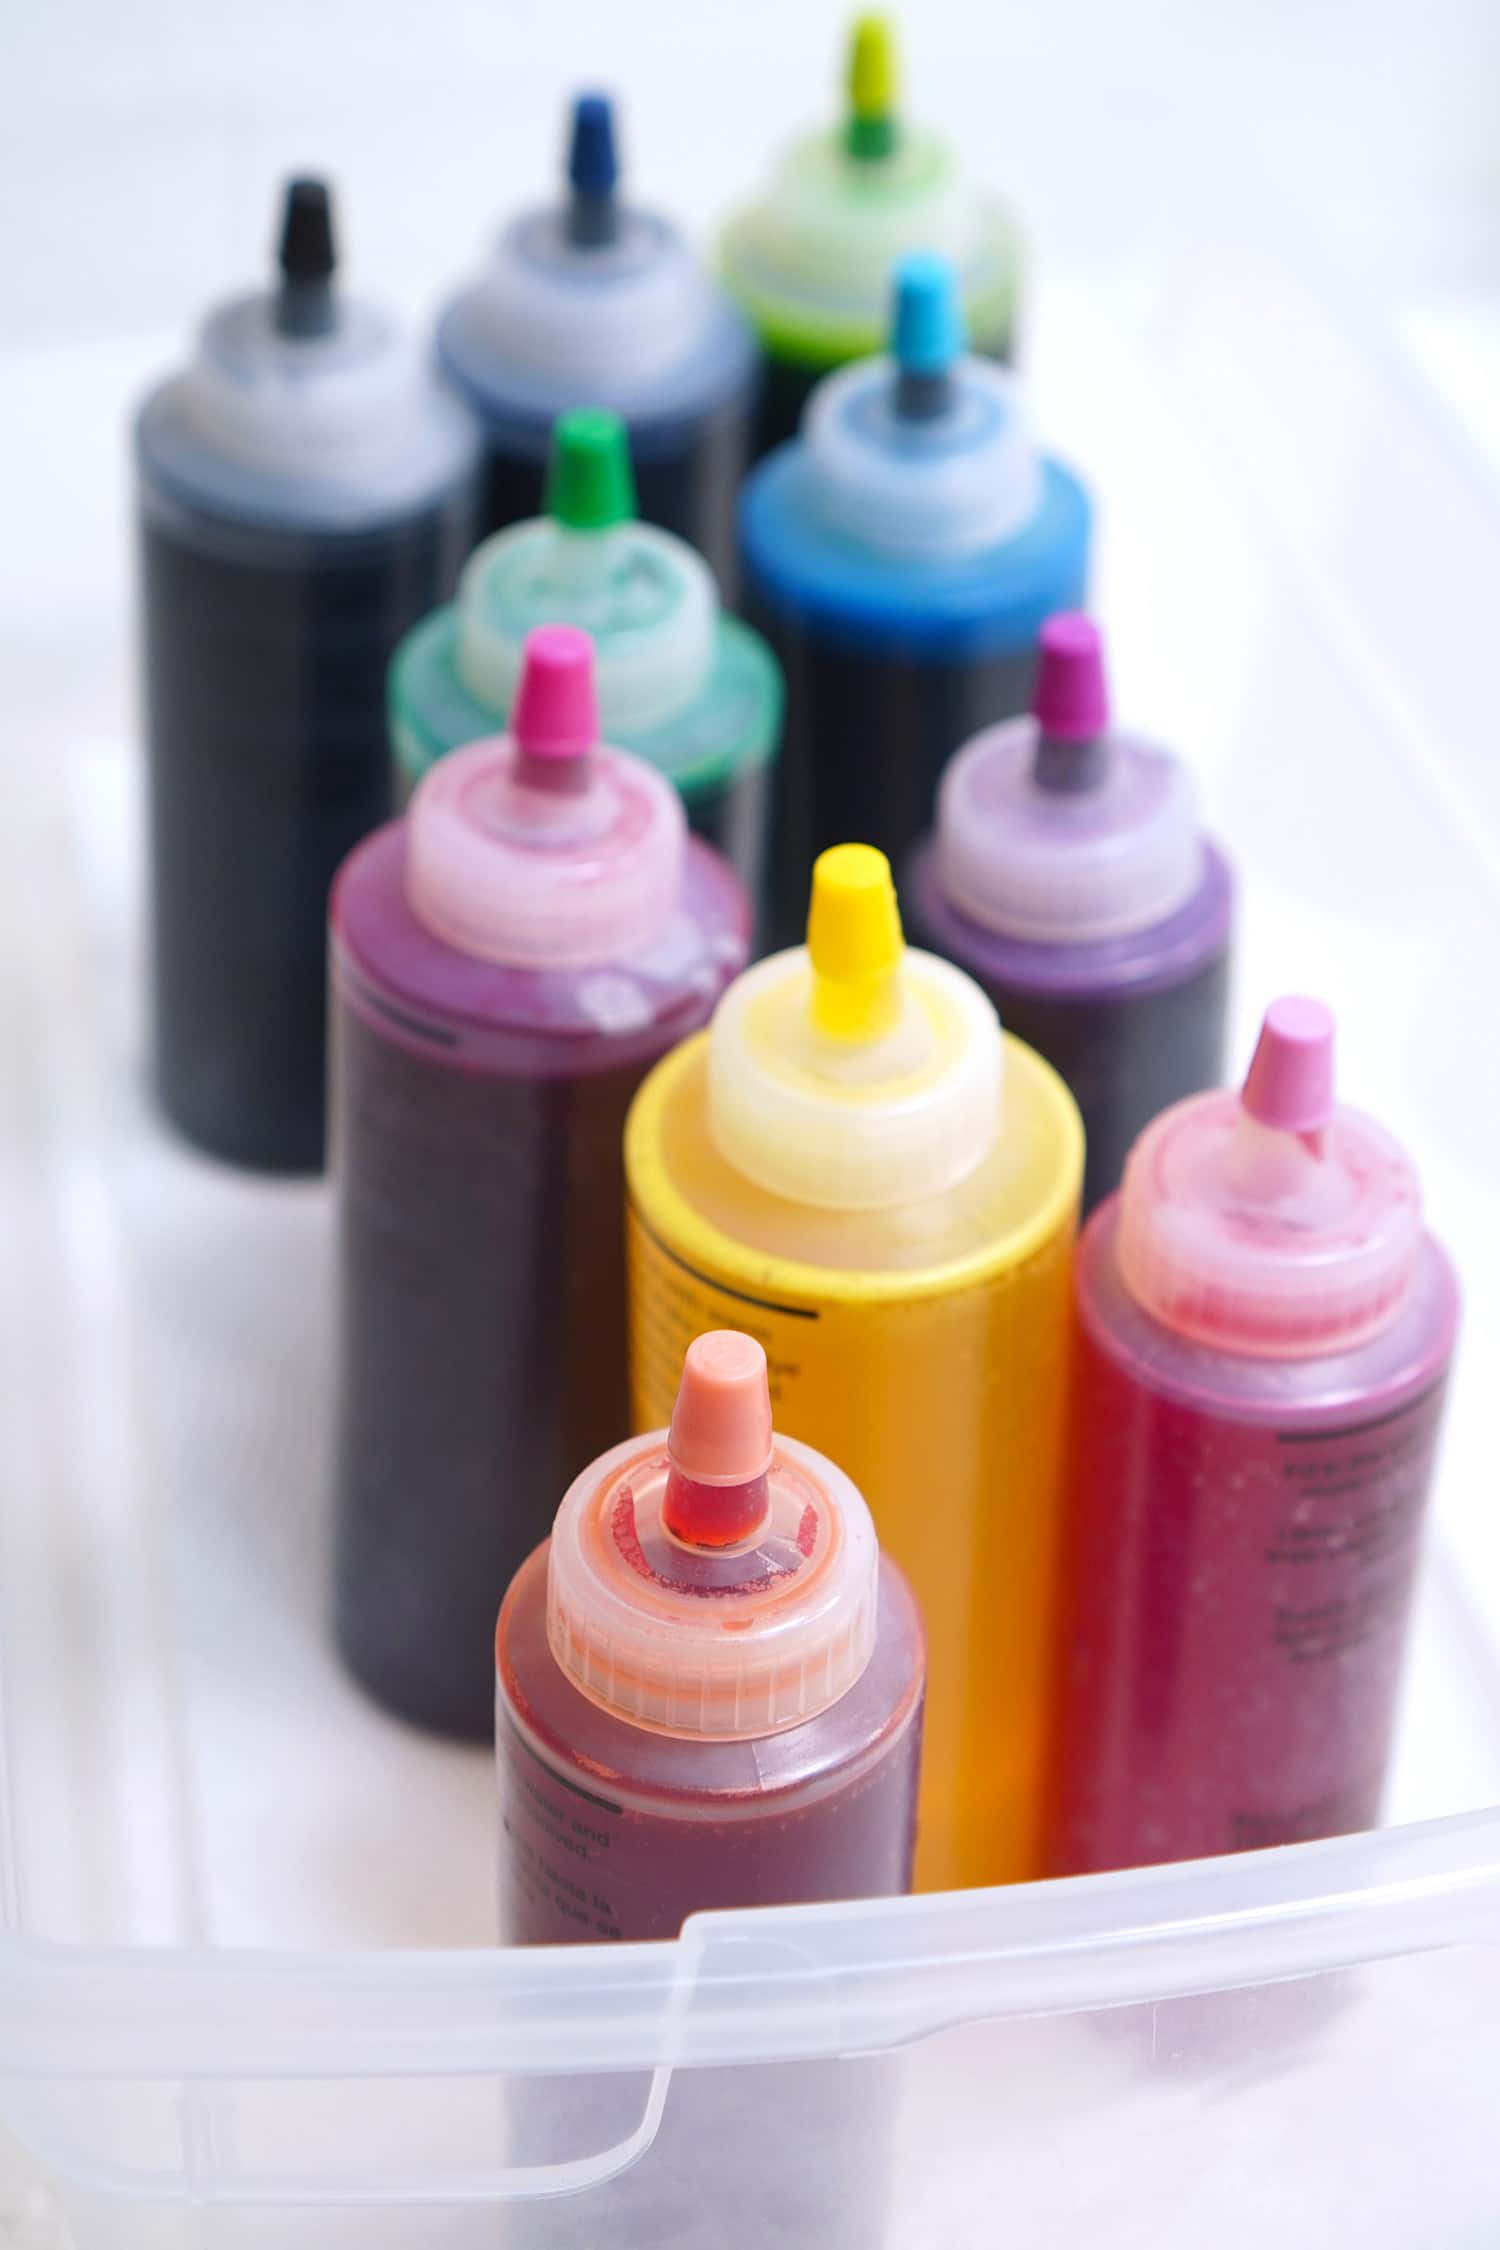
One-Step Tie-Dye Kits
- Available in approximately 20 different colors
- As the name indicates, one-step tie-dye kits only require one thing – water. Simply add water to a pre-filled plastic squeeze bottle containing the powdered dye blend, shake to mix, and start dyeing!
- One-step kits are a convenient and easy way to mix up large batches of dye for large groups.
- Dye mixtures in these kits often contain sodium bicarbonate (baking soda) vs the sodium carbonate (soda ash) that is used with fiber reactive dyes. Sodium bicarbonate has a lower pH level than soda ash which can result in a weaker chemical reaction during the dyeing process and less vibrant colors. Note: though not required, pre-soaking the fabric in soda ash and curing for 24+ hours in a warm location can help boost the color intensity of one-step dyes.
- Because the sodium bicarbonate is pre-mixed in with the dye, one-step dyes will start to lose potency after about an hour and need to be used right away.
One-Step Tie-Dye Kits are available at retailers such as Amazon, Michaels Stores, Joann, Hobby Lobby, and more!
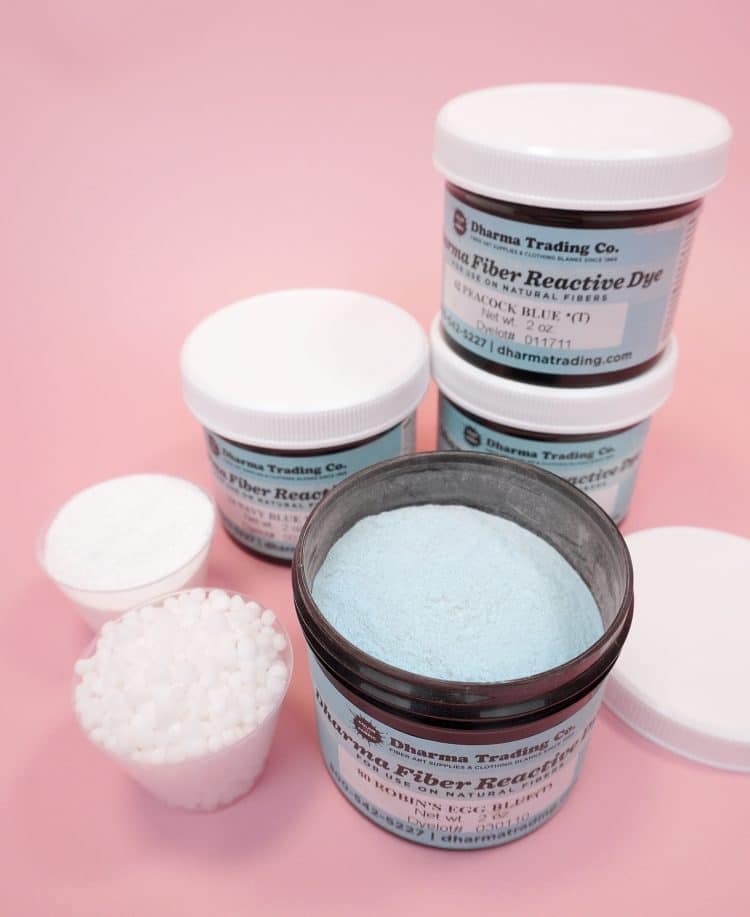
Procion Fiber Reactive Dyes
- Available in 140+ different colors – since they are often sold individually, start with primary colors and your favorite colors!
- Fabrics must be soaked in soda ash solution before tie-dyeing with fiber reactive dyes.
- Procion fiber reactive dyes produce the same professional-level tie-dye results and bright colors such as you would see sold at fairs and festivals.
- Mixing up procion fiber reactive dyes is a more time-consuming process than one-step dyes; however, mixed fiber reactive dyes will last approximately a week before beginning to weaken since the soda ash is not mixed directly into the liquid dyes. Many colors of dye will actually last several weeks before starting to lose potency! Simply cap the bottles when not in use and store in a cool, dry area away from direct sunlight. Storing in the refrigerator can also prolong the shelf life of mixed fiber reactive dyes.
- Procion fiber reactive dyes are recommended for best results with ice-dye techniques.
We purchase all of our procion fiber reactive dyes from Dharma Trading Company, and we highly recommend them! Amazon also carries Jacquard Tie Dye Kits that looks awesome, though I haven’t personally tried them yet.
There is no “right” answer when choosing which dye to use, so select whichever dye is most appropriate for your situation and your needs. Generally, one-step home tie-dye kits are an easy option for dyeing with a large group; however, procion fiber reactive dyes will produce the most professional results and vibrant color options. Both options are similarly priced and both perform best when cured in a warm location for at least 24 hours.
You can also experiment with natural dyes such as our DIY Avocado Dye, too!
What Supplies Do You Need to Tie-Dye?
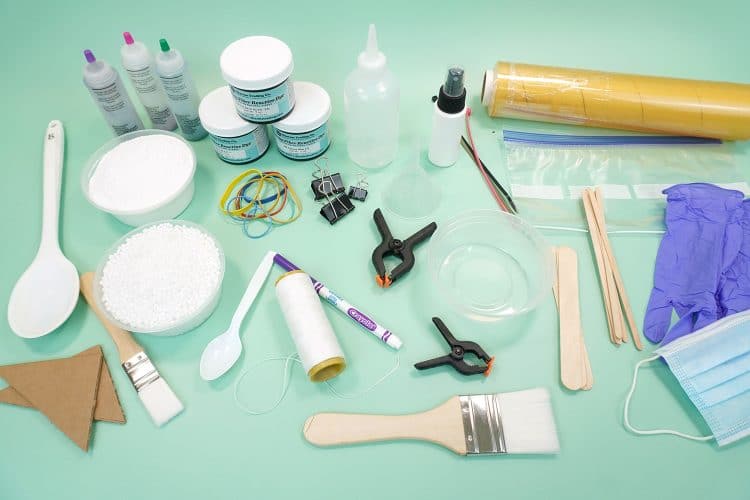
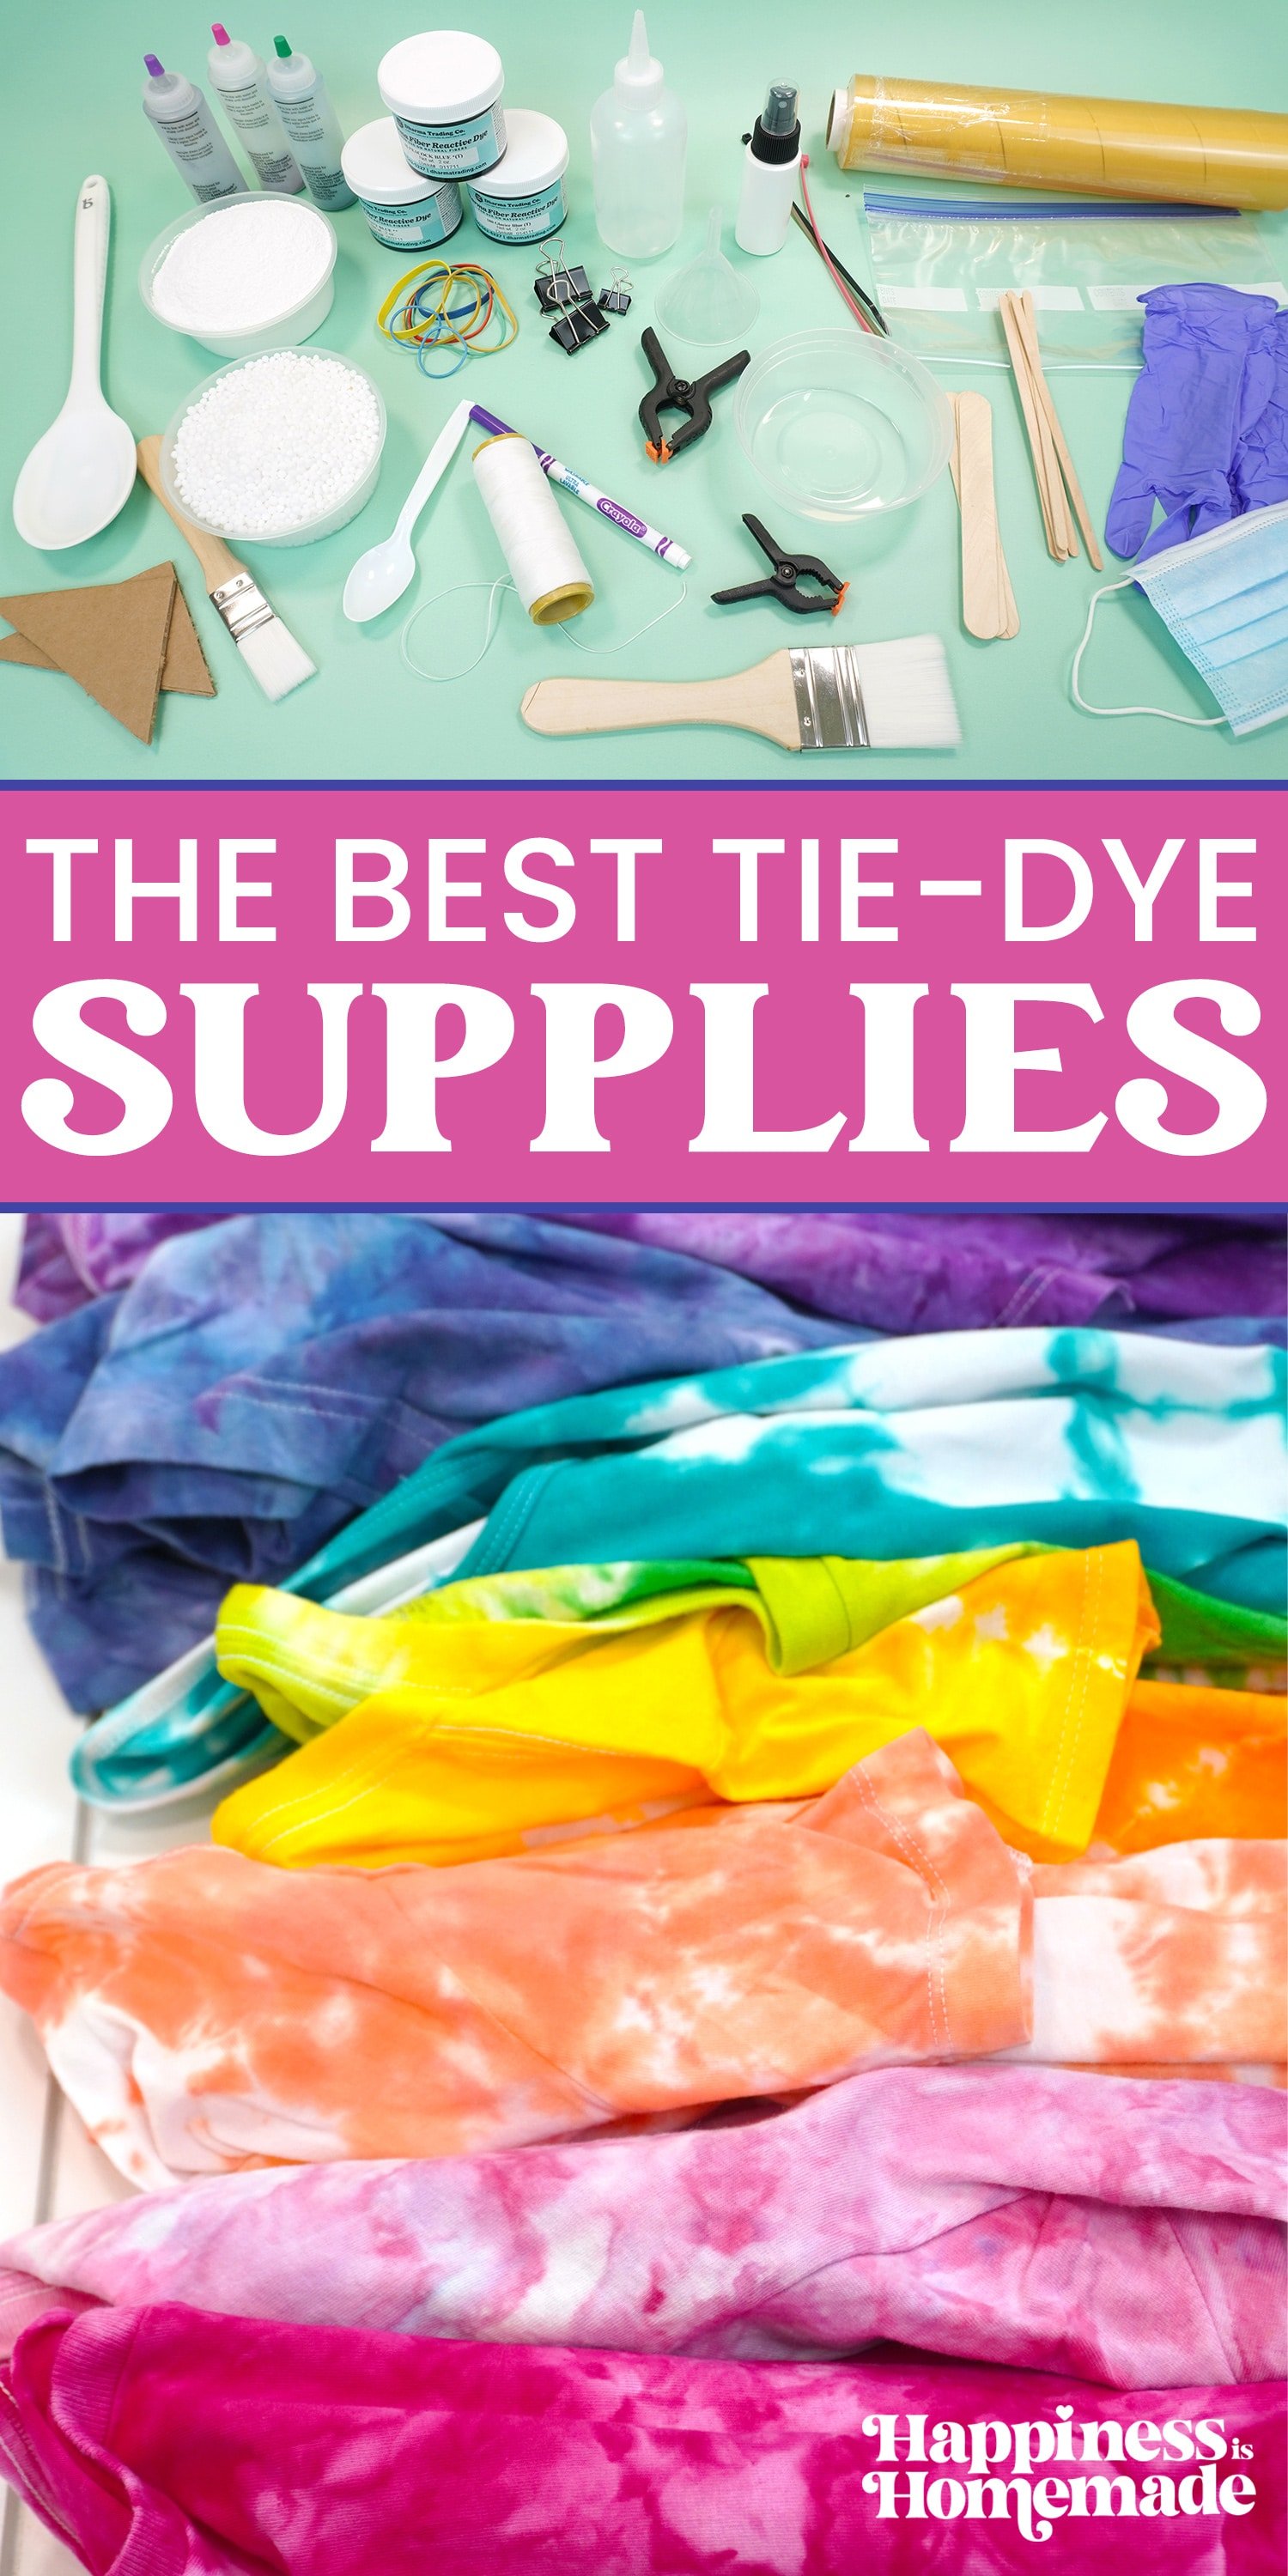
Tie-dyeing is a relatively straightforward process, but each folding technique and dyeing method may require different tools and materials to implement. In addition to natural fabrics and dye, here are the other supplies you will need when tie-dyeing the projects in DIY Tie-Dye:
(Click the links to view the exact materials and supplies that we use!)
Soda Ash – sodium carbonate, commonly referred to as soda ash, is an essential key component when tie-dyeing with fiber reactive dyes. Soda ash raises the pH of the fabric and allows the dyes to perform the chemical reactions necessary to fix the dyes and bond them to the fabric. Soda ash fixer MUST be used with fiber reactive dyes to achieve the desired results.
Urea – urea is a humectant which draws moisture from the air and slows the drying and curing process. This keeps the fabric moist for longer periods of time and allows more time for the dye to cure, resulting in deeper, more vibrant colors. Urea is also an excellent dissolving agent, so it helps to ensure that dye powders will fully dissolve during the mixing process.
Dyer’s Salt – dyer’s salt is a finely powdered salt that dissolves easily in liquid dye solutions. Salt is used as a mordant when vat/tub dyeing to help the fibers in the fabric better absorb the dye.
Rubber Bands – rubber bands in assorted sizes and thicknesses are used to section and secure folded garments and fabric during the tie-dyeing process.
Waxed Sinew – waxed artificial sinew is used to bind and secure fabric and create different dyeable sections or areas. Tightly wrapped waxed sinew will create a resist against dyes and result in thin white lines between the colors of the tie-dye design.
Kite String or Baker’s Twine – kite string is used similarly to waxed sinew to bind and secure fabric; however, because kite string lacks the dye-resisting wax coating of the sinew, it will not typically leave a white line between colors. Kite string is often used interchangeably with rubber bands and is wrapped more loosely than waxed sinew.
Washable Marker – washable markers are ideal for marking out designs and lines to be folded.
Soft Tape Measure – for measuring and marking.
Paint Brushes – assorted paint brushes are used for watercolor, gradient, and colorblock techniques.
Clamps – small plastic clamps can be useful as an “extra pair of hands” to aid and assist during the folding process. Clamps are particularly handy when you need to use both of your hands for other tasks such as tightly wrapping sinew along a length of folded fabric.
Binder Clips or Clothespins – binder clips and clothespins can also assist in the folding process, and they can also create unique resist shapes when left in place during the dyeing process.
Craft Sticks – large craft sticks or tongue depressors are used to create a dye resist in itajime shibori folding.
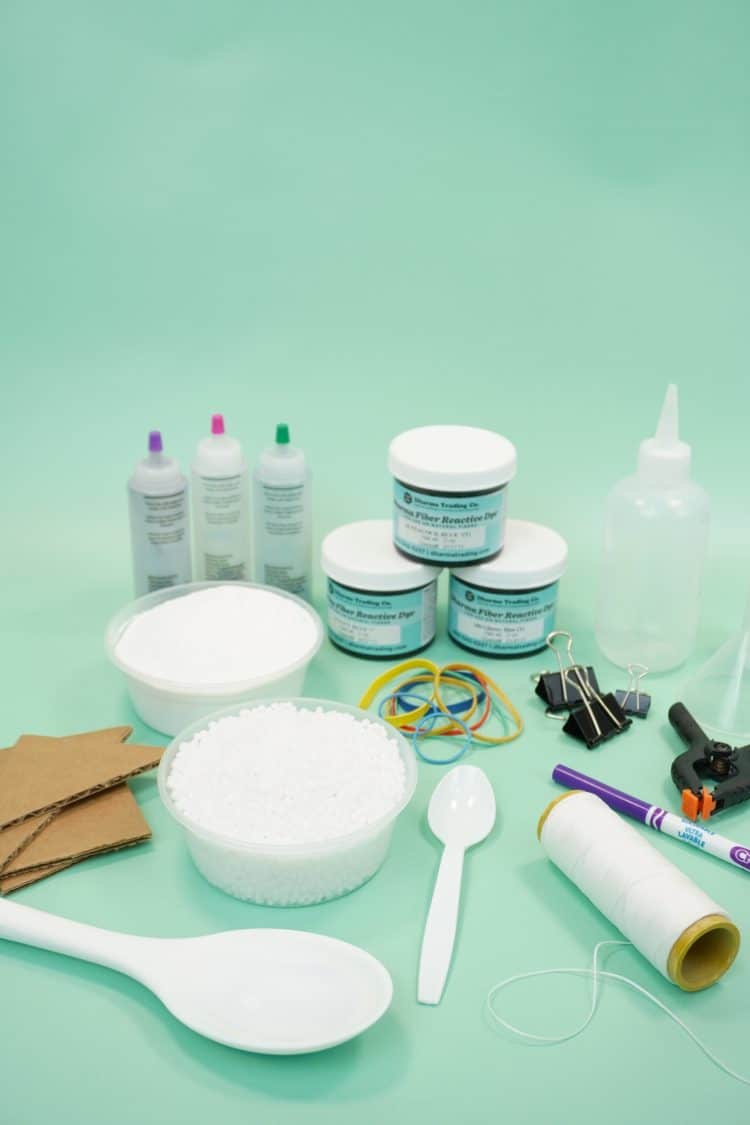
Scraps of Cardboard – small pieces of cardboard provide rigidity and stability during various shibori dyeing techniques.
Zip Ties – zip ties are useful when working with cardboard in shibori applications; however, standard zip ties are not recommended for directly tying garments. If you would like to bind your fabric with zip ties, opt for reusable releasable zip ties that do not need to be snipped open.
Squeeze Bottles – tie-dye is typically applied via plastic squeeze bottles which allows you to apply dyes with precision and ease. Many varieties of plastic squeeze bottles are also available with fine-mist spray bottles tips which offer an alternative method of dye application.
Funnel – a small funnel is useful for adding dye to the squeeze bottles.
Plastic Wrap – all tie-dyed pieces must be kept moist during the duration of the dyeing and curing process in order for the dyes to set and fix properly. Wrapping the garment in plastic wrap provides a simple solution and will keep the fabric damp.
Plastic Zipper Bags – a sturdy plastic bag can be used in conjunction with (or in lieu of) plastic wrap.
Tubs – plastic tubs can be used as a tie-dyeing workstation and also as vessels for vat or dip-dyeing. It is highly recommended to use a rack when dyeing in a plastic tub.
Racks – racks are used to elevate fabric during the dyeing process so that they do not sit in excess dye that may pool and get muddied beneath the project.
Plastic Baskets – small plastic baskets and hole-laden containers (a repurposed salad spinner basket is a fantastic choice!) make excellent vessels for holding your fabric and ice during the ice-dyeing process.
Plastic Spoons – large spoons are ideal for mixing soda ash solution or urea water, and small plastic spoons are great for applying small amounts of dye powder during ice-dyeing.
Wood Coffee Stirrers – wooden coffee stirrers are an excellent tool for “pasting” dyes during the mixing process.
Disposable Gloves – protective gloves are a MUST when working with dye – they protect your skin from chemicals and keep your fingers from turning blue!
Dust Mask – Dye powder and soda ash are made up of extremely fine particles, so it is important to wear a dust mask when working with them.
Covering for Workspace – plastic tablecloths, drop cloths, old newspapers, and upcycled flat bed sheets all make excellent coverings for your work area.
Apron – use an apron to keep your clothing covered or wear old clothes while working with dye. Dyes will stain, of course!
Textile Detergent – use a specialty formulated textile detergent to pre-wash your garments, and also use this same detergent for the first wash or two after dyeing. Note: we highly recommend washing tie-dyed garments separately the first time you wash them in the washing machine!
Note: supplies will not be food-safe once they have been used for dyeing purposes, so make sure to label your dyeing supplies and keep them separate from your other kitchen gadgets.
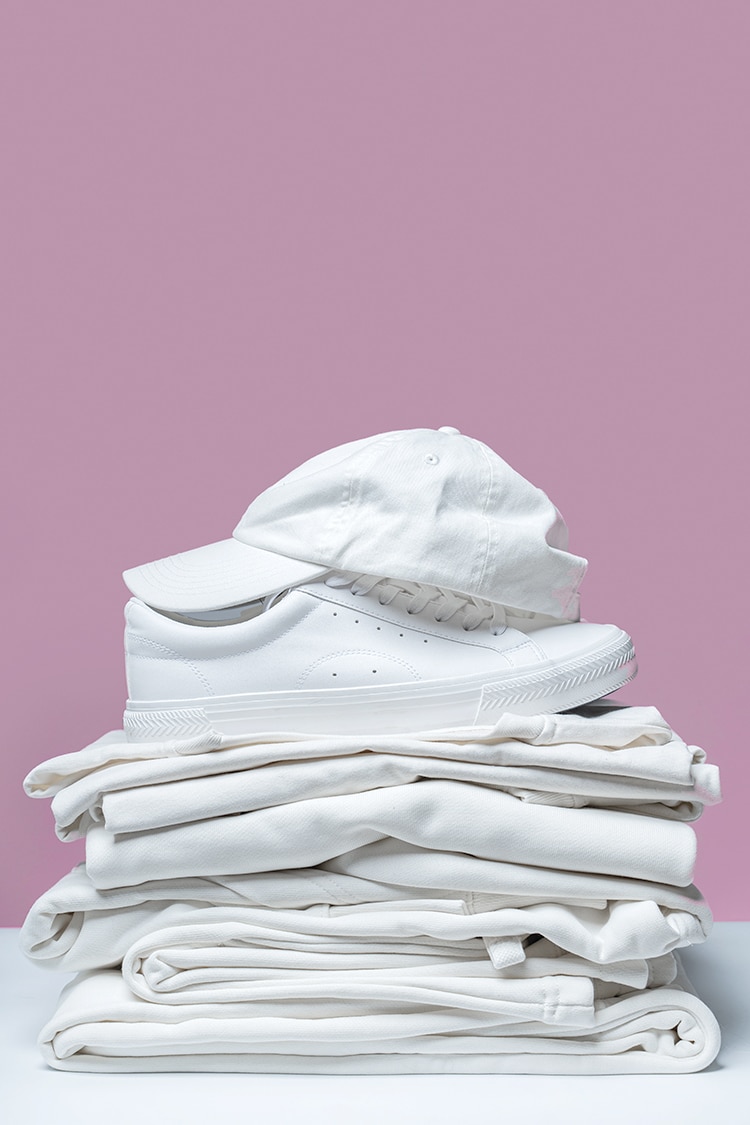
Tie-Dye Materials: Clothing & Fabric Goods
As previously mentioned, tie-dye works best with natural fiber fabrics, and we used primarily cotton, rayon, and hemp fabrics for the projects in DIY Tie-Dye.
Click on the links below to find the exact items we used for each of the projects!
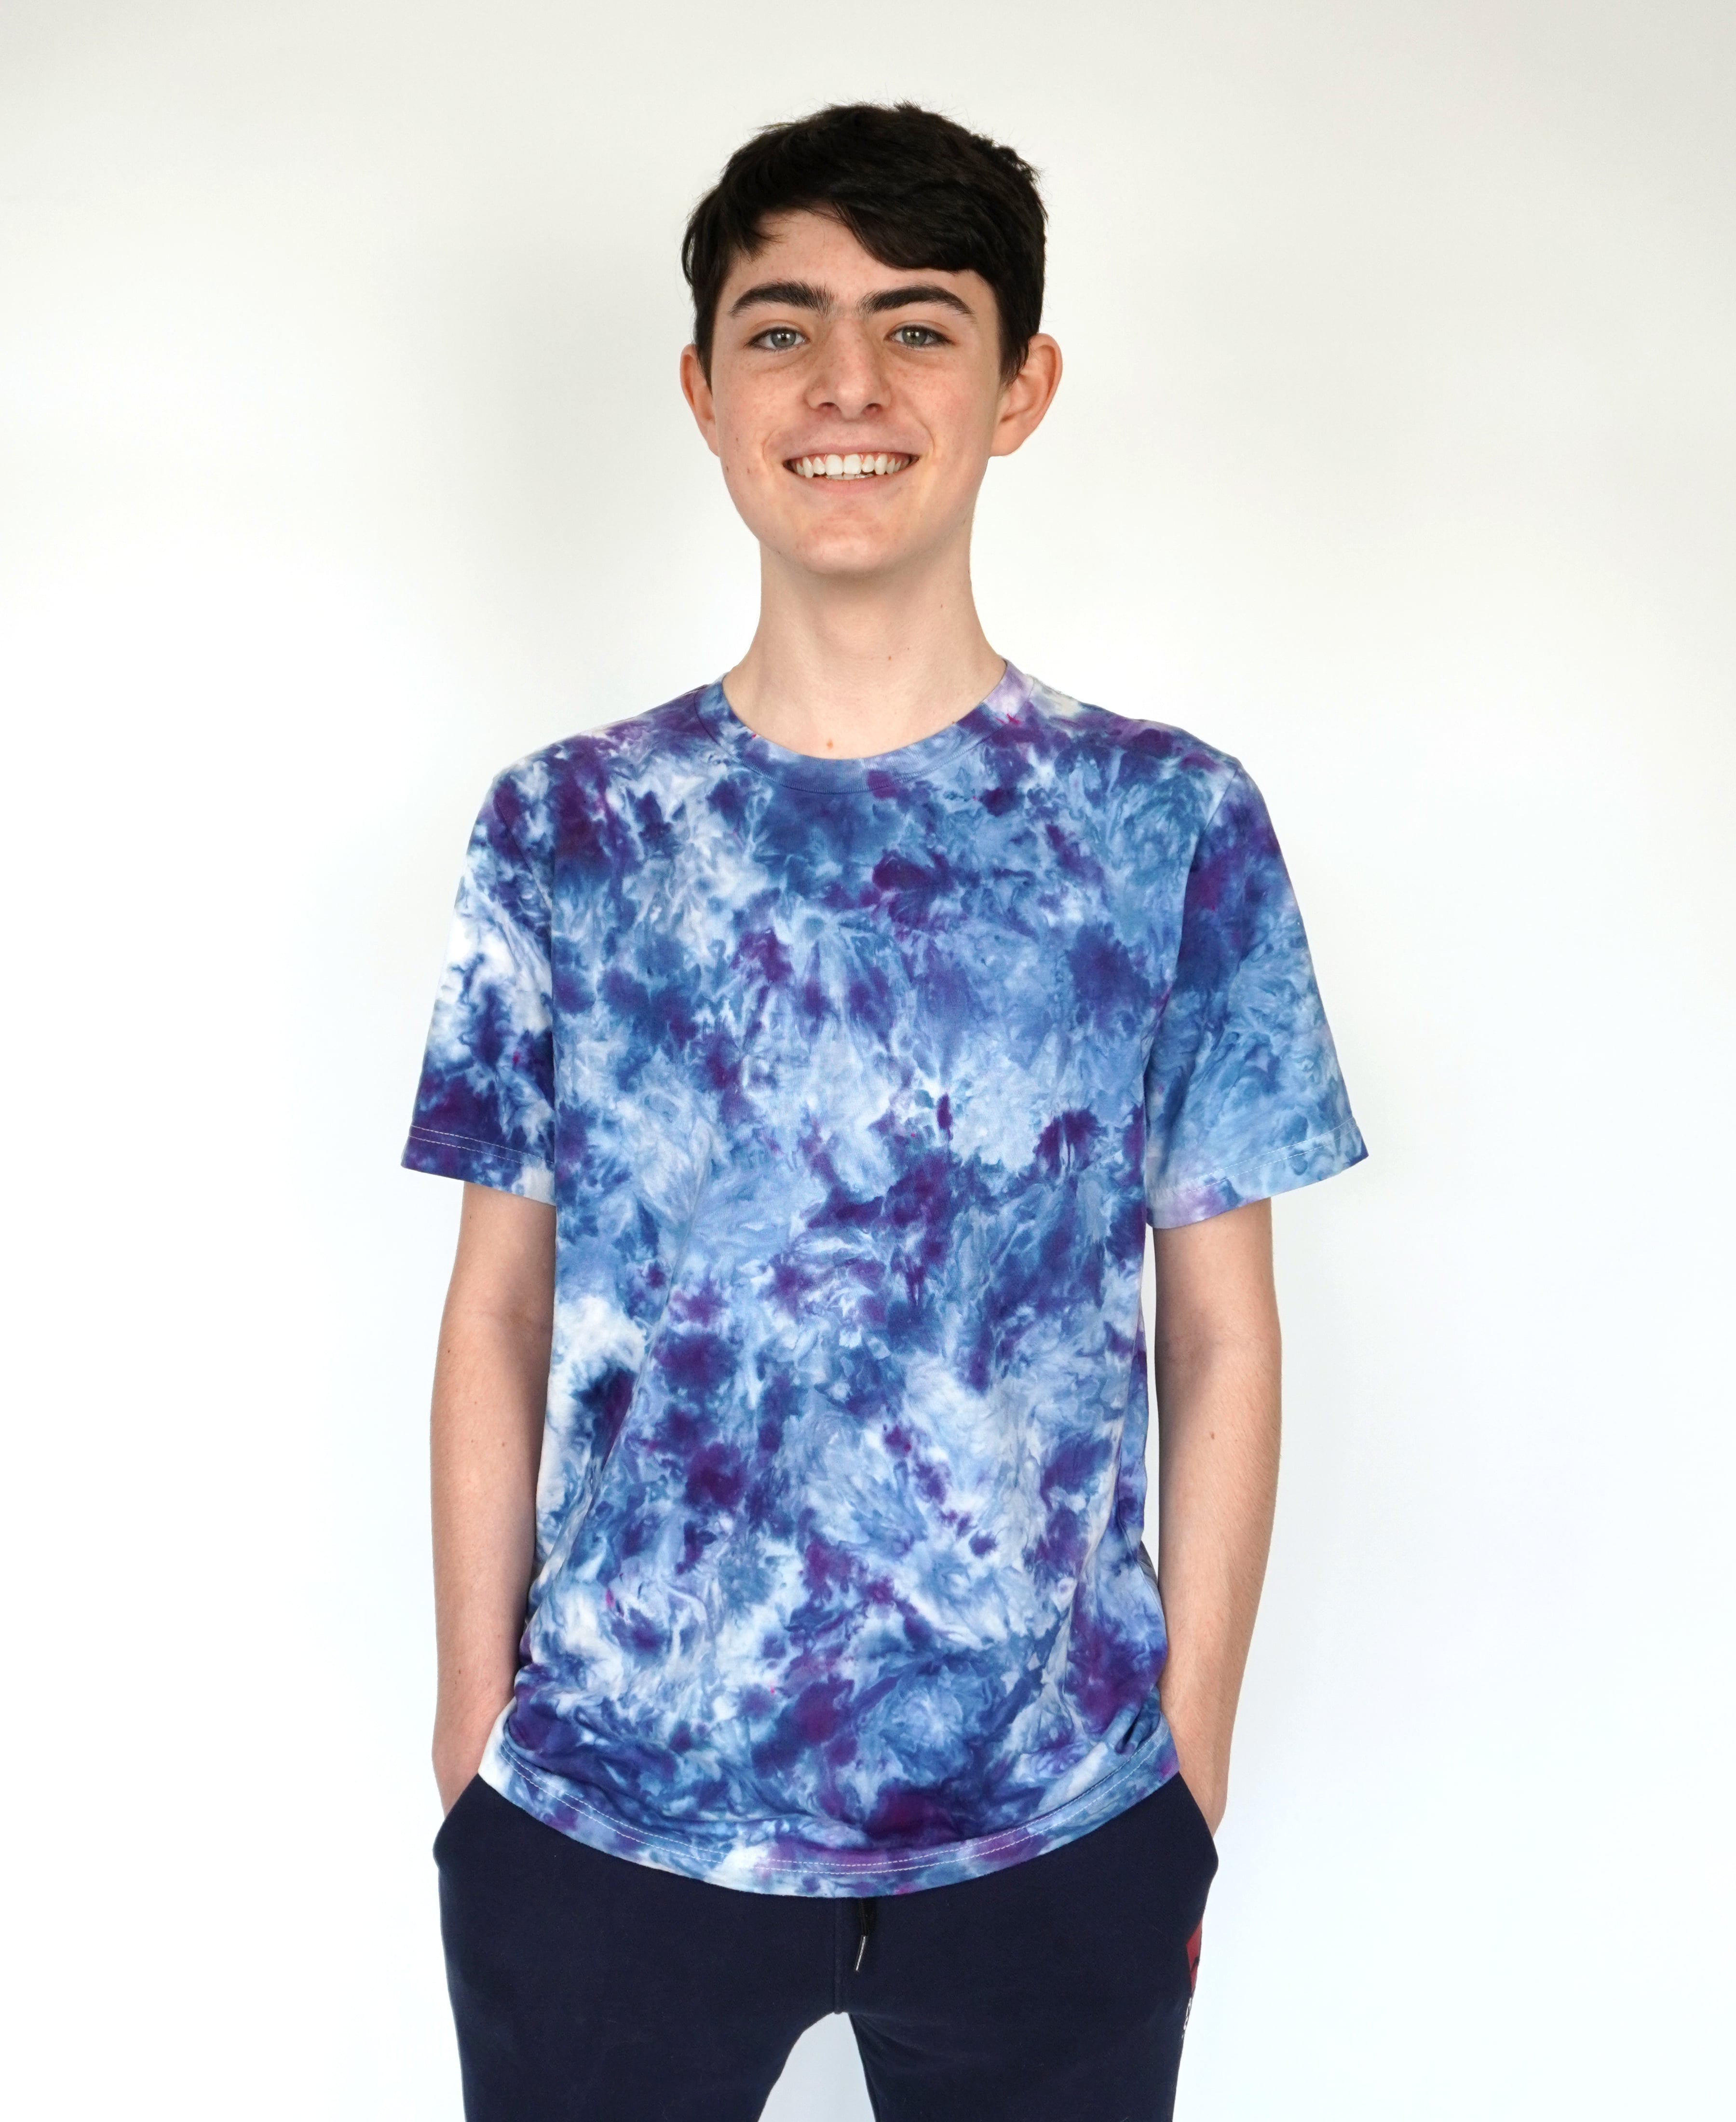
Shirts & Tanks
- Kids and Toddlers T-Shirts
- Bella + Canvas Youth T-Shirts
- Girls Puff-Sleeved T-Shirt
- Bella + Canvas Unisex T-Shirts
- Bella + Canvas Favorite Shirt
- Bella + Canvas Ladies Relaxed Tank Tops
- Bella + Canvas Ladies Relaxed V-Neck
- Bella + Canvas Long Sleeved Shirt
- Bella + Canvas Unisex Muscle Tank
- Hanes Adult Sweatshirt
- Ladies Lightweight Hoodie
- Gerber Onesies
- Carter’s Baby Bodysuits
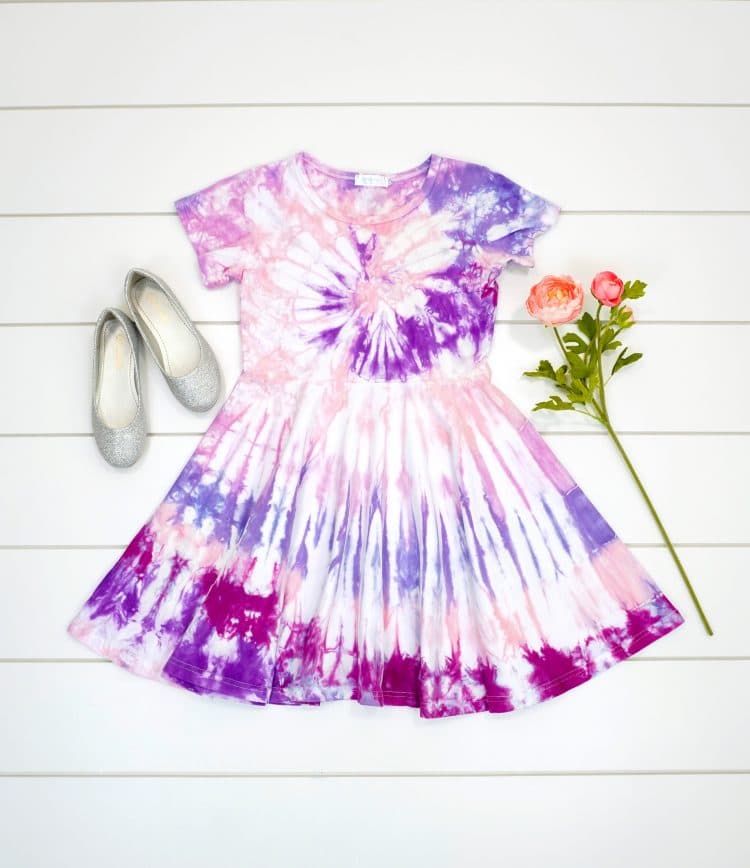
Other Clothing & Accessories
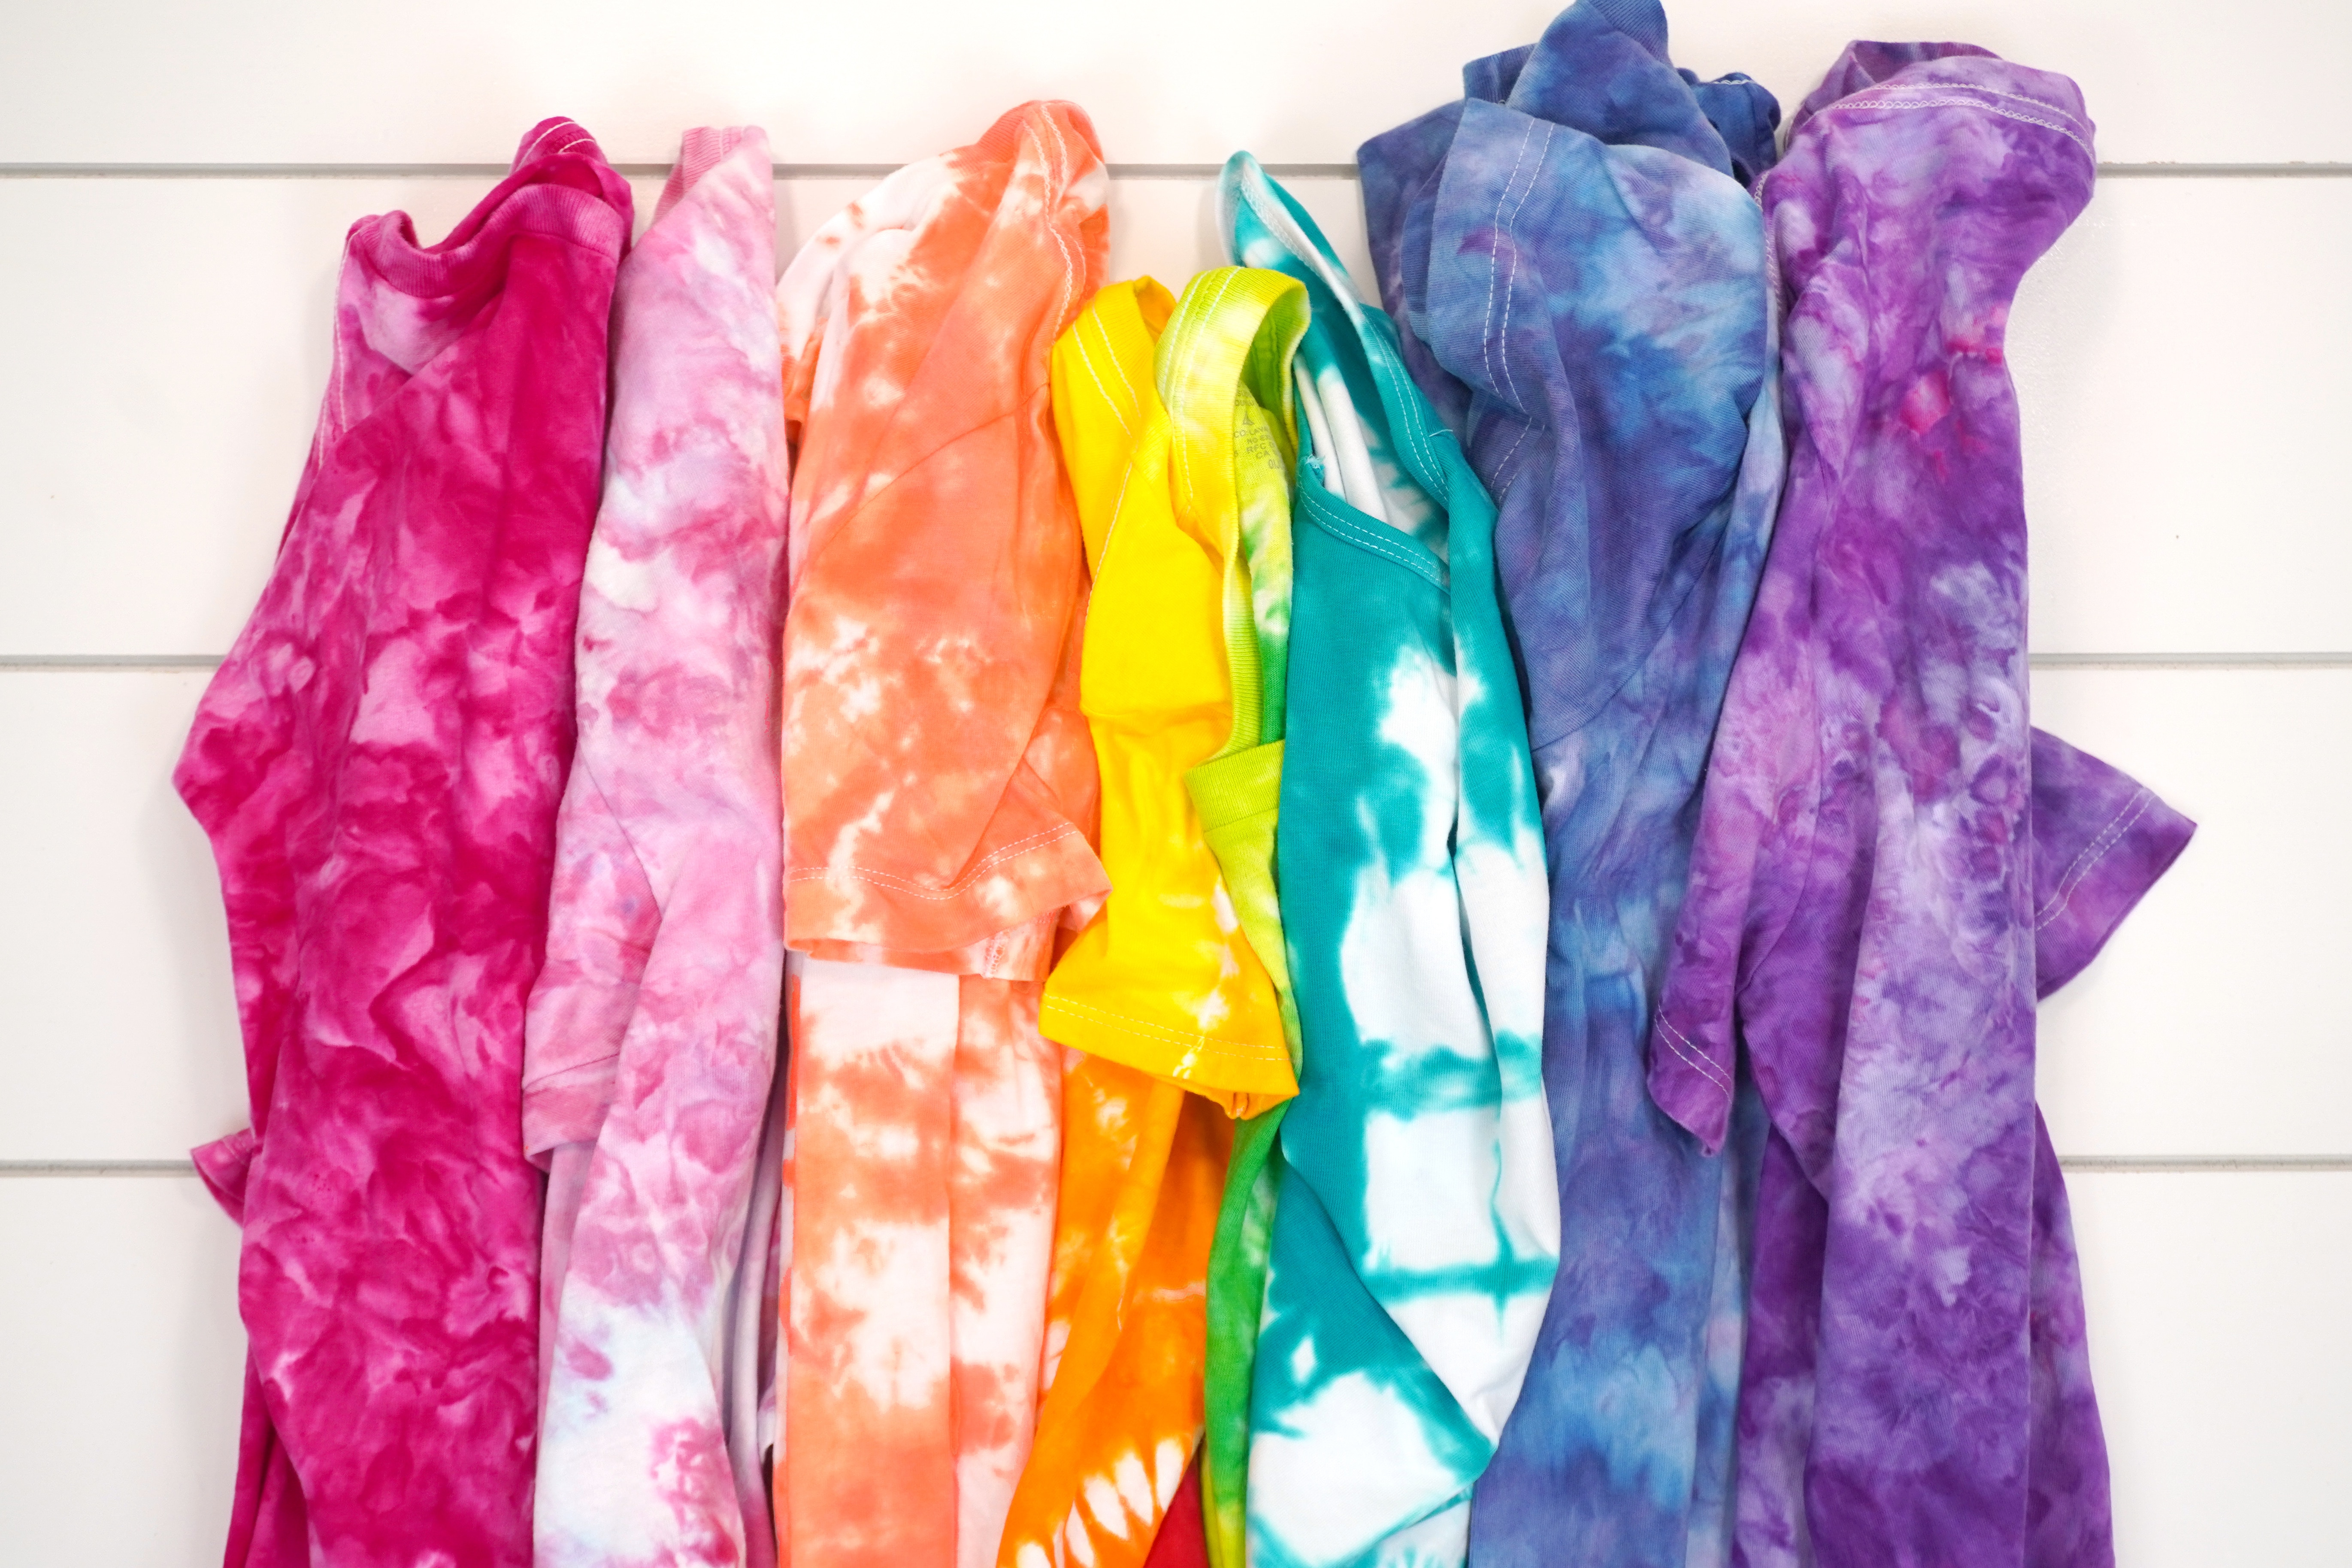
Tie-dye is a fun and groovy craft that’s perfect for summer camps, sleepovers, crafty kid playdates, and other group activities! Tie-dye also makes a great gift idea for birthdays and holidays! Each project has its own personality and unique design which makes for truly special one-of-a-kind gifts!
Be sure to pick up your copy of DIY Tie-Dye: Step-by-Step Instructions for Creating Cool, Colorful Clothing and Accessories and tag us on Instgram @hiHomemadeBlog so we can check out your awesome creations!

Check Out These Other Fun Craft Ideas!
Don’t Forget to Pin This for Later!

Heidi Kundin has captivated the hearts of millions with her colorful and inspiring approach to crafting, celebrations, and family fun. With over 15 years of experience, Happiness is Homemade has become a must-visit destination for those seeking quick and easy creative ideas and last-minute solutions. Heidi’s warm personality shines through her posts, inviting readers to join her on a creative journey that’s fun, rewarding, and achievable. Heidi is also the author of Homemade Bath Bombs & More and DIY Tie-Dye.

