This post brought to you by Moen, Incorporated. All opinions are 100% mine.
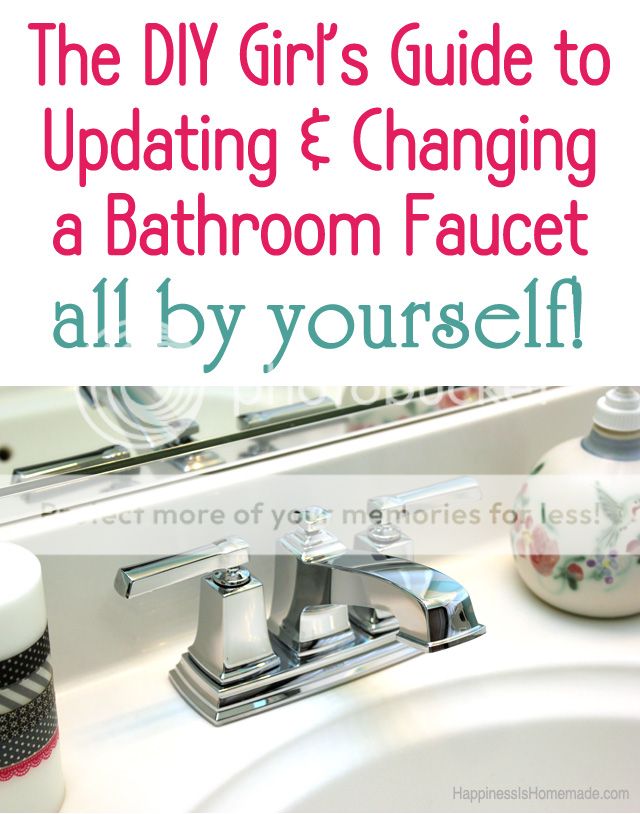
Changing out your bathroom faucet fixture can sound like a daunting task, but I’m going to show you step-by-step just how simple it actually is! Trust me, if I can do it, anyone can do it!
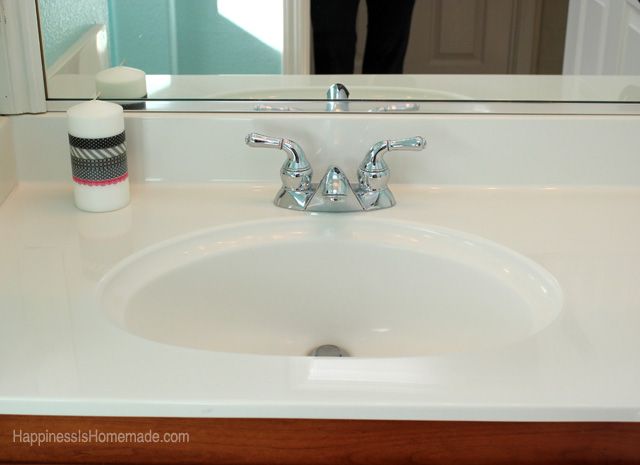
I’ve been updating my “Girl’s Bathroom” downstairs – last week I showed off my new scalloped stripe accent wall – and I’ve been itching to make a couple more small updates to the space. I was growing tired of my boring builder grade bathroom faucet, so I jumped at the chance to try out the new Moen Boardwalk Centerset bathroom faucet in Chrome.
This faucet is about a million times prettier than the old one! I’m really loving the art deco inspiration and clean lines.
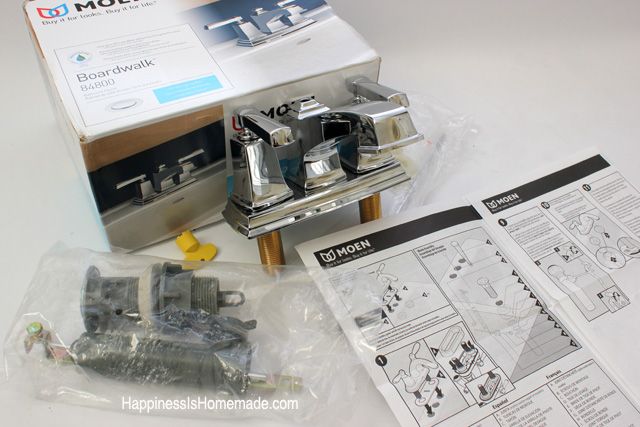
I emptied the contents from the box and took a peek at the instructions. Although they seemed pretty straightforward, my plan was to have my handy hubby install the faucet while I took photos of the process. He’s a licensed contractor, so I usually leave the majority of our DIY projects to him – he works way faster than I do since he already knows what he’s doing!
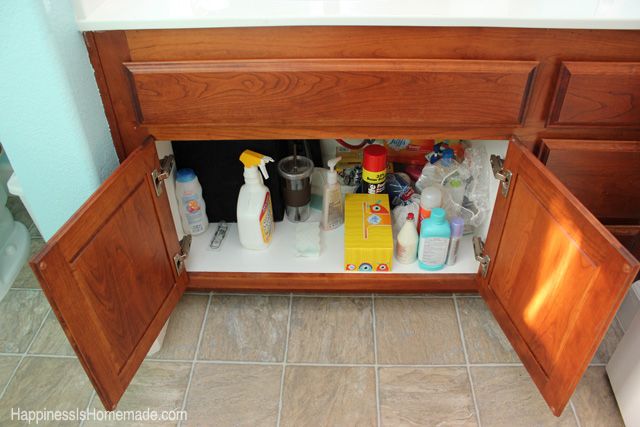
Step 1: Clean out all of the stuff hiding underneath the sink, and turn off the water supply to the sink.
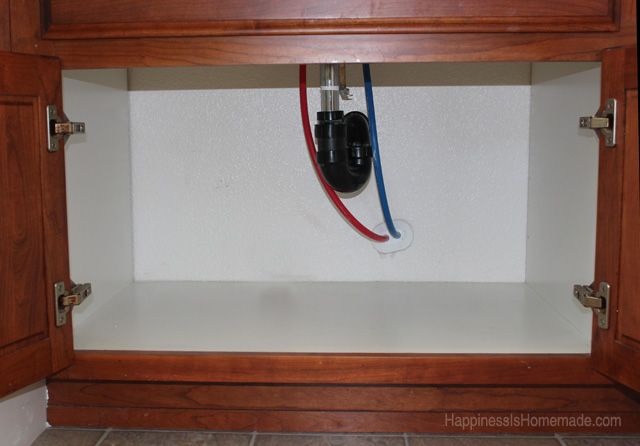
Your sink may look quite a bit different underneath than mine does. We have plastic Pex water lines in our house, but the process is the same even if you have traditional metal water pipes.

With my sink all cleaned out and ready for the new faucet, I was getting super anxious to finish the project. Unfortunately, my husband and the littlest guy were deeply engrossed in pumpkin carving, and I knew it would be a long time before we’d be able to get to my faucet.
So I did what any impatient girl would do…I decided to do it all by myself.

This is my “Oh yes, I will figure this out…right?” look.
Okay, let’s jump into it!
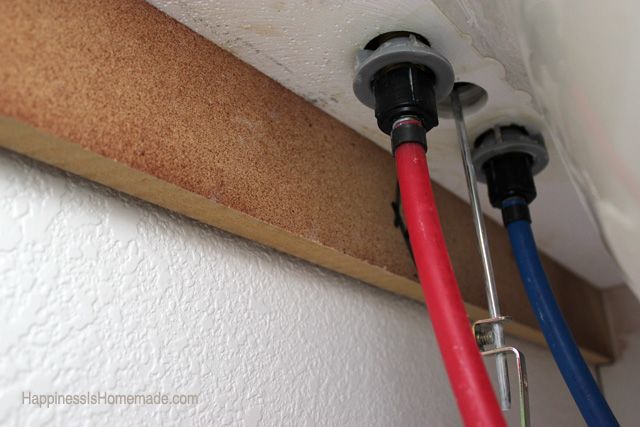
Under the sink there are two water lines that run up to the faucet. Grab a wrench and untwist the nuts to detach the water lines (they’re the black plastic ones in the photo above). Careful! There will still be water in the line even though you’ve shut the supply off, so make sure to put a towel down underneath you to catch any drips (and watch your head!).
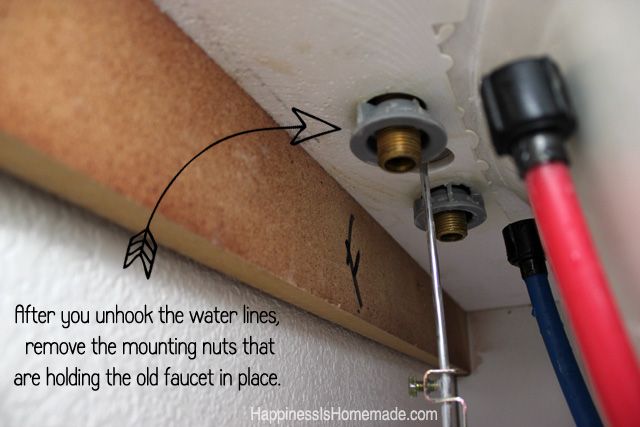
Next, remove the mounting nuts that hold the old faucet in place.
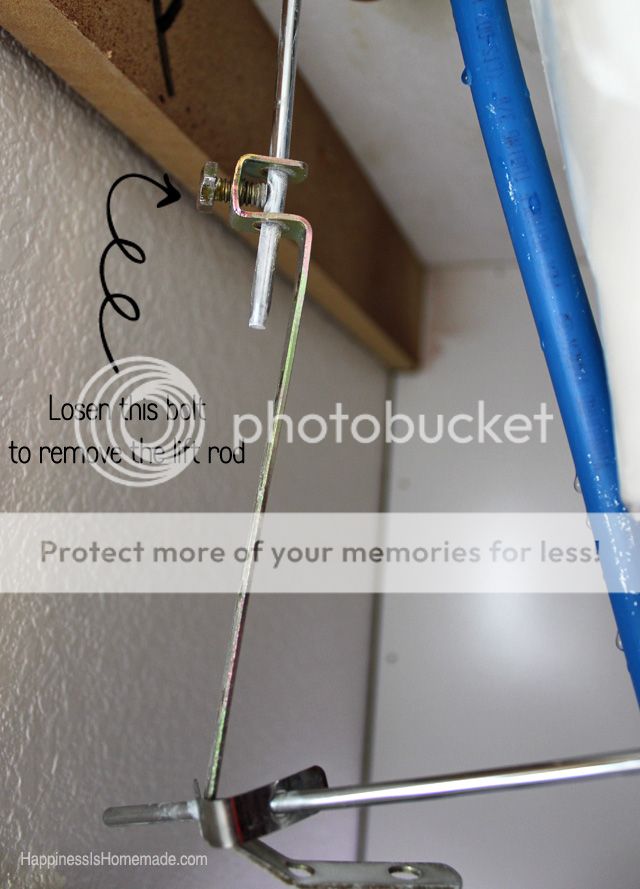
Losen the bolt to remove the lift rod.
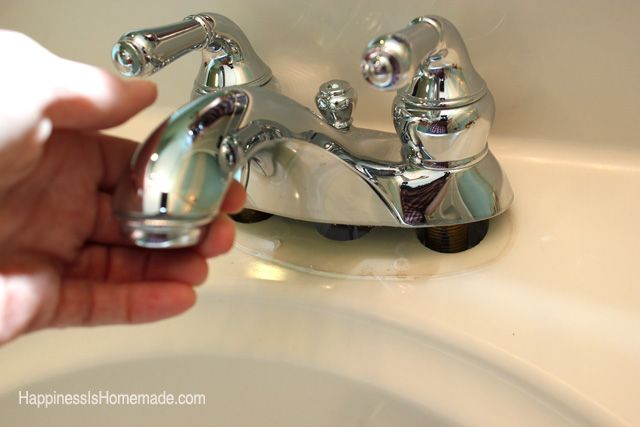
The faucet should now easily lift out of the mounting holes. It will likely have left a ring from sitting there for ages, so grab some bathroom cleaner and give your countertop a quick clean-up.
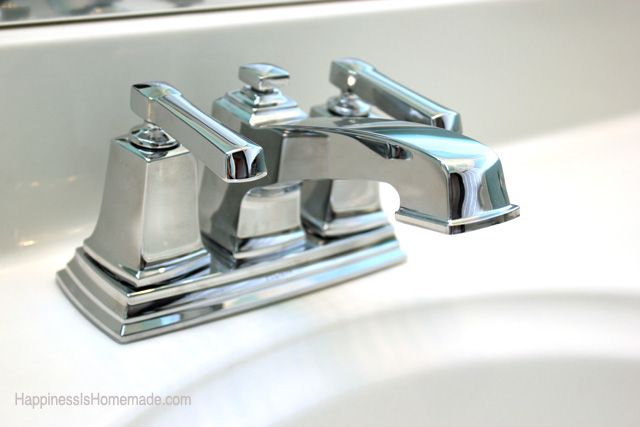
Drop the new faucet into place, adjust the handles to the proper position, and reverse engineer the process that you just completed while removing the old sink – tighten the mounting nuts, tighten the bolt that holds the new lift rod, and reattach the water lines. It’s really that simple!
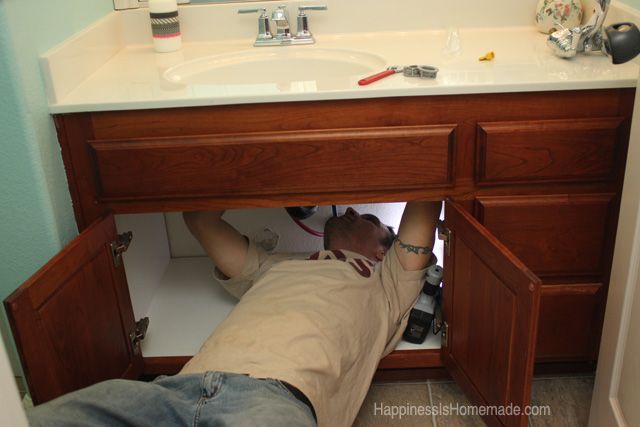
This guy came to check in on my progress after a few minutes, and I took advantage of the opportunity to have him tighten up all of the new connections for me.
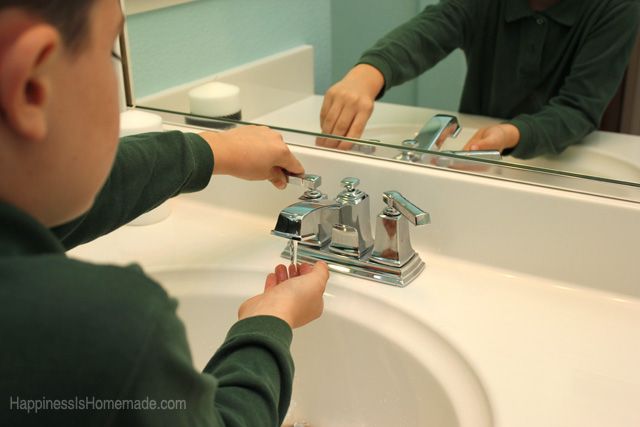
Turn the water supply back on, and grab an eager little helper to test out your awesome new faucet. Works like a charm!
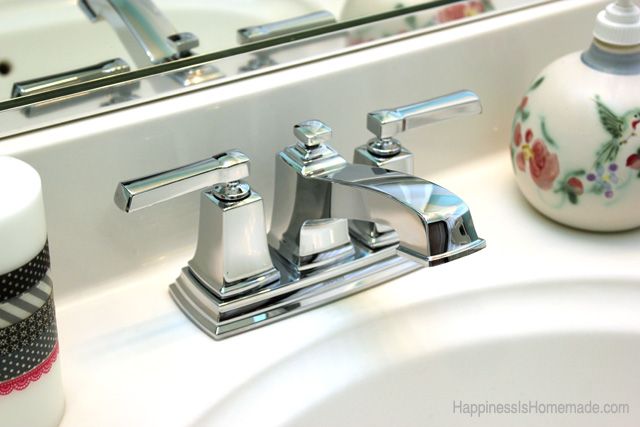
I’m seriously in love with the new faucet, and I’m proud of myself for completing a DIY project that I normally would have shied away from! I still can’t even believe how quick and easy it was!
You can find all of the Moen faucets at Lowe’s! For more product information and DIY inspiration be sure to Like Moen on Facebook!


Heidi Kundin has captivated the hearts of millions with her colorful and inspiring approach to crafting, celebrations, and family fun. With over 15 years of experience, Happiness is Homemade has become a must-visit destination for those seeking quick and easy creative ideas and last-minute solutions. Heidi’s warm personality shines through her posts, inviting readers to join her on a creative journey that’s fun, rewarding, and achievable. Heidi is also the author of Homemade Bath Bombs & More and DIY Tie-Dye.

