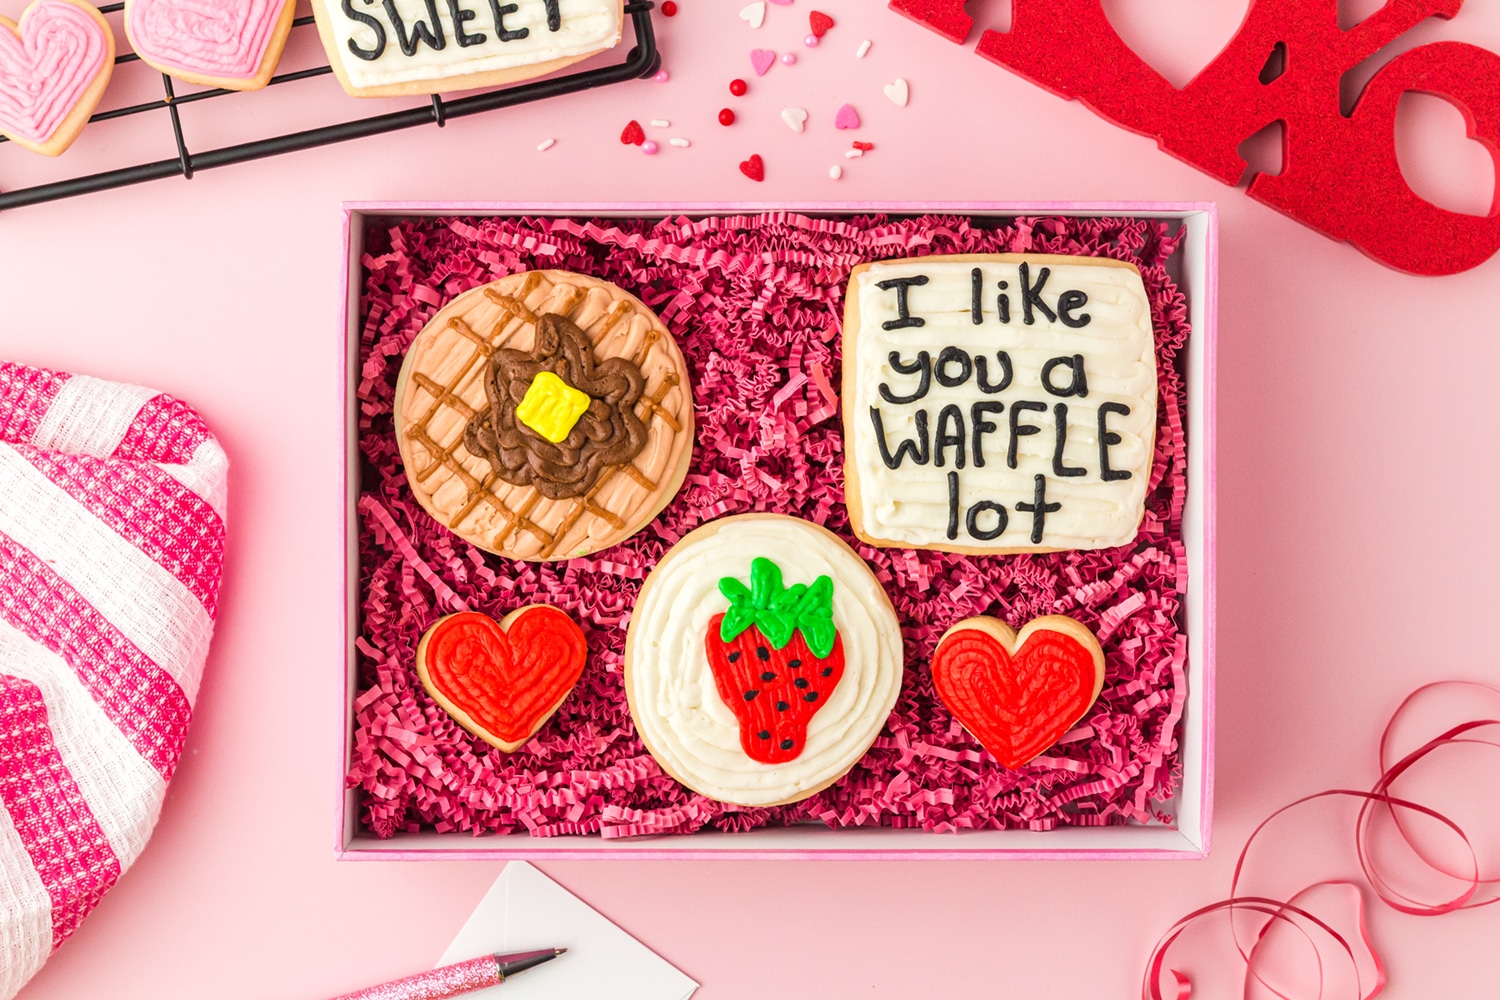
Our adorable Valentine’s Day sugar cookies, shaped like hearts, waffles, and strawberries, are a great way to tell someone that “I like you a waffle lot!” and “You’re berry sweet!”

This post may contain affiliate links. I will receive a small commission from these sales at no additional cost to you!
Valentine’s Day Sugar Cookies – Waffles & Berries
Looking for a fun and festive way to show your love this Valentine’s Day? Why not make some yummy Valentine’s Day sugar cookies?!
These cute cookies are shaped like hearts, strawberries, and waffles, and are iced with a delicious buttercream frosting. We topped them off with pun-y sayings like “I like you a waffle lot” and “You’re berry sweet.” What could be more adorable than that? 💖
Check Out These Other Valentine’s Day Treats!
Waffle Valentine Sugar Cookies
These delicious sugar cookies are sure to be a favorite! Make them in all kinds of different shapes for other holidays and occasions!
What will I need to make these sugar cookies with buttercream frosting?
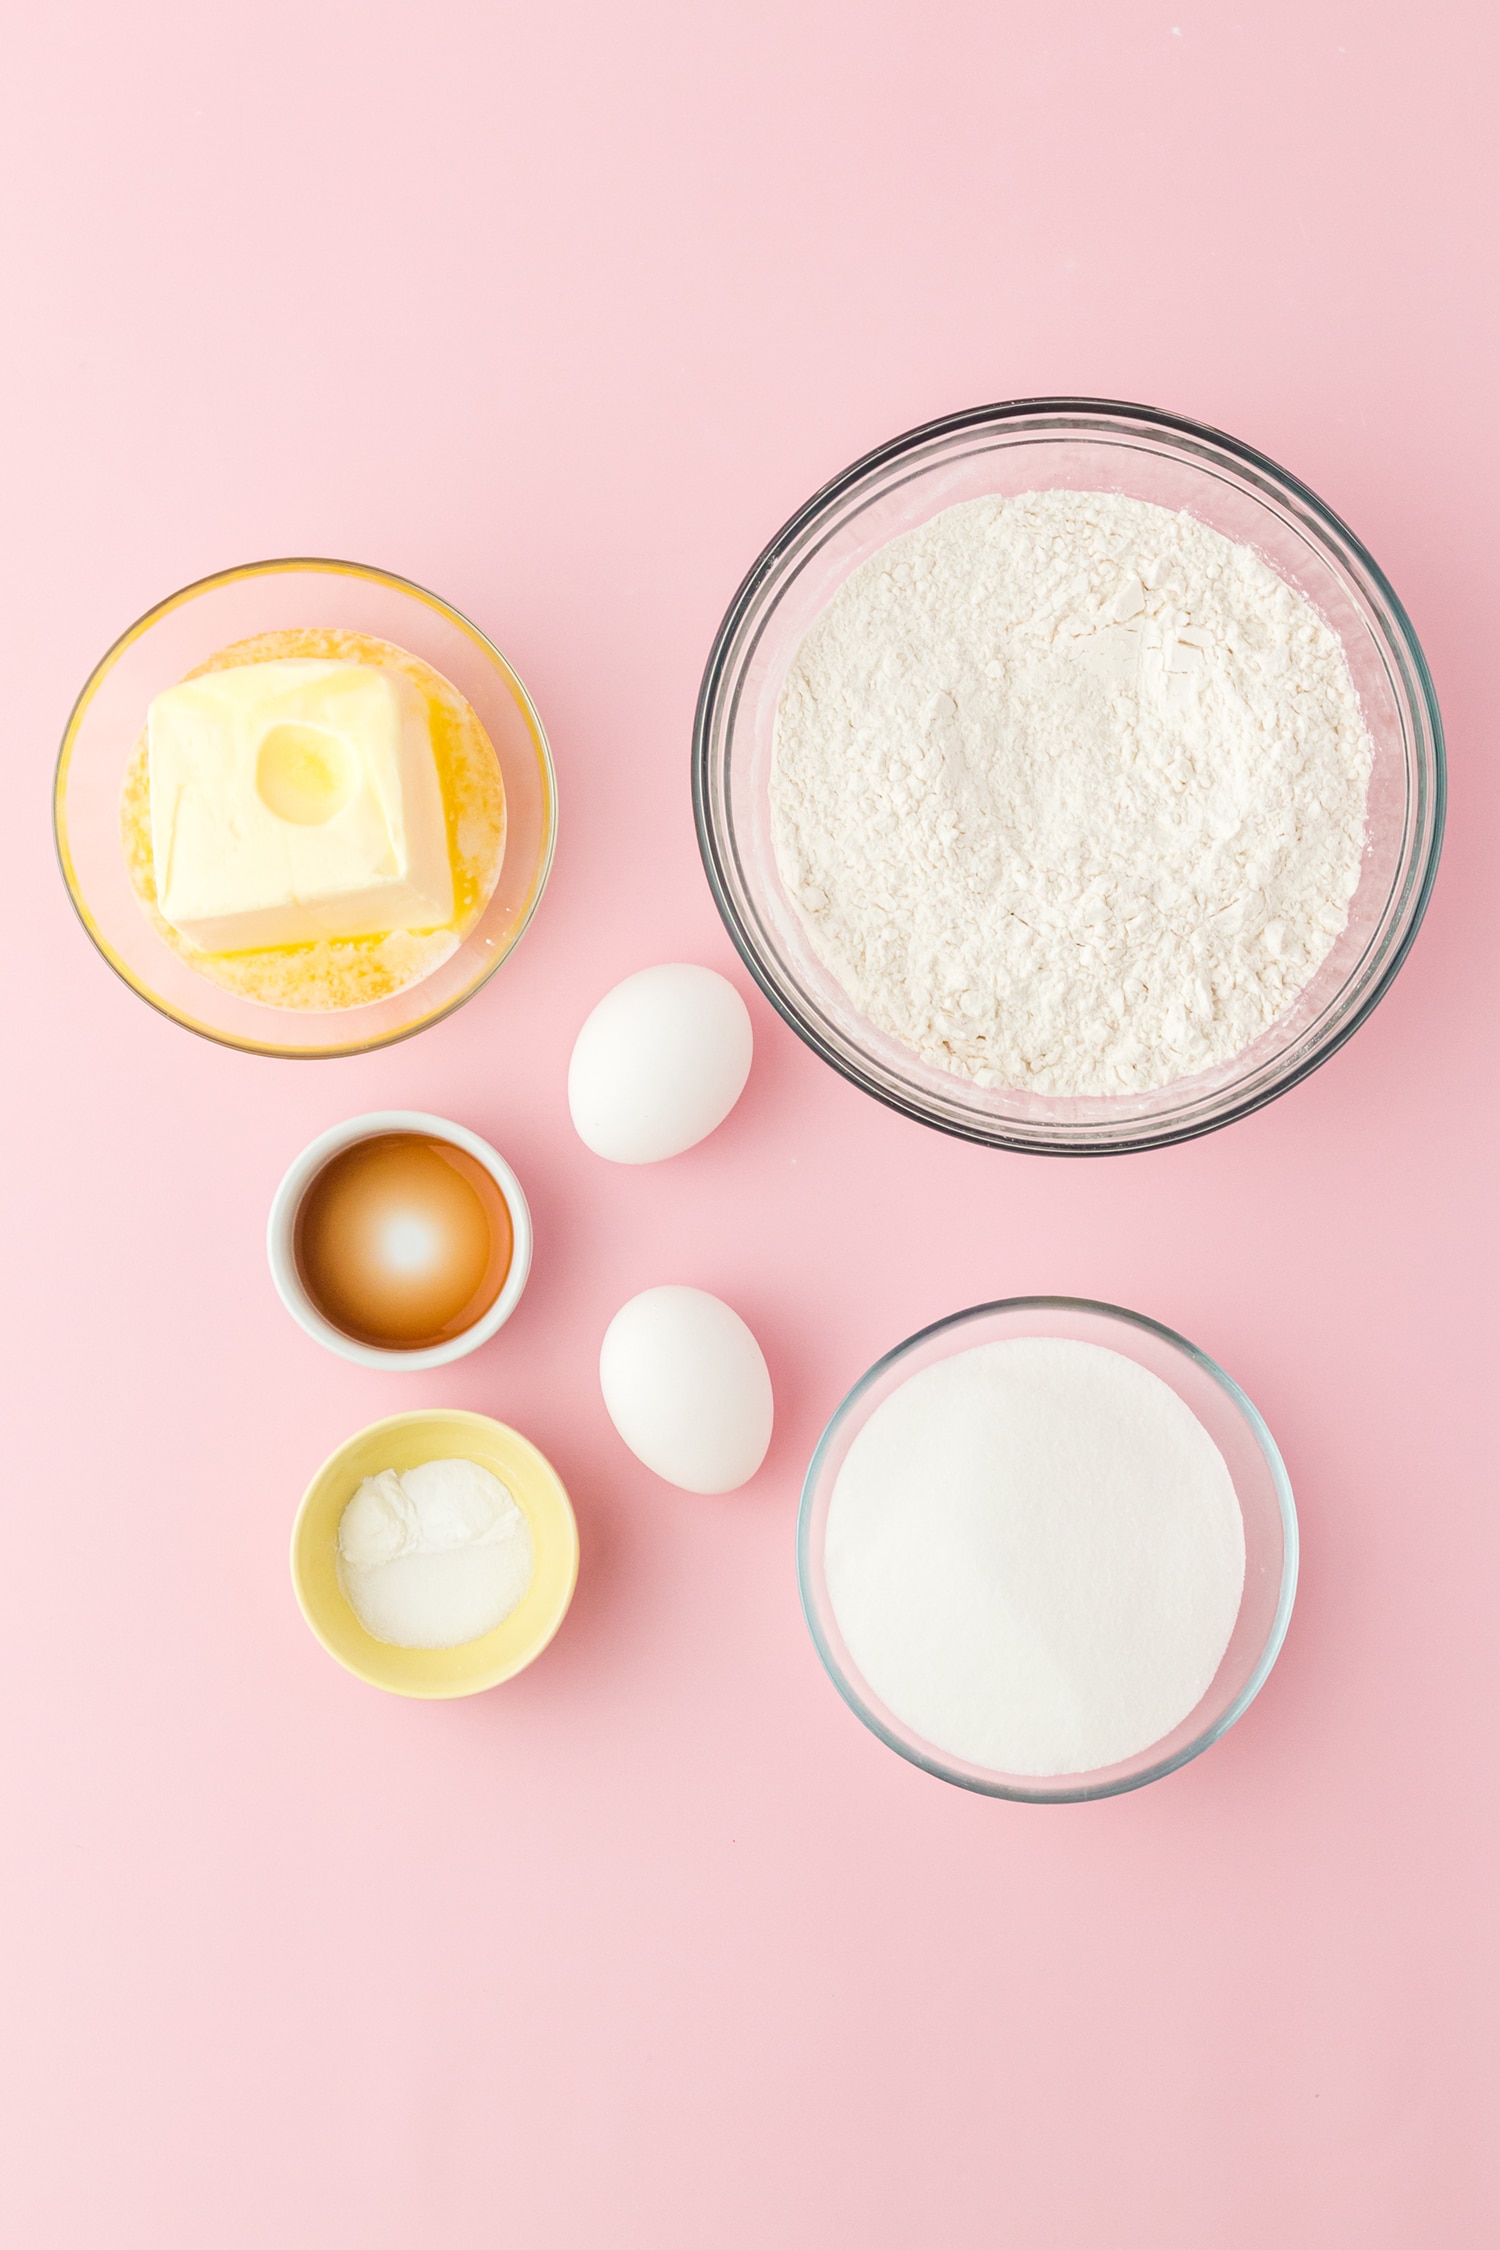
You will need the following ingredients:
- Unsalted Butter
- Granulated Sugar
- Eggs
- Vanilla Extract
- All-Purpose Flour
- Salt
- Baking Powder
- Baking Soda
- Confectioners’ Sugar (Powdered Sugar)
- Food Coloring
You will also need the following supplies:
- Measuring Cups and Spoons of various sizes
- Mixing Bowls (large and small)
- Electric Hand Mixer or Stand Mixer
- Spatula
- Rolling Pin with thickness rings
- Cookie Cutters
- Silicone Mat
- Baking Sheets
- Parchment Paper
- Disposable Piping Bags
- Scissors
How to Make Sugar Cookies with Buttercream Frosting
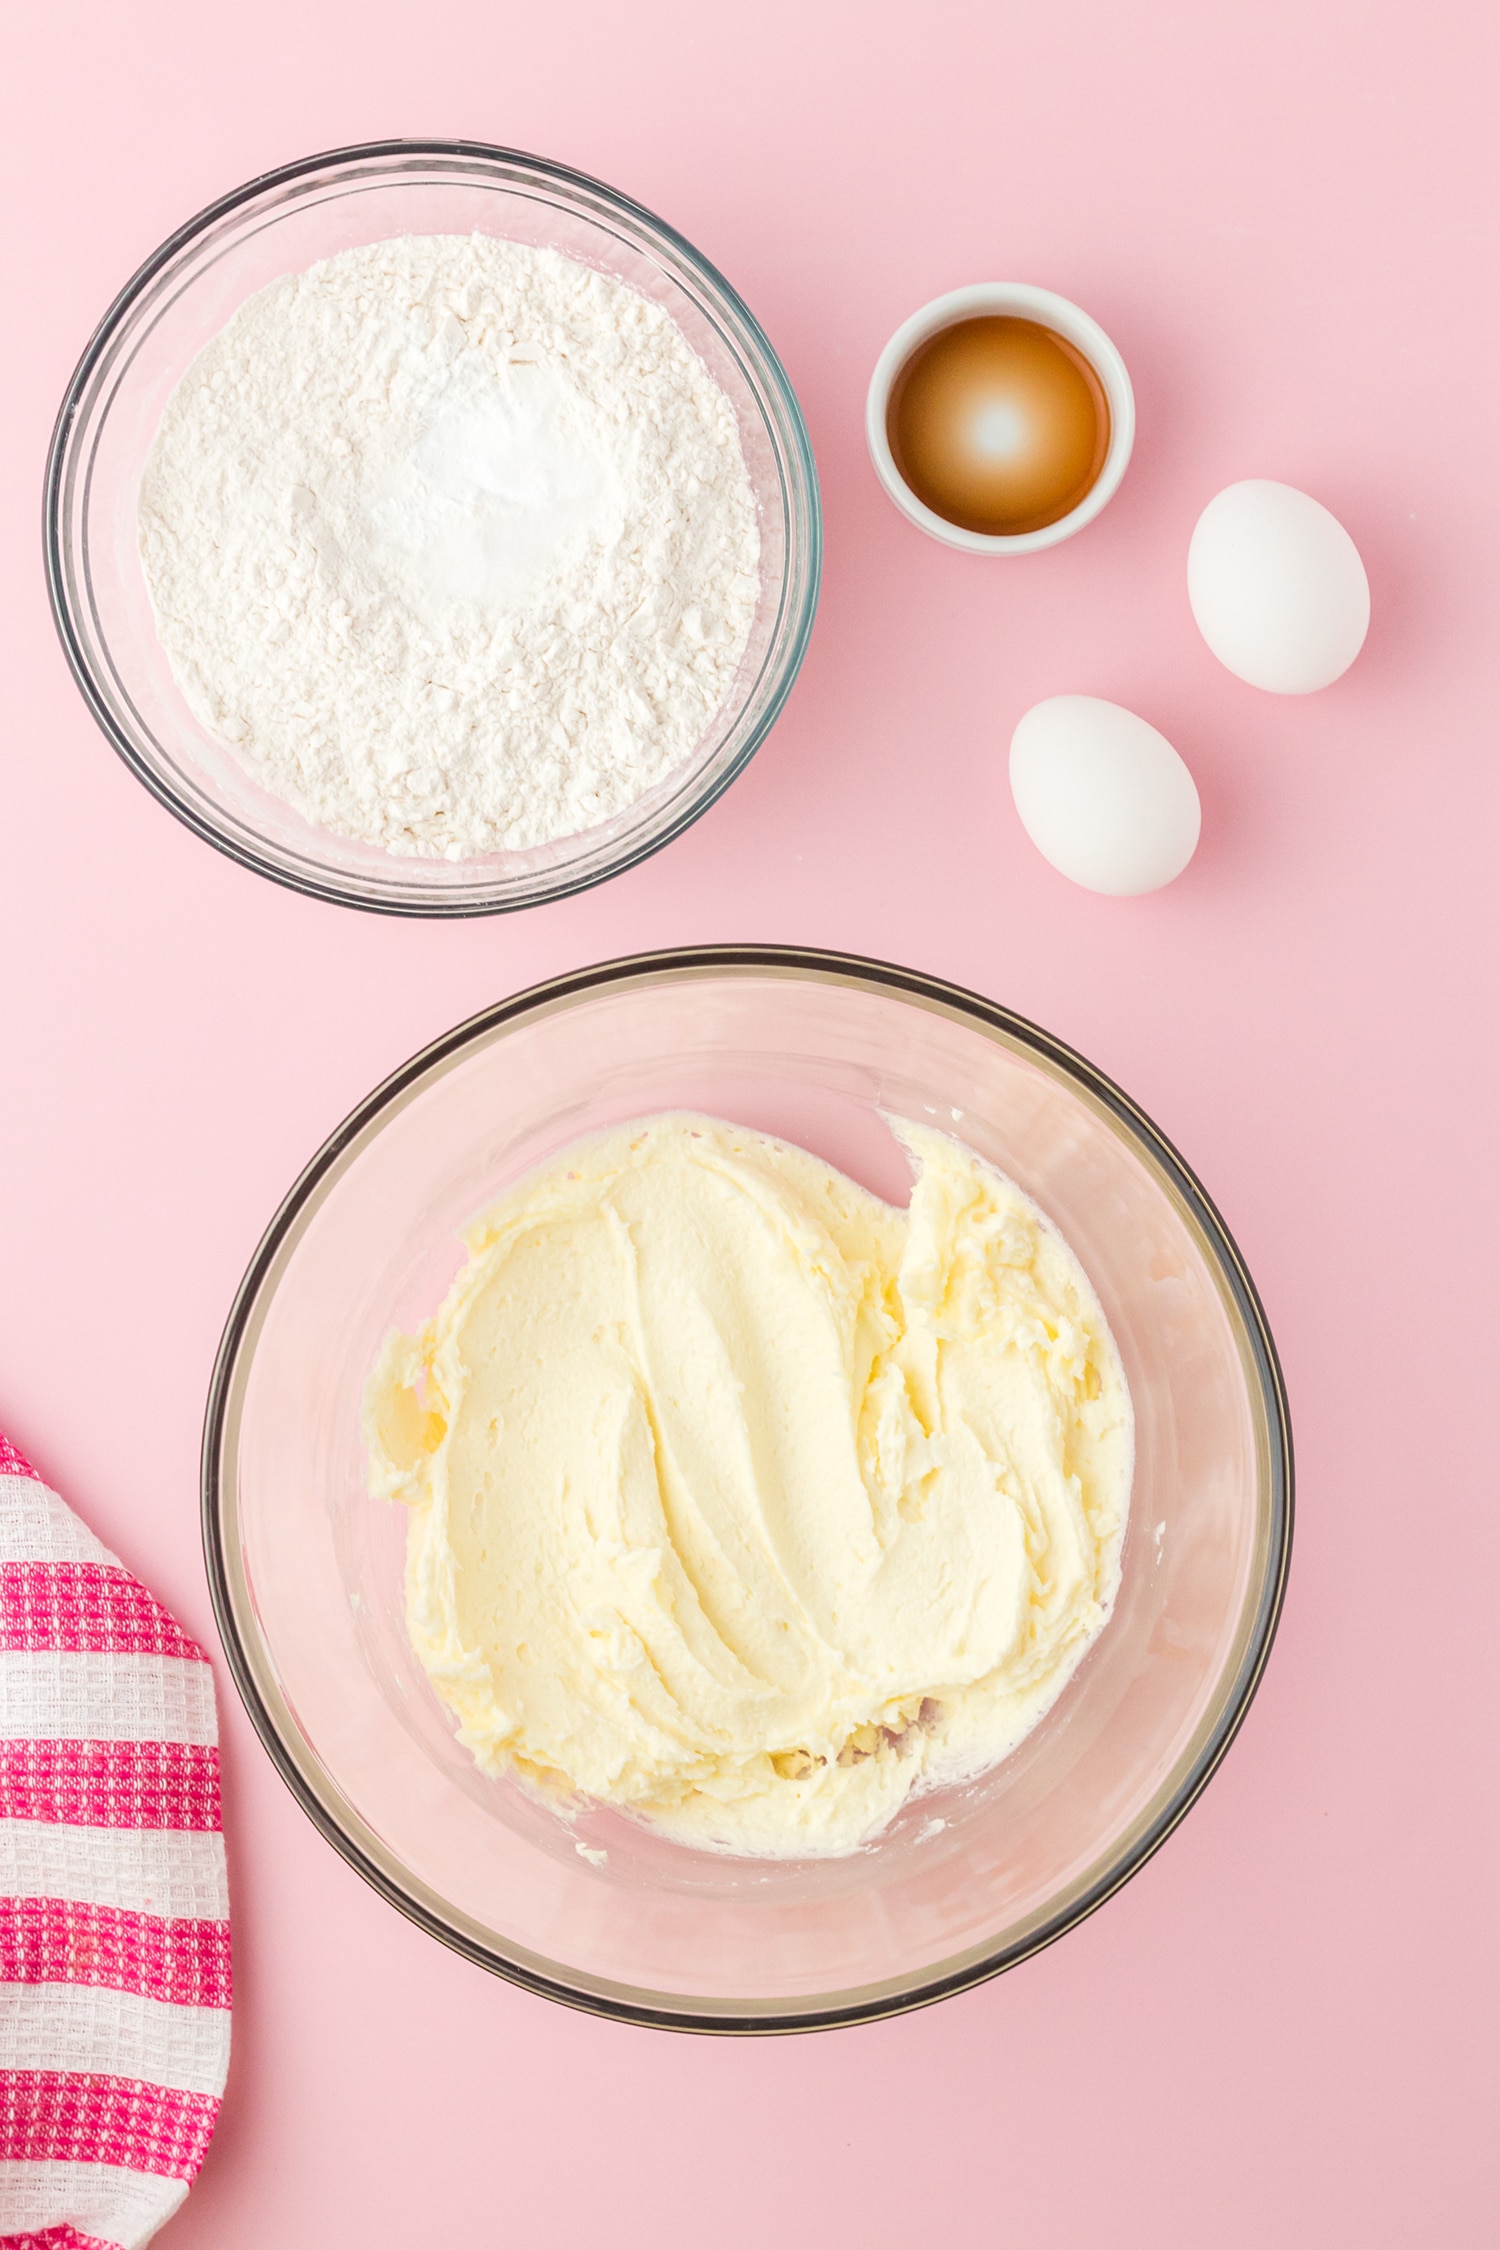
Using a mixer on low speed, cream butter and sugar together in a large bowl, and then beat in the eggs and vanilla (on medium speed) until light & fluffy. Combine all of the dry ingredients in a medium bowl. Then, mix together the wet and dry ingredients until well combined.

Sprinkle a silicone baking sheet lightly with flour. Place the sugar cookie dough on to the mat and roll dough out to 3/8 inch thickness.

Use your favorite cookie cutters to cut out the round, square, and heart sugar cookies. Our circles and square are around 3.5 inches here, and the hearts are around 2 inches.
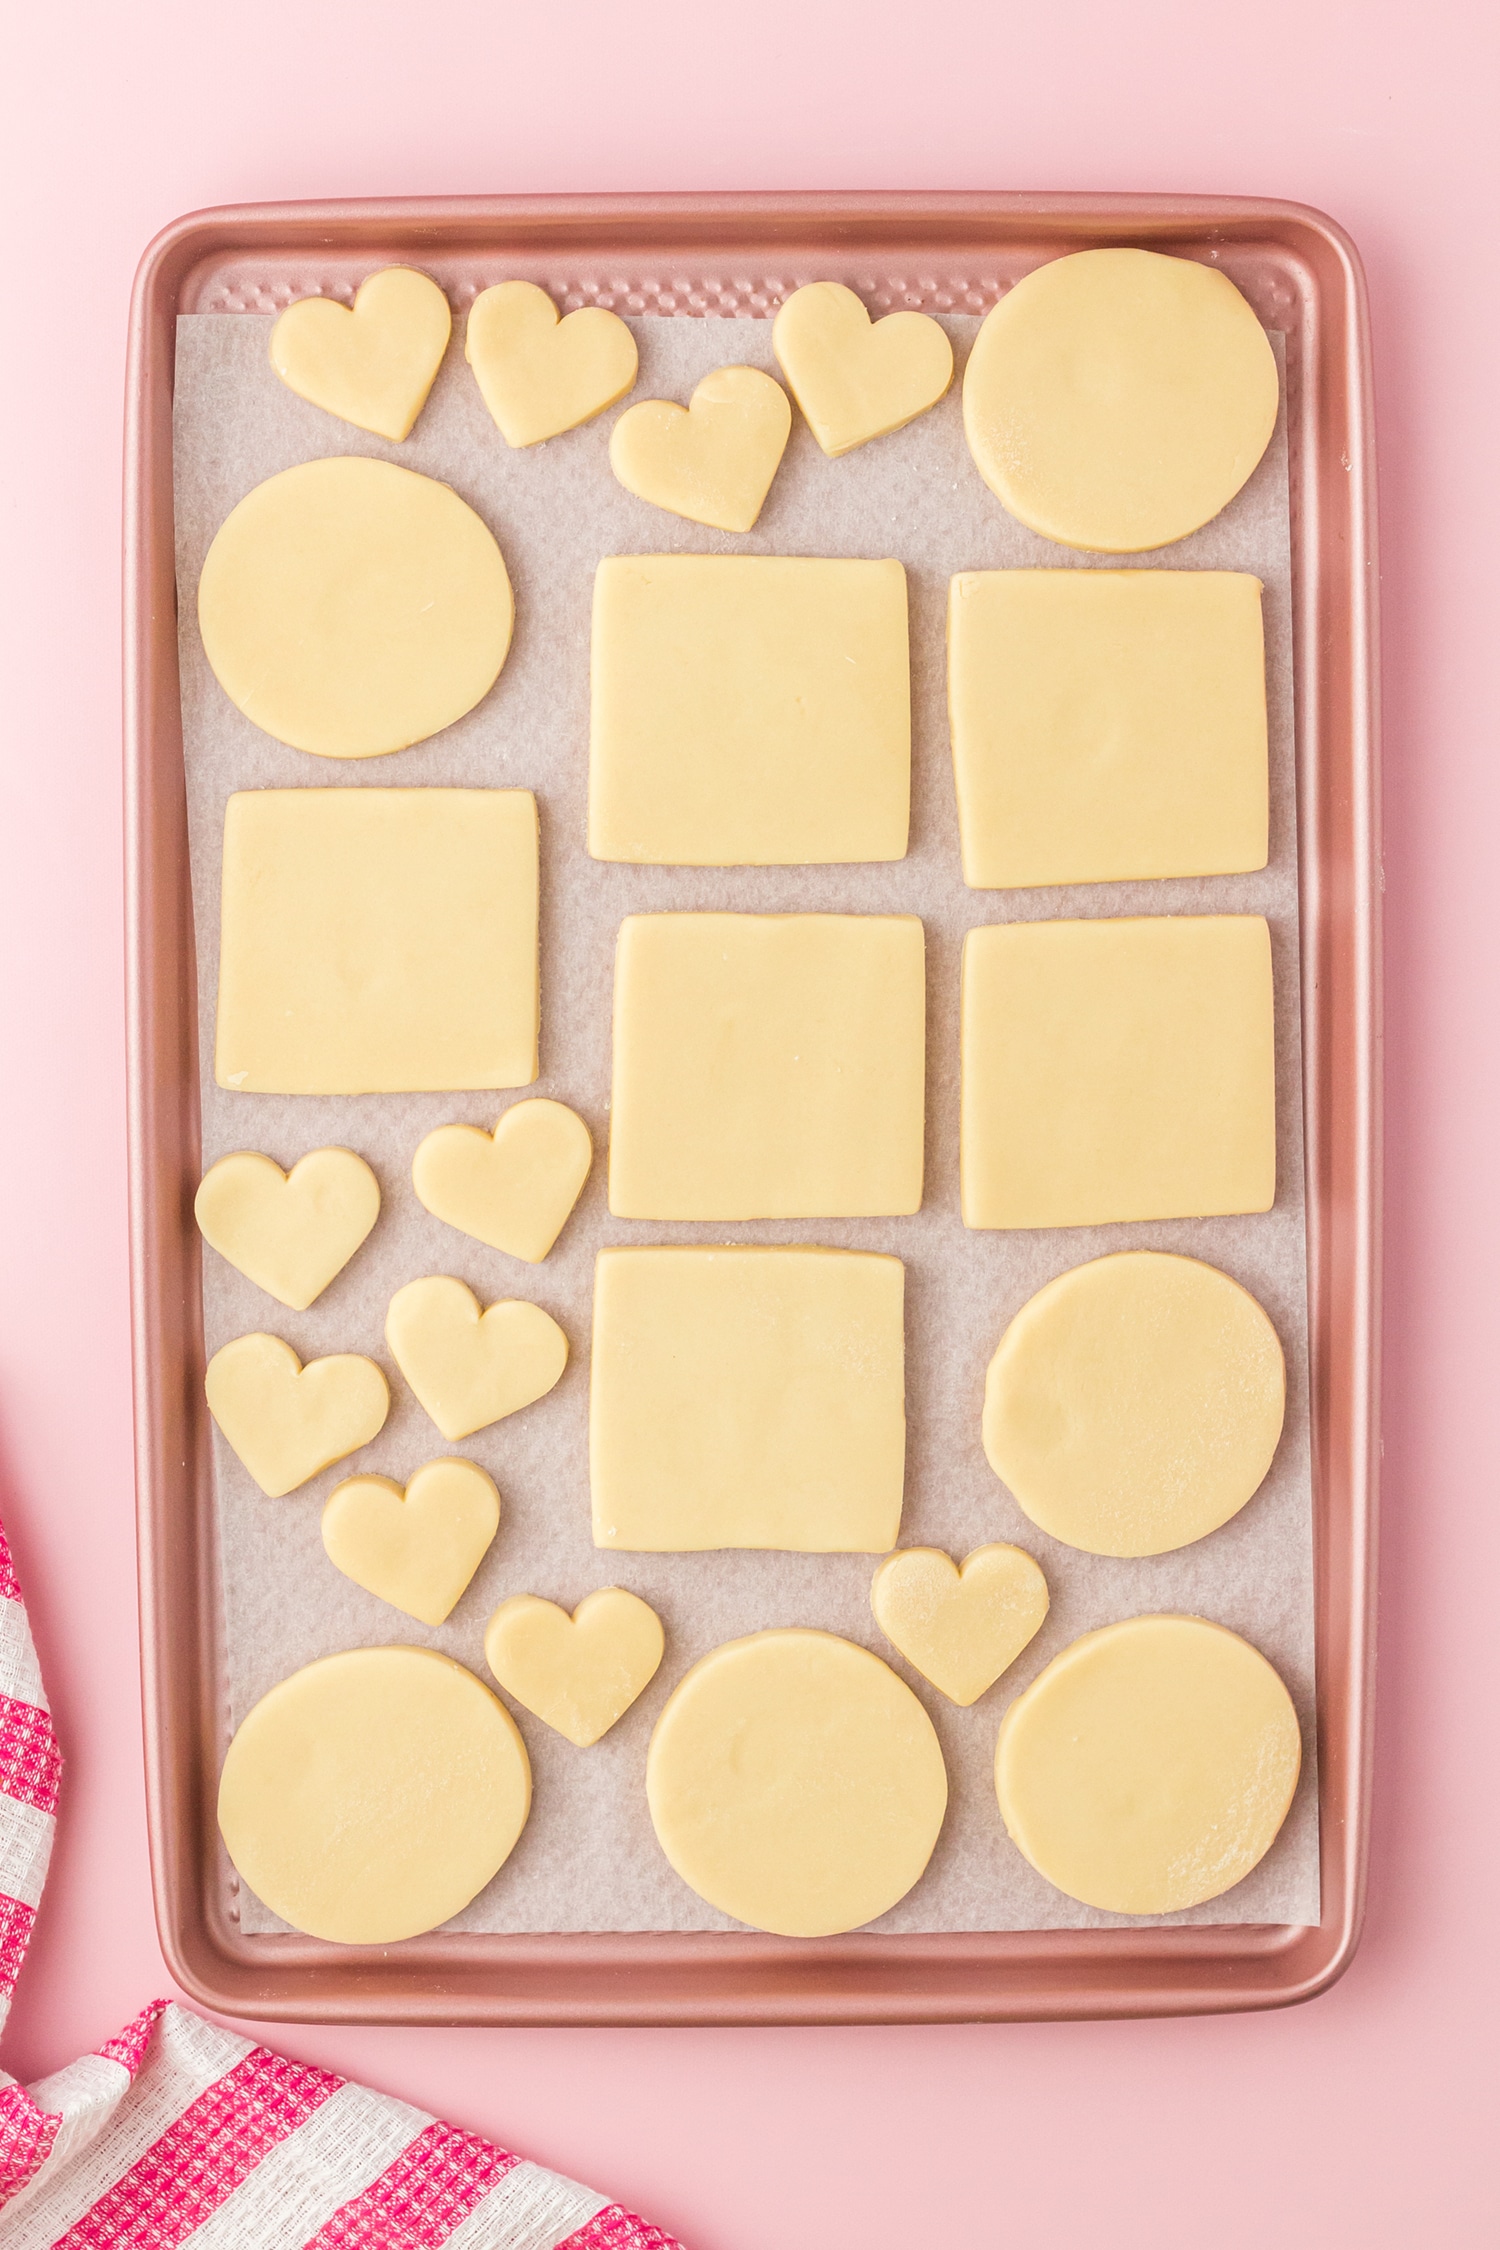
Place the cut-out cookies on a baking sheet that has been lined with a piece of parchment paper. Place the lined baking sheet into the freezer for 20 minutes before baking.
Bake the cookies at 350 degrees for 15-17 minutes or until the edges are slightly brown. Then allow the cookies to cool completely on a wire rack or cooling rack before frosting.
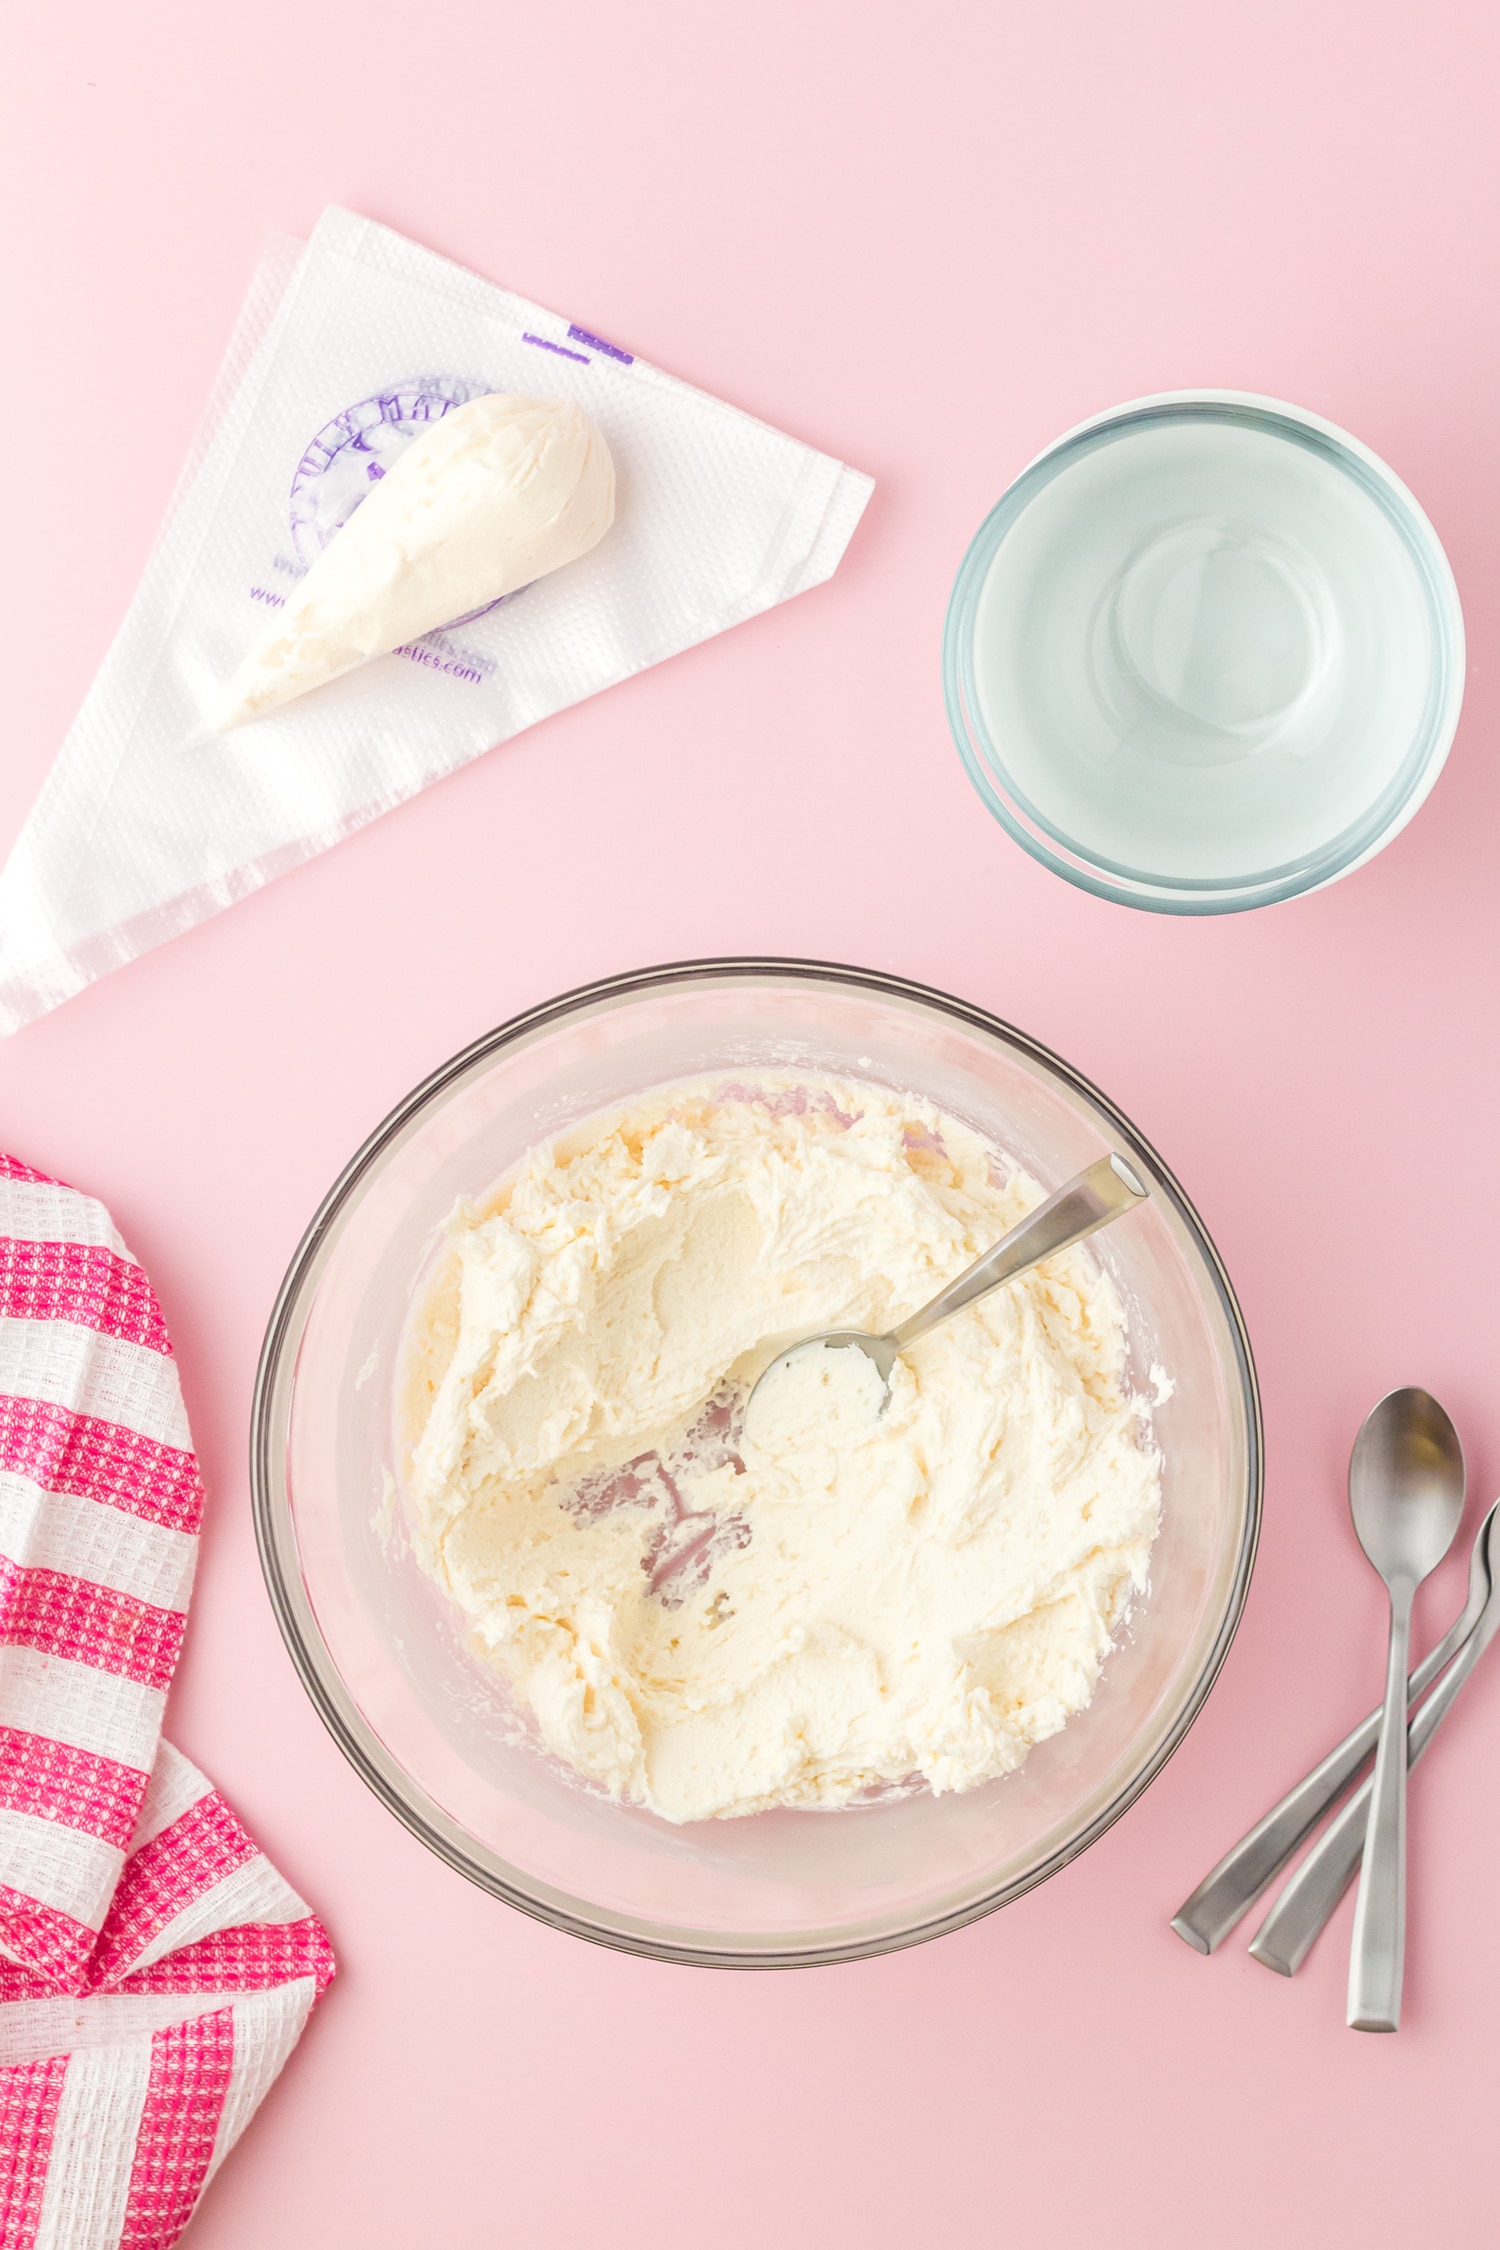
While the cookies are cooling, mix up the buttercream icing (or, if you prefer, this cream cheese frosting is pretty amazing, too!) in a small bowl. Divide the white frosting into several small bowls, and use food coloring to color as desired (we made red, black, yellow, green, pink, and two shades of brown/tan).
Note: for an extra punch of flavor, swap out the vanilla extract for almond extract, lemon extract, or orange extract!
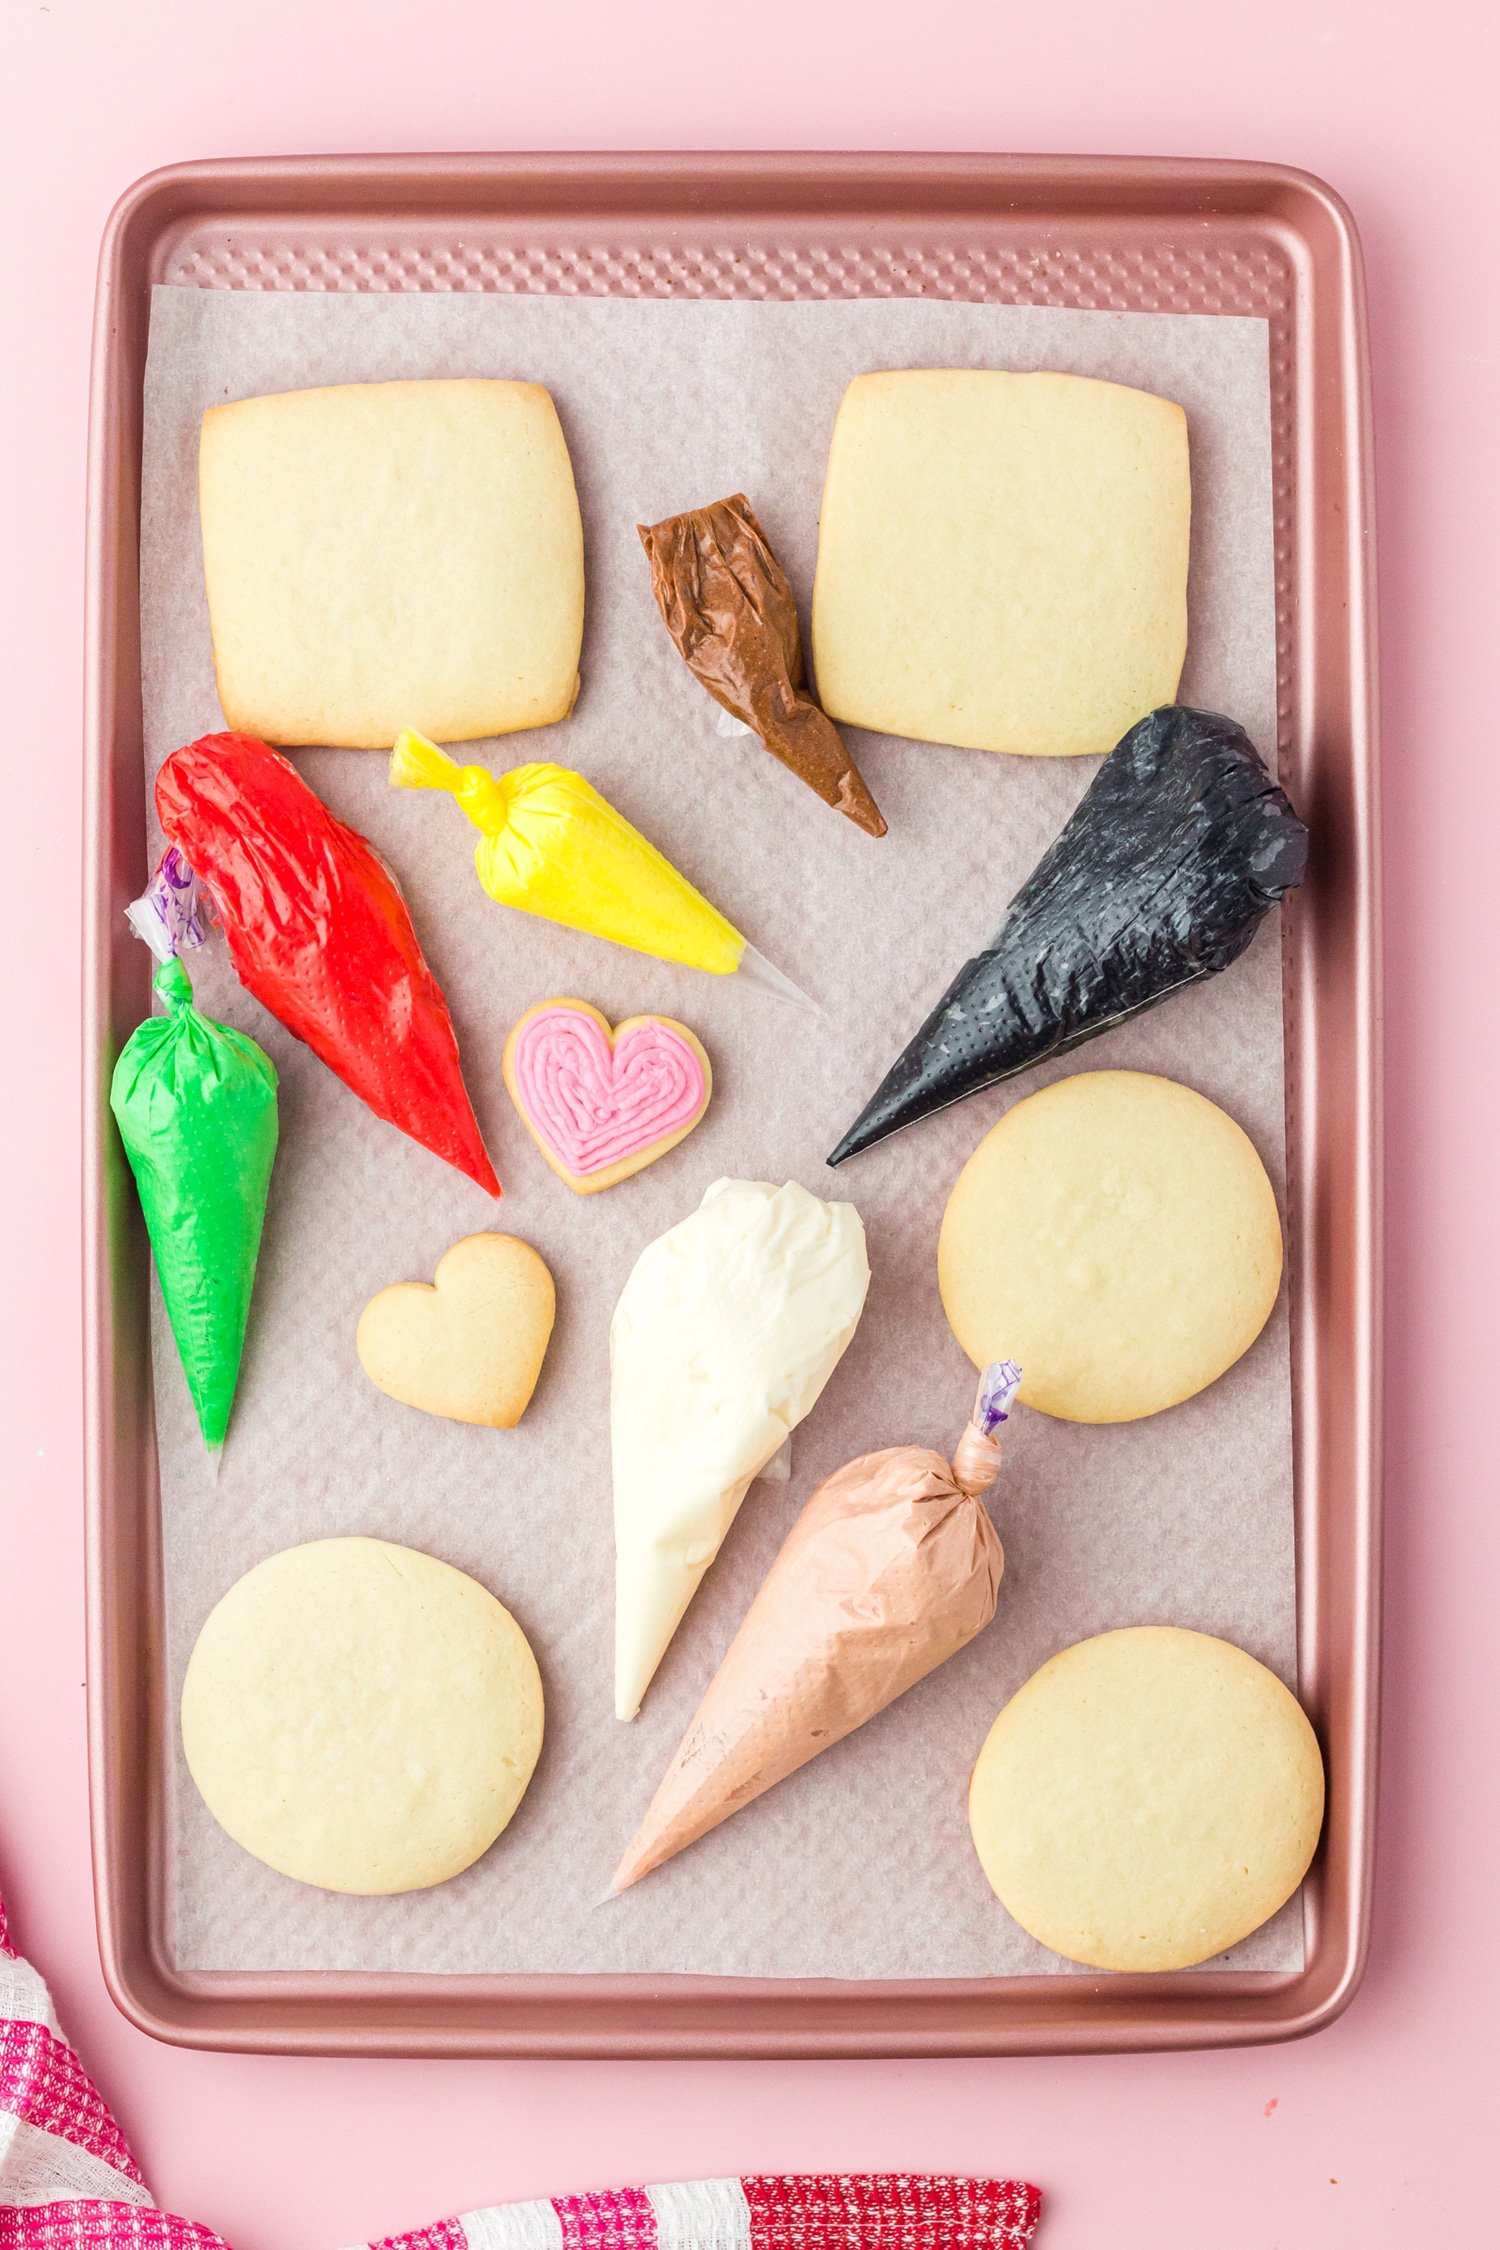
Transfer the different colors of icing to piping bags and seal the ends with clips or rubber bands.

Pipe the different shades of background colors on the cookies.
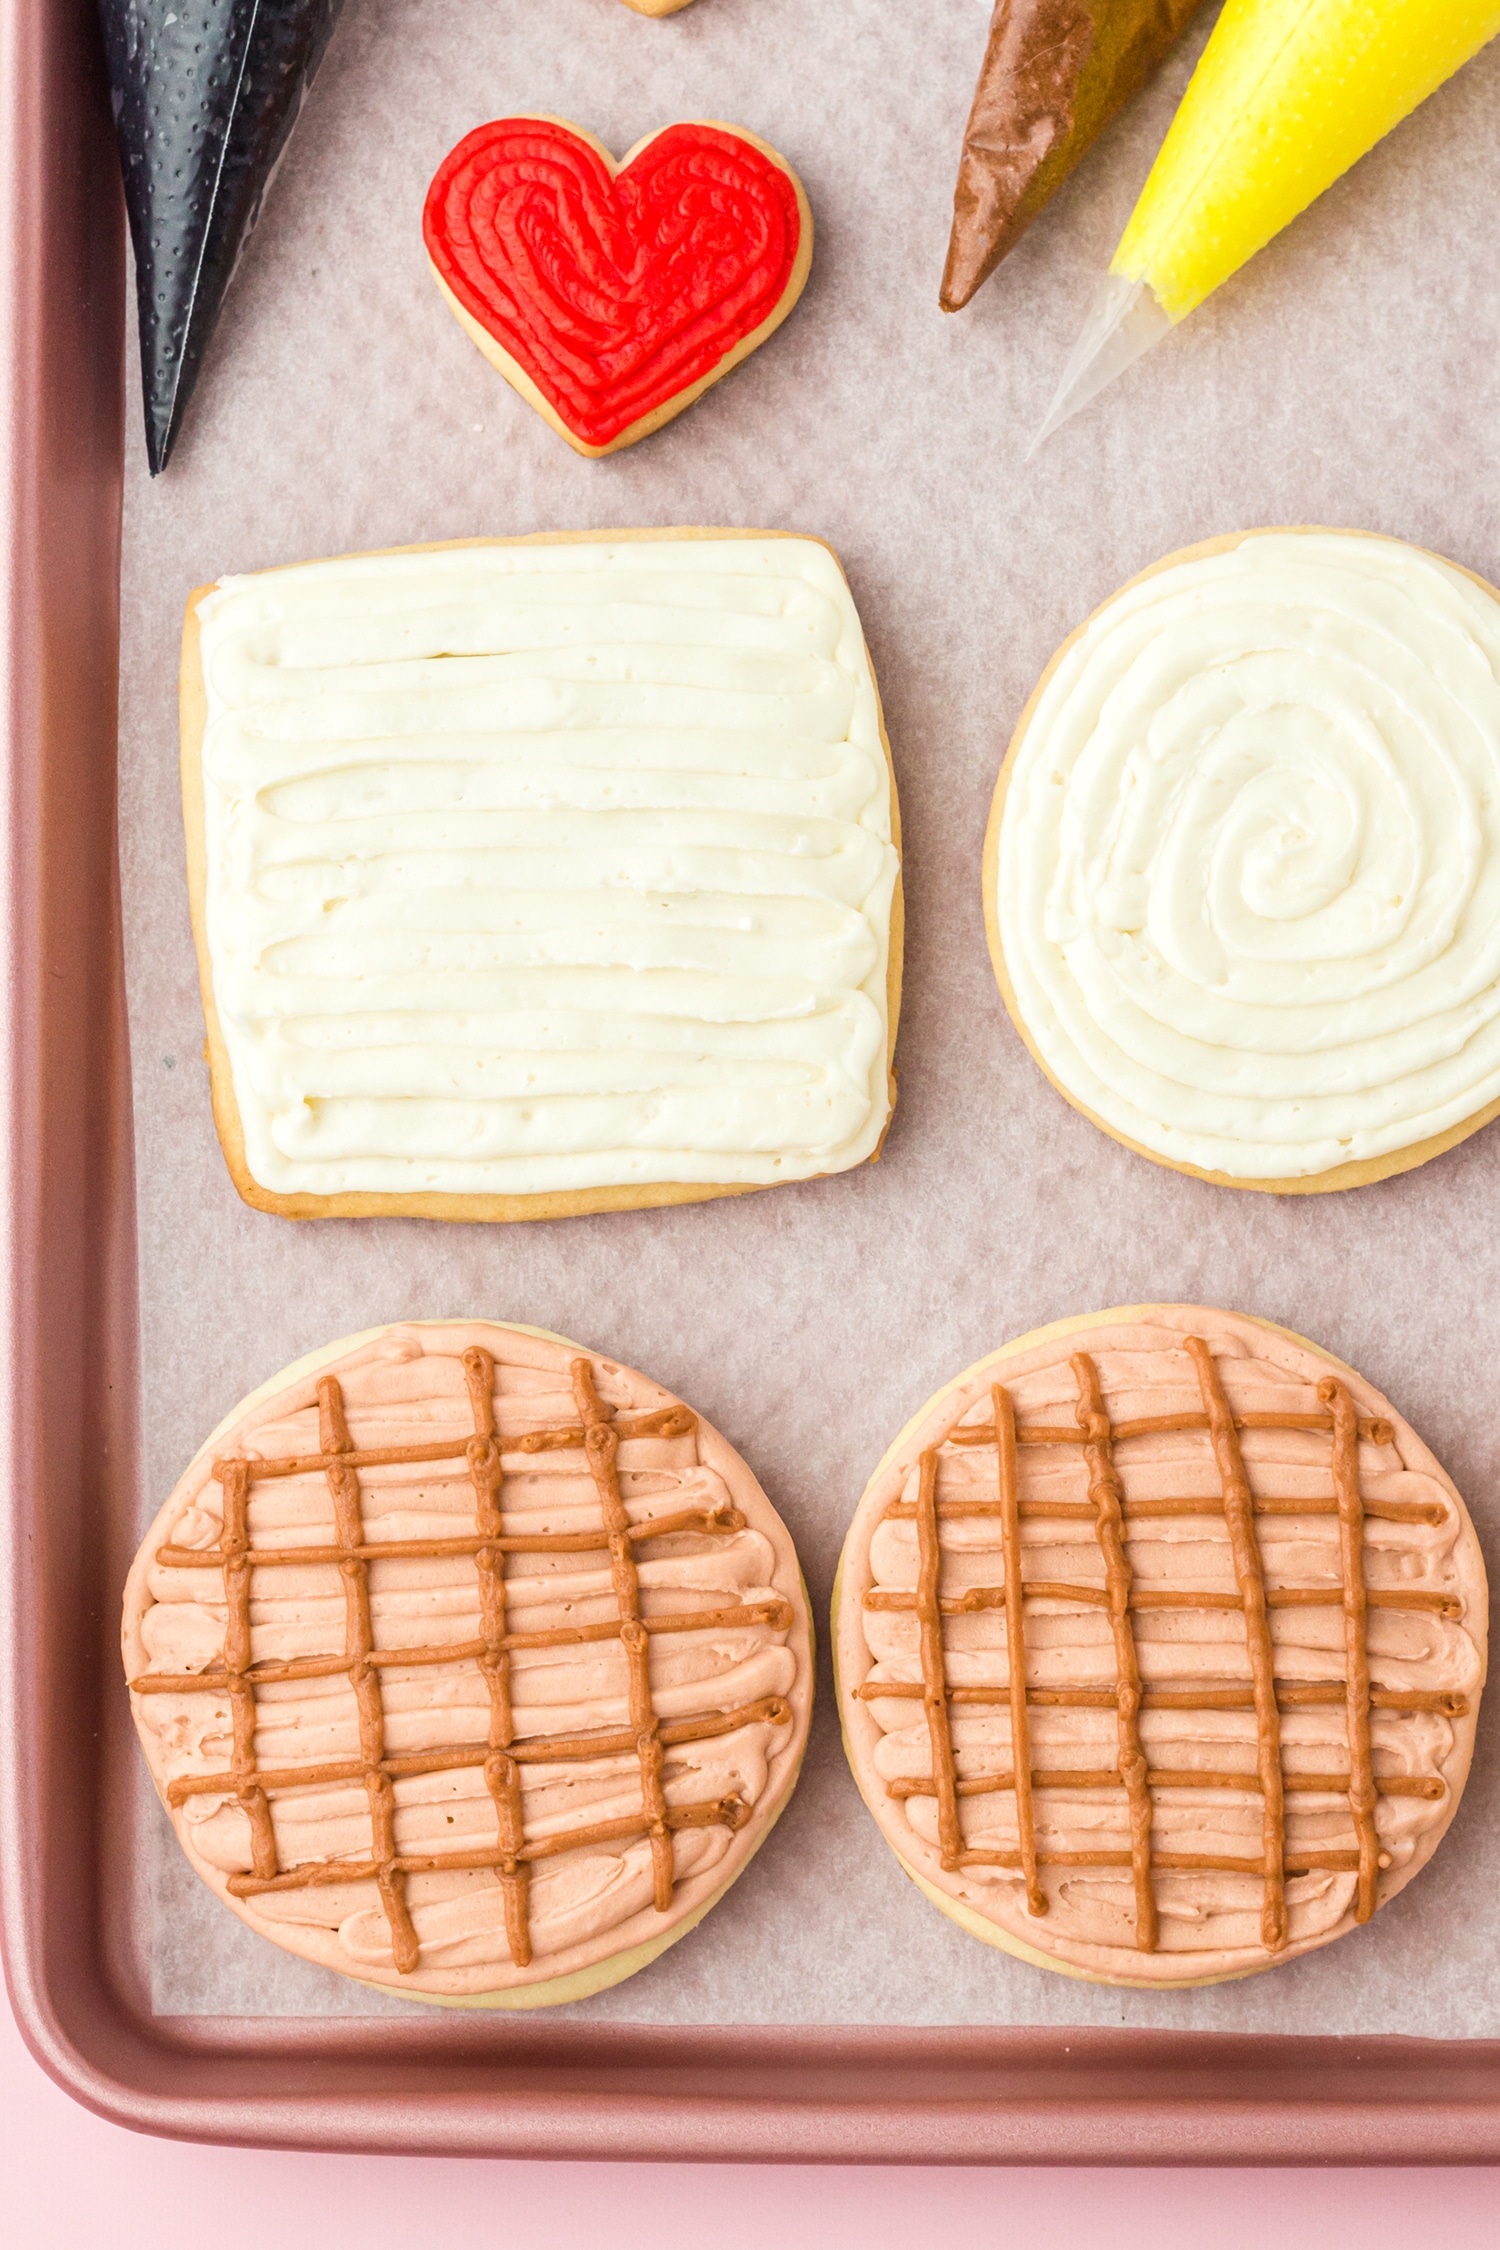
Then, working in layers, add the details to each cookie.

For example, for the waffle cookies, first add the background color, then the grid lines, syrup, and butter layers.

These delicious sugar cookies are the perfect Valentine’s Day treat for your loved ones! They’re SO much fun!
Frequently Asked Questions About Valentine Cookies

My dough looks very crumbly and isn’t sticking together. How can I save this cookie dough?
If your dough is looking dry and crumbly, beat in an additional ¼ cup of melted butter.
My dough is very sticky and is getting stuck to my hands and the rolling pin. How can I save this dough?
Your dough may have had either too much butter added to it or the butter was too melted. Sprinkle extra flour on your table and knead the dough into this (until fully combined) before rolling it out again. When ready to roll out the dough again, make sure the table and the rolling pin are both sprinkled with extra flour to prevent the dough from sticking.
Can I freeze these sugar cookies with buttercream frosting?
Yes, if sealed properly in an airtight container, these cookies can be frozen for up to 2 months. Thaw to room temperature before serving.
Can I freeze this sugar cookie dough to use later?
Yes! We recommend cutting out the dough with cookie cutters first and then freezing the cut-out shapes in a single layer in the freezer for 30 minutes before transferring to a food-safe container.
Can I freeze leftover buttercream frosting?
Yes, if sealed properly, the buttercream frosting can be frozen for up to 3 months. Bring back to room temperature before using.

Do these sugar cookies with buttercream frosting need to be refrigerated?
No, the butter to sugar ratio of the frosting makes them safe to leave out at room temperature. The cookies will stay fresh in an airtight container at room temperature for 3 days; however, refrigerated cookies will stay fresh for up to a week.

Valentine Sugar Cookies Recipe

Valentine’s Day Sugar Cookies with Buttercream Frosting
What You’ll Need:
Sugar Cookies
- 1 cup (227 grams) Unsalted Butter, slightly melted
- 1 cup (200 grams) Granulated Sugar
- 2 large Eggs
- 1 tsp Vanilla Extract
- 3 cups (420 grams) All-Purpose Flour
- 1/2 tsp Salt
- 1/4 tsp Baking Soda
- 1/4 tsp Baking Powder
Buttercream Frosting
- 2 cups (454 grams) Unsalted Butter, slightly melted
- 5 cups Confectioners' Sugar
- 1 Tbsp Vanilla Extract
Instructions:
Cookies
- In a large bowl, beat together butter and sugar until smooth (1-2 minutes).
- Beat in eggs and vanilla until light & fluffy (about 2 minutes)
- In a separate bowl, stir together flour, salt, baking soda, and baking powder.
- Add dry ingredients to wet ingredients and beat just until well combined and the dough starts to stick together.
- Line a baking sheet with parchment paper and set aside.
- Sprinkle table or silicone baking sheet lightly with flour and then place a portion of dough on the prepared surface. Lightly sprinkle the top of the dough with flour to prevent the dough from sticking to the rolling pin.
- For soft and thick cookies, use a rolling pin with a 3/8" thickness ring to roll out the sugar cookie dough.
- Use cookie cutters in the shapes of circles, hearts, and squares (about 3.5") to cut out the cookies.
- Place the cutout cookies onto the prepared baking sheet and place in the freezer for 20 minutes.
- Preheat oven to 350 degrees.
- Bake cookies for 15-17 minutes or until the edges are just slightly brown. The middle of the cookies will still be slightly soft to the touch, but will continue baking once removed from the oven. Only bake one tray of cookies at a time to ensure even baking.
- Repeat the process with the remaining cookie dough.
- Let all cookies cool completely before frosting.
Cookie Decorating
- In a large bowl, beat together butter, confectioners' sugar, and vanilla until light and fluffy (about 5 minutes).
- Separate the frosting into smaller bowls and color as desired with food coloring. Mix the food coloring completely into the icing to make sure that the color is evenly distributed.
- Transfer the frosting into piping bags, and close the ends using clips or rubber bands.
- Use scissors to snip the tips off of the piping bags – for background colors and thicker lines, snip off a larger amount of the tip; for detail work and fine lines, snip a very small amount off the tip.
- Start with the background color of the cookies (for example, the white frosting that will have the lettering printed on it), pipe the frosting over the surface of the cookie. If you would like to smooth out the frosting on the background layers, place the cookies in the refrigerator for 10-15 minutes and then lightly pat down the top of the frosting with a spatula or small piece of parchment paper.
- Decorate the cookies in layers – for example, first add the background layer of icing to the waffle, then the crosshatched lines, followed by the syrup, and then the butter.
- Cookies can be stored at room temperature (in a sealed food-safe container) for up to 3 days or in the refrigerator for a week. Store cookies in a single layer to preserve the details in the icing.
Notes:
One taste, and I’m sure you’ll think these are the best Valentine’s Day cookies ever!

Check Out These Other Valentine’s Day Ideas!
Don’t Forget to Pin These Valentine’s Day Sugar Cookies for Later!


Heidi Kundin has captivated the hearts of millions with her colorful and inspiring approach to crafting, celebrations, and family fun. With over 15 years of experience, Happiness is Homemade has become a must-visit destination for those seeking quick and easy creative ideas and last-minute solutions. Heidi’s warm personality shines through her posts, inviting readers to join her on a creative journey that’s fun, rewarding, and achievable. Heidi is also the author of Homemade Bath Bombs & More and DIY Tie-Dye.


