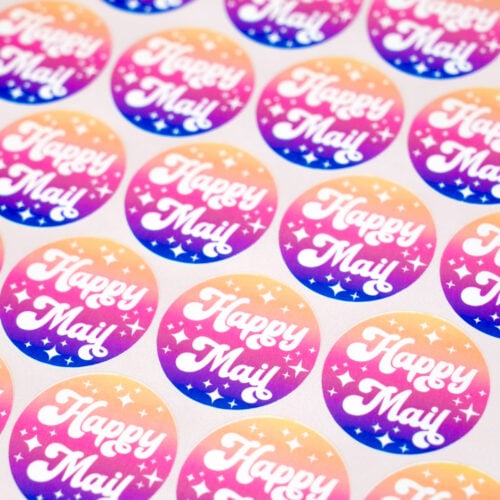
How to Make Kiss-Cut Stickers with Silhouette Cameo
Learn how to make kiss-cut sticker sheets with a Silhouette Cameo cutting machine! Just follow this easy Silhouette Print & Cut sticker tutorial!
Equipment
- Silhouette Cameo Cutting Machine
- Printer, inkjet or laser
Ingredients
- Silhouette Studio Software
- Sticker Paper
- Silhouette Cutting Mat
Instructions
- Open a new project in the Silhouette Studio Software. Open the Page Setup panel and select your machine type and paper size. Toggle over in the Page Setup panel and turn on Registration Marks and Print Bleed.
- Next, go to File>Merge to insert your sticker design (preferably in PNG format). If necessary, resize your file to suit your needs.
- Use the copy/paste function to duplicate your sticker design, and then arrange the images in a grid or pattern that allows you to fit the most possible on a single sheet.Note that you can NOT have any printed material extend beyond the red border or into the registration mark area (denoted by hash marks) or your Cameo will not be able to cut your stickers properly.
- Print your stickers onto sticker paper, and then place the printed sticker sheet onto the Silhouette cutting mat. Load the cutting mat into the Silhouette Cameo.
- Go back into the Silhouette Studio software, and open the Send panel. Set the following settings: Materials, Action, Tool, Cut, and Blade Settings.
- Click the blue Send button in Silhouette Studio to send the cut job to your machine. First, the Cameo will scan the mat for the registration marks, and then it will begin cutting.
- When the cut is complete, unload the cutting mat from the Cameo, and remove the sticker sheet from the mat. Remove the excess sticker material, leaving your stickers cleanly on the backing sheet.
