I am always searching for cheap vintage furniture that can be rescued from destruction and made over into something beautiful, and finding the perfect nightstand for our master bedroom was at the top of my list. Furniture on Craigslist seems to be selling for an arm and a leg these days, so I was beyond excited when I saw this vintage solid wood dresser listed for only $25! It had great lines and a shape that wouldn’t clash with the modern dresser on my husband’s side of the bed. It was located in another town that is half an hour away and was literally right around the corner from where I was headed to my son’s gymnastics class. It was fate. Sold!
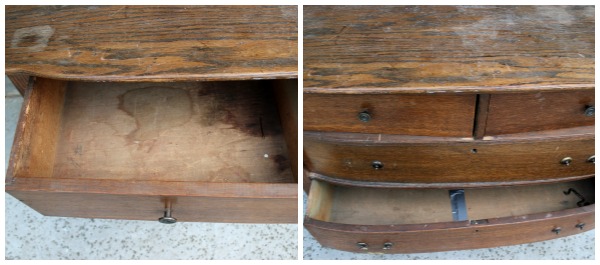
This piece was in even worse shape than I had expected, but I knew that there was a ton of potential there. When I say that the dresser smelled musty beyond belief, I’m giving it a HUGE compliment. Seriously, I think there could have been dead things in there at one point. The smell was atrocious.
The drawers were busted and stained, and there was a strange light green funk all over the back side of the piece. YUCK.
I started by giving the entire dresser a dousing of straight vinegar to see if it would help get rid of some of the smell, and after it dried, I sanded the heck of it with my palm sander. I had to enlist the help of my husband to give it a deeper and more thorough sanding because the smell of the dust was practically enough to knock me out! After he finished sanding, I gave it another spray down with vinegar which cut the smell dramatically afterwards.
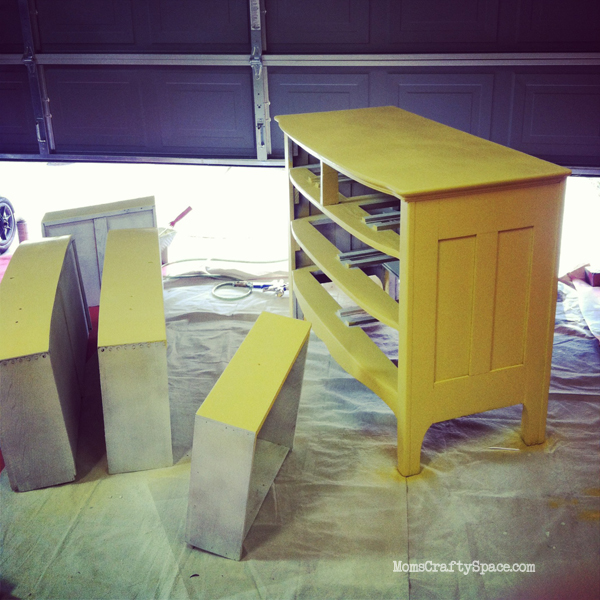
I love Kilz spray primer. Great big puffy heart LOVE them. This stuff is amazing! I decided to give the entire dresser, inside and out, a coat of primer to help seal in the remaining smell and the deep set old stains. It took me six cans of spray primer to coat the dresser and all the drawers, but it worked like magic. NO more funky smell at all! Amazing!
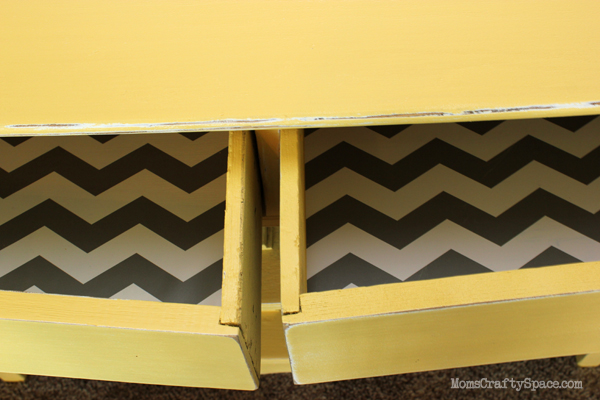
Those nasty old drawers look so much nicer with their new paint and grey chevron drawer liners!
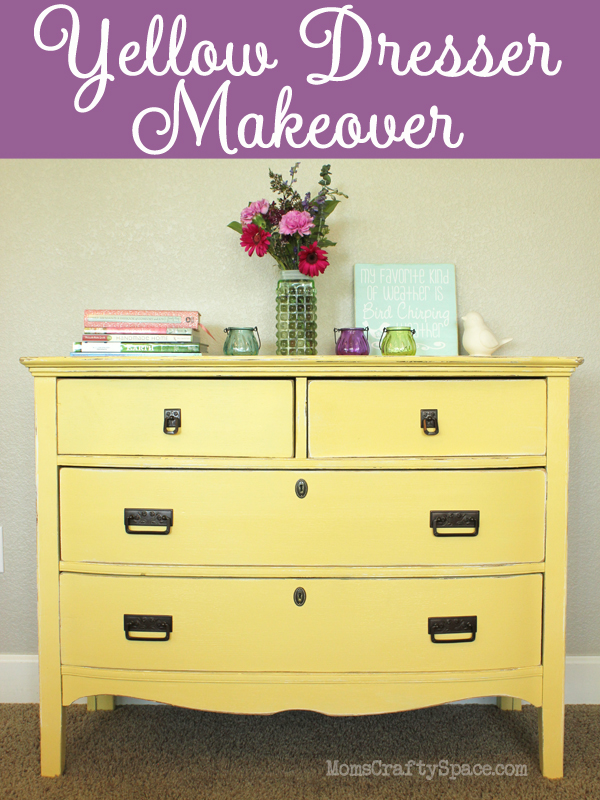
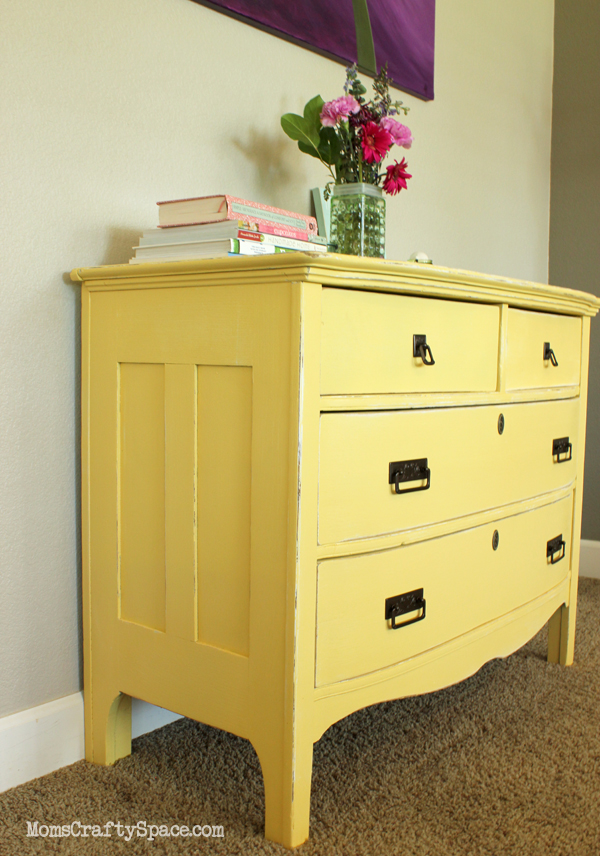
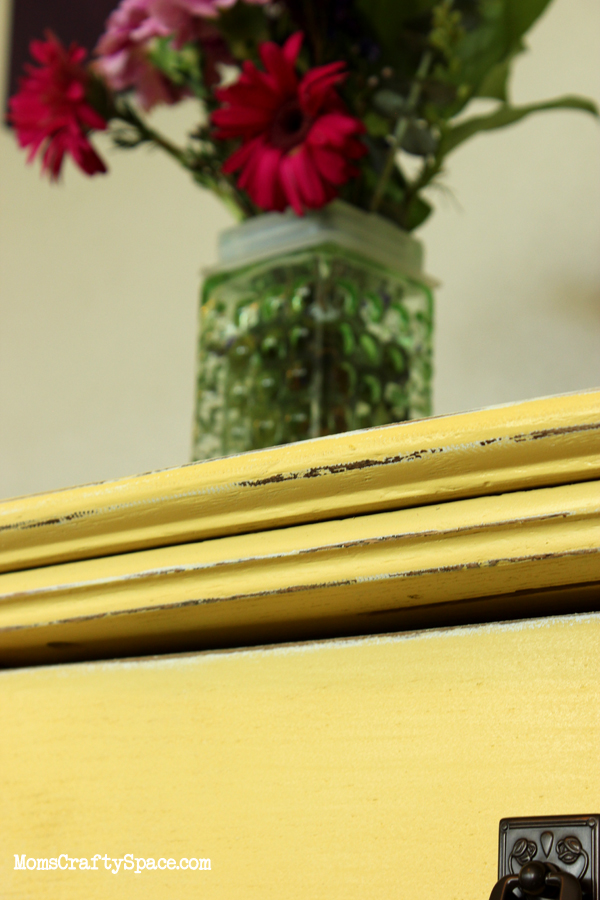
The chippy finish gives the piece an aged shabby chic cottage look, but it’s not so distressed that it overwhelms the look. I don’t usually distress my furniture, but I’m thinking that this might start a new trend for me.
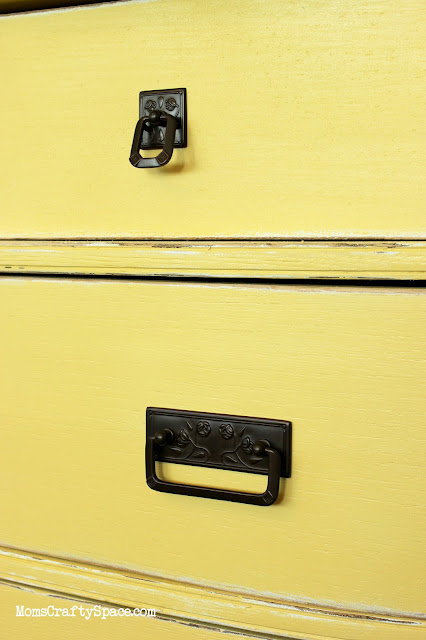
It took me forever to decide on what type of hardware I wanted to use, but I finally went with Liberty Hardware pulls and rings because I wanted something that looked both modern and vintage, and I didn’t want to break the bank either. The dresser only cost $25, so I was determined not to spend more than that (shipping included) on my hardware!
I’m totally in love with the way it came out!
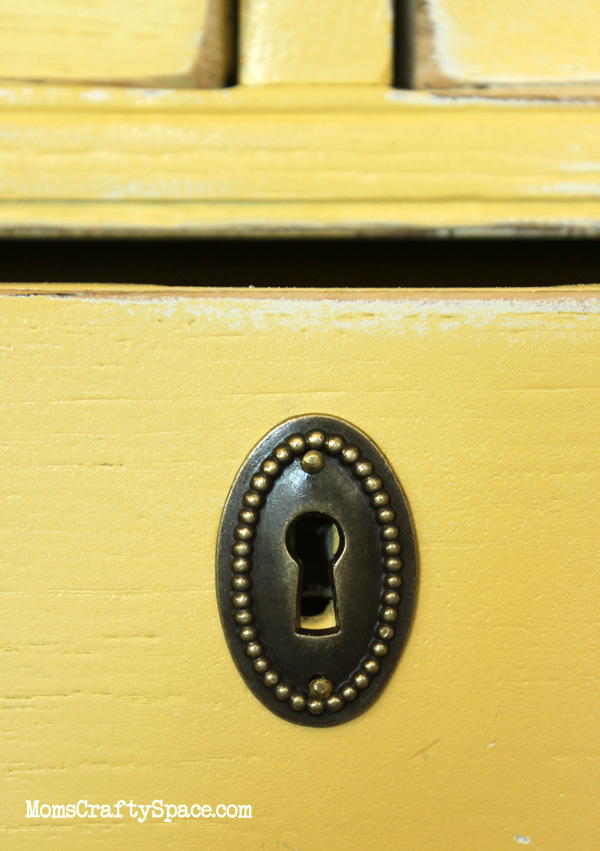
My most favorite details are the new keyhole plates. The original dresser didn’t have any, but I fell in love with these while I was shopping for the hardware and had to add them to my cart as well. These babies add so much charm and finish to the piece, and they only set me back a whopping 80 cents for both of them!
Everyone loves a good before-and-after, right?
We kept this pop of bright yellow in our living room for a couple of days so that I could photograph it, and I fell in love with the splash of color and cheer that it brought to the room. I’m already planning on making over a yellow hope chest to take it’s place once it moves up into my bedroom!


Heidi Kundin has captivated the hearts of millions with her colorful and inspiring approach to crafting, celebrations, and family fun. With over 15 years of experience, Happiness is Homemade has become a must-visit destination for those seeking quick and easy creative ideas and last-minute solutions. Heidi’s warm personality shines through her posts, inviting readers to join her on a creative journey that’s fun, rewarding, and achievable. Heidi is also the author of Homemade Bath Bombs & More and DIY Tie-Dye.

